

This Stardew Valley Ginger Island guide starts with the boat repair and follows the island’s main progression through Golden Walnuts, the Volcano Dungeon, the Forge, farming, Qi’s Walnut Room, and ostriches. My first visit felt overwhelming because several systems unlock at once. The simplest plan is to bring useful tools, follow the early parrot unlocks, and establish a place to sleep before treating every island activity as an urgent job. Expect progression spoilers throughout.
Watch the companion video on YouTube, or use the contents below. This guide includes late-game spoilers. Mechanics and availability can vary by game version and platform.
Stardew valley ginger island guide: contentsOpen contents
1. Repair Willy’s boat
Complete the Community Center or the Joja Warehouse route, then follow Willy’s invitation to the back room of the Fish Shop. Repair the boat with 200 Hardwood, five Iridium Bars, and five Battery Packs. The video says 100 Hardwood; the correct requirement is 200.
Gather the iridium before the island unlock, for example through mainland progression and Skull Cavern. You cannot depend on Ginger Island to supply materials for your first trip there. After the repair cutscene, a ticket costs 1,000g. Bring a pickaxe, watering can, weapon, food, and room for unfamiliar items. This Stardew Valley Ginger Island guide begins with preparation because arriving with a full backpack makes every new discovery harder to manage.
For the next step, see my Community Center guide.

2. Find and spend Golden Walnuts
Golden Walnuts are the island’s progression currency. Find them through exploration, puzzles, farming, fishing, combat, and other island activities, then spend them on the parrots’ unlocks. The island contains 130 discoverable walnuts in total.
Begin with the accessible eastern jungle and Leo’s hut, and speak to the parrot for hints when you need direction. A hint is a clue, not a complete checklist, so make a note of puzzles you cannot solve yet. Spending walnuts does not undo your lifetime discovery total for Qi’s Walnut Room. Unlock routes and practical facilities as you go instead of hoarding every walnut while the island remains difficult to navigate.
3. Explore Ginger Island’s regions
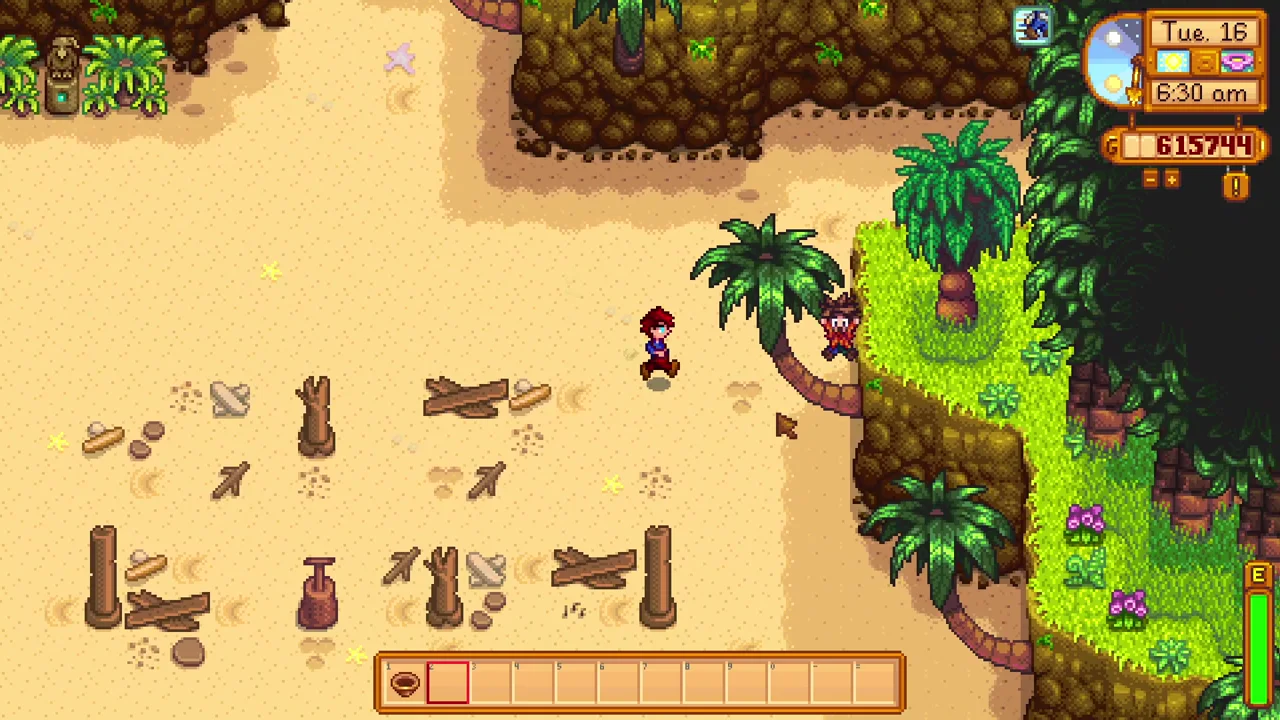
The southern beach is your arrival point. To the east are the jungle and Leo’s hut; to the north are the Volcano and routes toward the Dig Site. The western area contains the farm and several other activities. Parrot unlocks gradually connect these spaces and add facilities such as the Island Trader and resort.
The resort opens additional exploration toward the southeast. The mermaid puzzle uses rainy weather, while Pirate Cove has its own timing: visit after 8pm on an even-numbered, non-rainy day. Avoid trying to complete every area on the first visit. In this Stardew Valley Ginger Island guide, I recommend learning the routes first, then returning with the tools or weather needed for a particular puzzle.
4. Prepare for the Volcano Dungeon
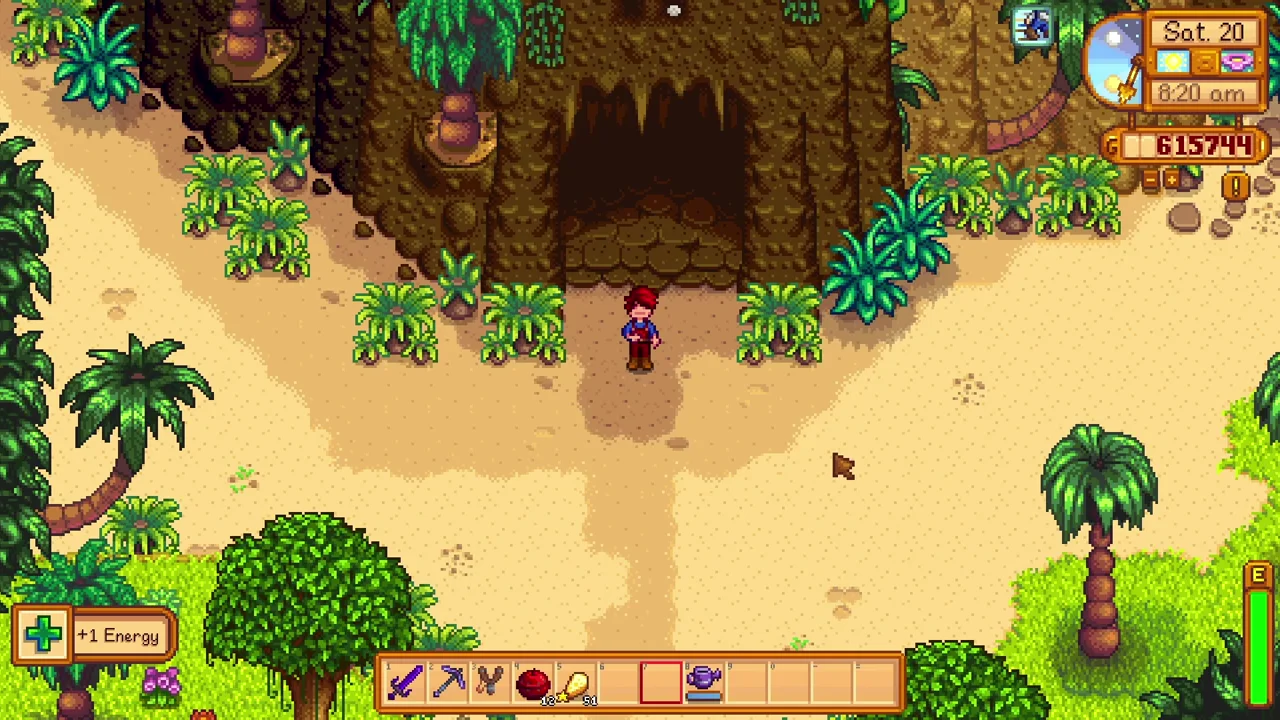
Bring your watering can to cross the lava at the Volcano entrance. A strong weapon, upgraded pickaxe, healing, bombs, and useful speed buffs make the climb easier, but a Galaxy weapon and Iridium Pickaxe are recommendations rather than entry requirements.
There are ten floors and no ordinary Mines-style elevator. Collect Cinder Shards, watch for switches that open gates, and learn enemy attacks instead of assuming every monster drops Dragon Teeth. The layout stays for the day rather than rerolling whenever you step out. Reach the Forge at the top and open its return route. Leave time to escape or heal; rushing past every danger is not the same as being prepared.
5. Use the Forge for rings and equipment
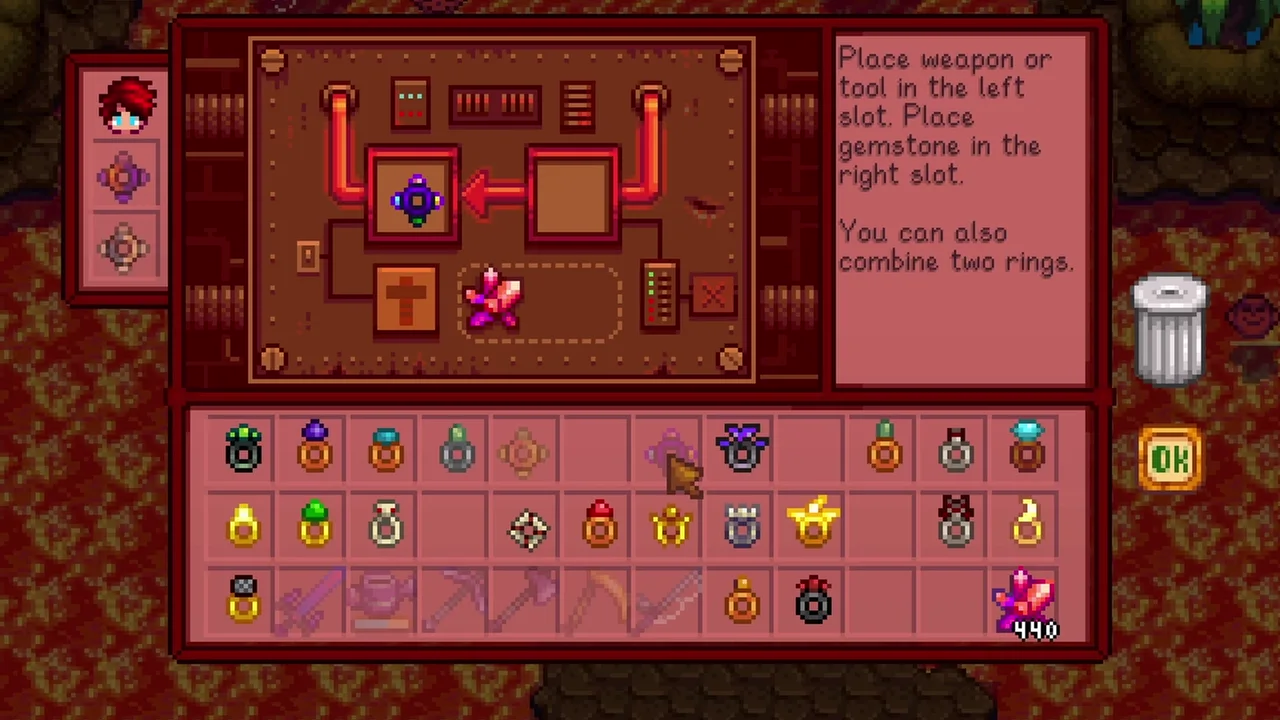
The Forge can combine compatible rings, improve weapons with gems, and add enchantments to eligible equipment. Decide what you want from a tool before spending Prismatic Shards on rerolls. A dependable ring combination can be more useful than chasing every possible enchantment immediately.
Use the actual option names and tool restrictions: Crusader and Vampiric are weapon enchantments, while Generous has distinct effects on the hoe and pan. Dragon Teeth can support innate enchantments on eligible non-Galaxy, non-Infinity weapons. Keep some teeth for travel upgrades if an Island Obelisk is still a priority. The purpose of this Stardew Valley Ginger Island guide is to help you spend a new resource deliberately, not exhaust it on the first visit.
For the next step, see my ring guide.
6. Visit the Dig Site and Professor Snail
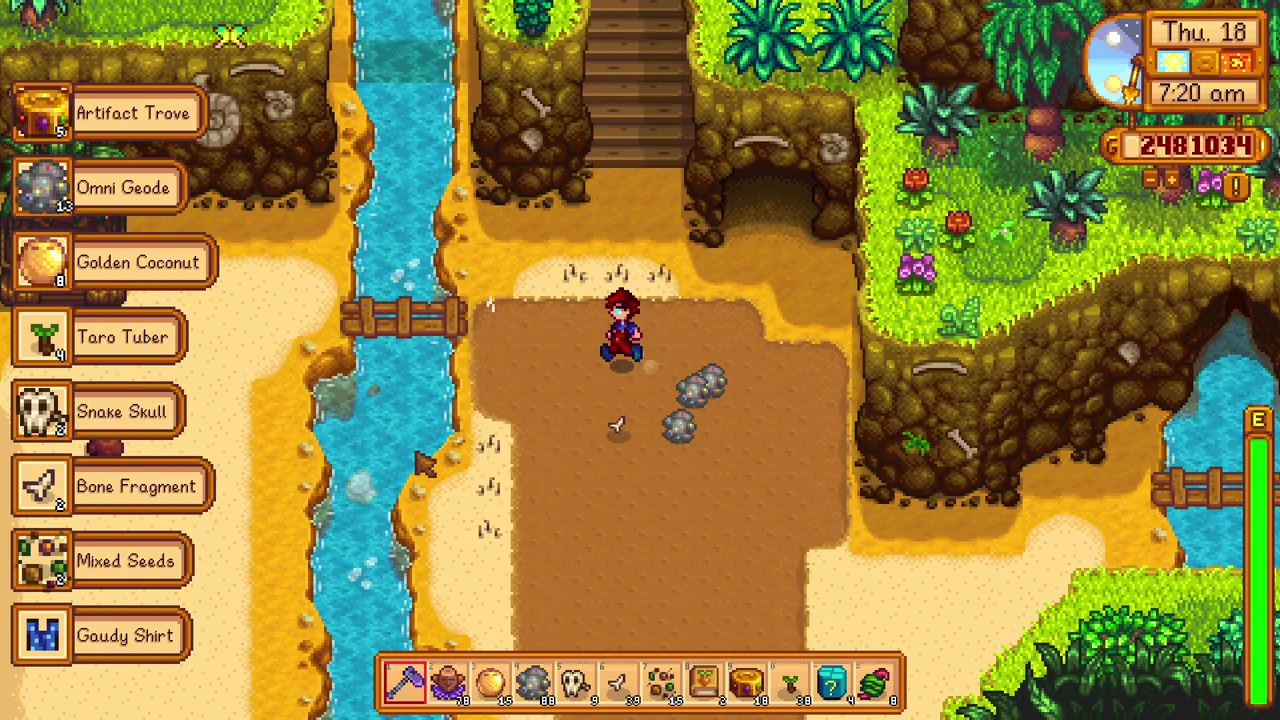
Unlock the Dig Site bridge and explore the excavation area. Rescue Professor Snail from the blocked cave with an explosive, then work through the fossil collection and surveys at the Island Field Office. Bone nodes, artifact spots, fishing, panning, and other island activities supply different pieces.
The nearby river is also a useful panning location once you have a pan. Luck and equipment can support a Lucky Ring hunt, but a whole day of panning does not guarantee one. Keep an inventory slot for rare finds and check the Field Office requirements before selling unusual fossils. Return regularly rather than expecting every collection item to appear through the same activity.
7. Build your year-round island farm
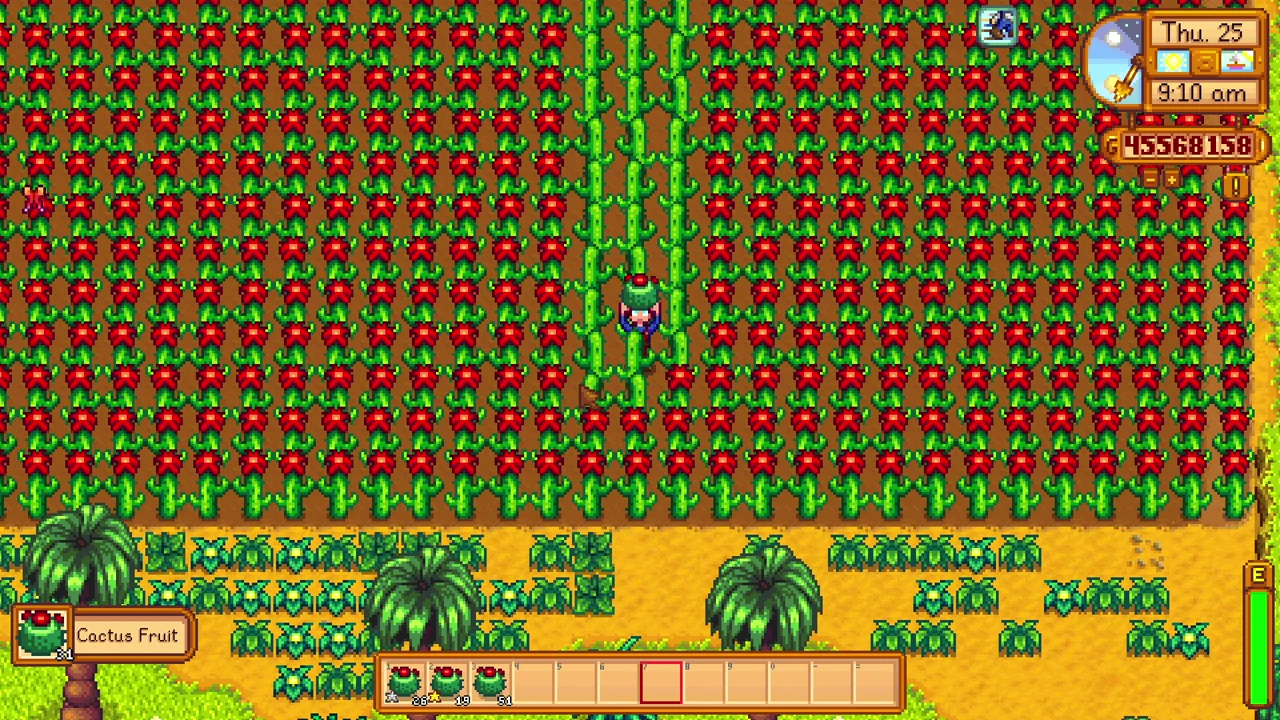
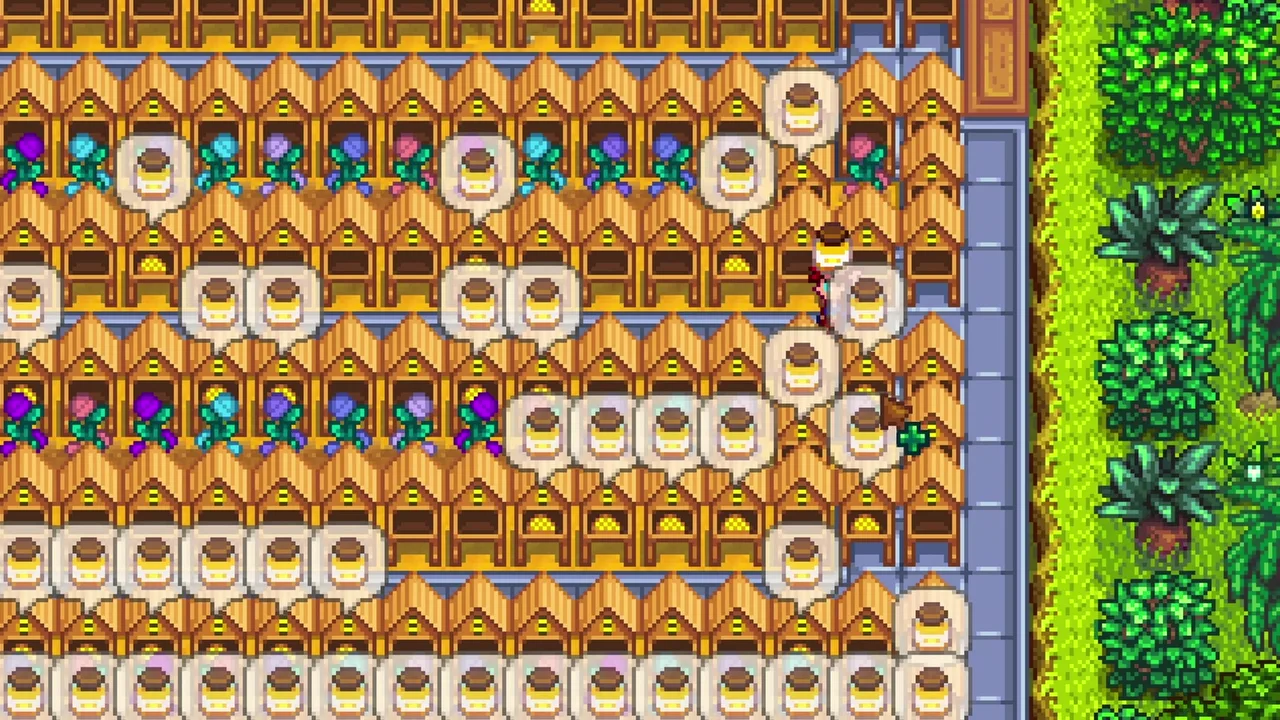
The western island farm lets ordinary seasonal crops grow year-round, which makes it ideal for a steady production plan. Ancient Fruit suits repeated weekly harvests after setup; Starfruit needs seed purchases and replanting but can produce valuable wine. Match the field size with the machines you can actually keep supplied.
Robin’s normal farm buildings and Junimo Huts cannot be built here. Repair the existing farmhouse for a convenient overnight base, use sprinklers, and protect important areas from spreading weeds. Flower honey and fruit trees are optional ways to use suitable space. This Stardew Valley Ginger Island guide favors a farm you can maintain comfortably over a theoretical maximum that turns every island visit into hours of harvesting.
For the next step, see my crop guide.
8. Unlock Qi’s Walnut Room
Qi’s Walnut Room opens after you have found 100 Golden Walnuts in total. The requirement counts walnuts discovered, not 100 unspent walnuts in your inventory. Inside are the Perfection tracker, a reward shop, and a board of demanding Special Orders.
Qi Gems pay for useful items and recipes, including equipment upgrades and convenience tools. Read each challenge’s deadline and requirements before accepting it, and review the board on Mondays for new options. Choose rewards that solve your next problem rather than buying everything in display order. A small number of useful purchases can transform an island farm without turning every week into a compulsory challenge grind.

9. Connect the island with obelisks
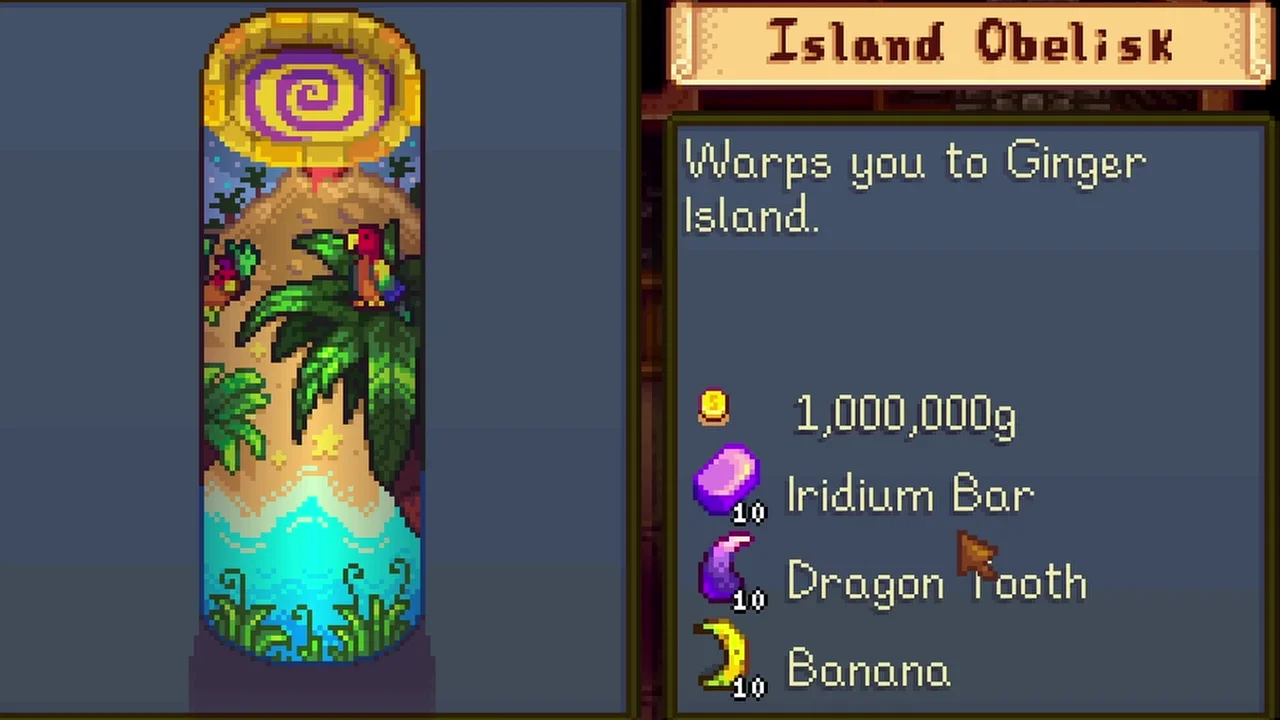
The Farm Obelisk on Ginger Island returns you to your original farm after its parrot unlock. For travel in the other direction, the Wizard’s Island Obelisk is a separate mainland construction: it costs 1,000,000g, ten Iridium Bars, ten Dragon Teeth, and ten Bananas, with the Wizard’s building unlock required.
Save the ingredients while developing the island instead of discovering the shortage after reaching the gold target. One-use Island Warp Totems remain an option for occasional trips. The main benefit of permanent travel is arriving when your own schedule allows, rather than planning every visit around the boat. This is the final travel upgrade in the Stardew Valley Ginger Island guide because it works best after the island has become a regular part of your routine.
10. Hatch your first ostrich
Keep the Ostrich Egg associated with Journal Scrap #10 rather than selling or processing your first one. Finish Professor Snail’s fossil collection and surveys to obtain the Ostrich Incubator recipe, then place the incubator in a barn on your main farm with room for the new animal.
An Ostrich Egg does not hatch in a normal coop incubator. Once your ostrich is established, later eggs can be used for more animals or processed into mayonnaise. The egg’s quality carries through to its mayonnaise output, which makes this a useful reward as well as a collection milestone. Plan the barn space before the incubator finishes so your first hatch is not delayed by a full building.
Watch the full video

More Stardew Valley guides
Keep planning your farm with my beginner’s guide and money-making guide.
Mechanics references: Fish Shop, Island Obelisk.