

These Stardew Valley endgame tips are for an established farm with access to Ginger Island, Qi’s Walnut Room, and advanced equipment. The goal is to reduce repeated chores and spend resources where the benefit is noticeable. You do not need hundreds of machines or a particular ring combination to have a successful save. Use this fifteen-part guide to find the next useful upgrade, then leave room for the decorating, collecting, and experiments you actually enjoy.
Watch the companion video on YouTube, or use the contents below. This guide includes late-game spoilers. Mechanics and availability can vary by game version and platform.
Stardew valley endgame tips: contentsOpen contents
1. Deconstruct shop items for resources
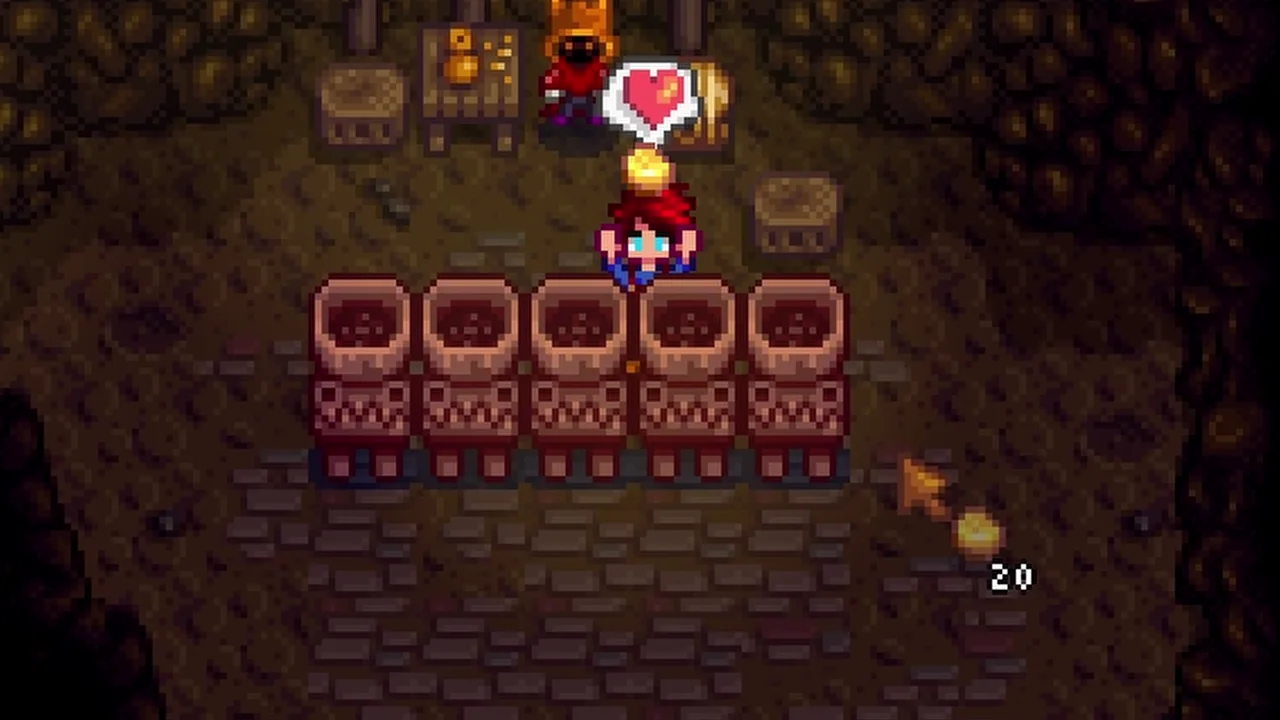
Deconstructors let an established farm exchange selected crafted items for their most valuable ingredient. Useful examples include Grass Starters for fiber, Cork Bobbers for hardwood, and staircases for stone. Compare the shop cost with the value of your own time before buying a batch.
The machine does not return every ingredient. Start with a few Deconstructors and a clearly separated input chest so valuable equipment is not mixed with items intended for recycling. A Hopper can load the next item, but you must still remove the finished output before another cycle begins. This is one of the Stardew Valley endgame tips that reduces resource gathering without creating fully unattended automation.
2. Use Hyper Speed-Gro deliberately
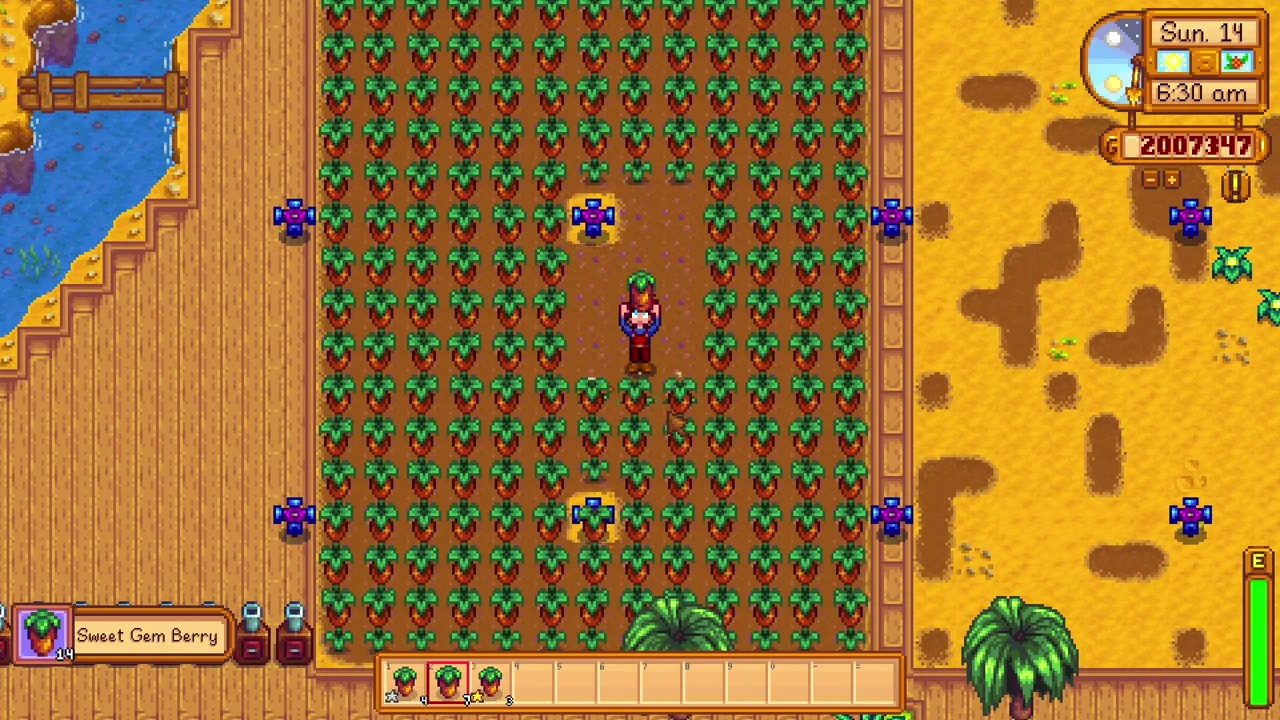
Hyper Speed-Gro can shorten initial crop growth, and Agriculturist adds another growth benefit. Plan around actual harvest dates rather than assuming every crop loses the same whole number of days: growth stages and rounding affect the result.
These boosts are useful for repeated Starfruit plantings on Ginger Island when your seed supply and processing capacity support them. They do not shorten the repeat-harvest interval of mature Ancient Fruit. Compare the fertilizer cost with the extra harvests or saved time you will actually get. An impressive percentage is useful only when it changes the production schedule you intend to maintain.
3. Switch professions for planned sales
The Statue of Uncertainty lets you pay 10,000g to change a skill’s professions. On a mature farm, a planned switch can support a large planting or sale. Make the change before the event that needs the profession and account for when the new selection takes effect overnight.
Agriculturist and Artisan serve different purposes, so switching repeatedly has a cost and a management burden. Check that the extra sale value exceeds the fee. If your usual routine already works, keeping Artisan can be simpler. The best Stardew Valley endgame tips save effort as well as gold; constant profession changes are optional optimization, not a requirement.
4. Build ring sets for different jobs
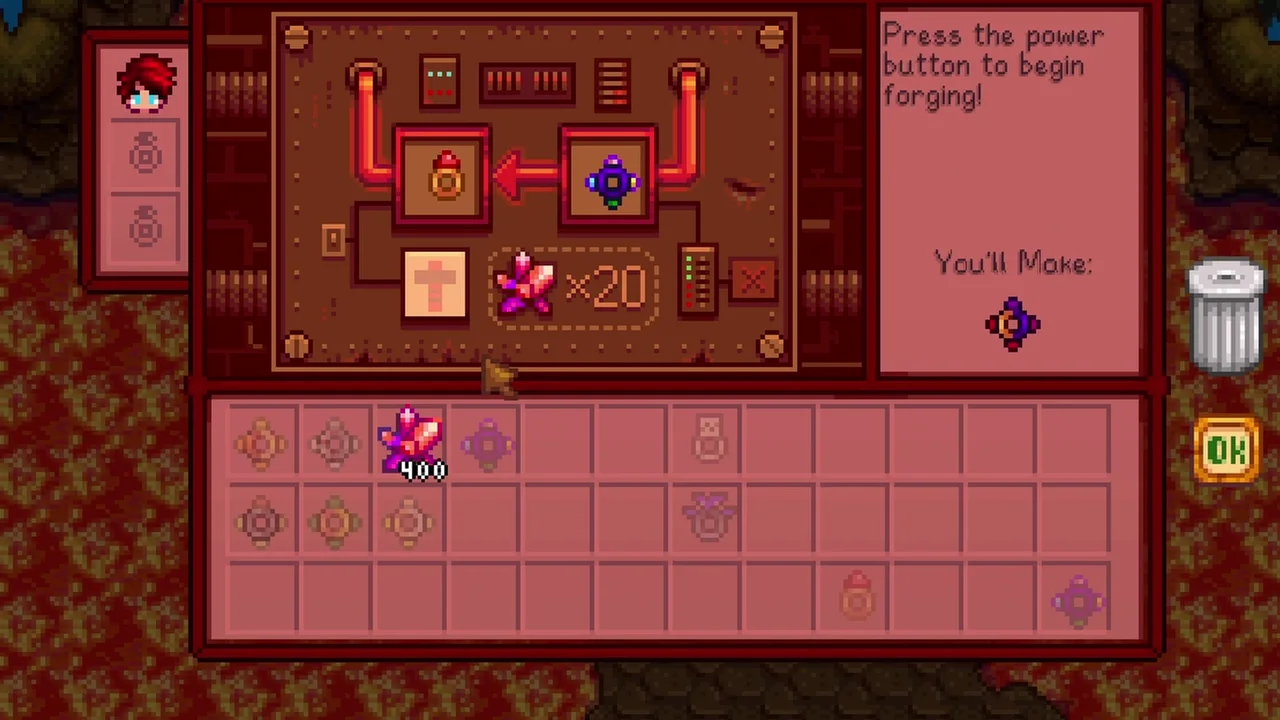
At the Forge, combine compatible rings to carry two effects in one equipped slot. Keep a dependable general-purpose pair, then build alternatives for particular activities if the benefit is worth the inventory space. A Burglar’s Ring supports monster loot, while a Lucky Ring serves a different purpose.
Choose combinations around the activity rather than assuming damage, light, or luck is always the priority. You can unforge a combined ring if you later want the originals for a different pairing. Multiple sets are a convenience for an established resource supply, not a reason to spend scarce early Cinder Shards experimenting without a plan.
For the next step, see my ring guide.
5. Optimize greenhouse sprinkler space
The greenhouse has 120 soil tiles. Sprinklers placed on soil reduce the number of planted tiles, while sprinklers on suitable border positions and Pressure Nozzles can improve coverage. Check the actual watered tiles in your chosen layout before removing a working arrangement.
Deluxe Retaining Soil is a valid alternative when you prefer to use the soil for crops and water once; it is not inherently a mistake. Fertilizer choice depends on whether you value crop quality, initial growth time, or convenience. Ancient Fruit regrowth does not become faster through Speed-Gro. Use the greenhouse layout that matches your crop rather than chasing one extra tile at any cost.
For the next step, see my crop guide.
6. Feed Raisins to Junimos
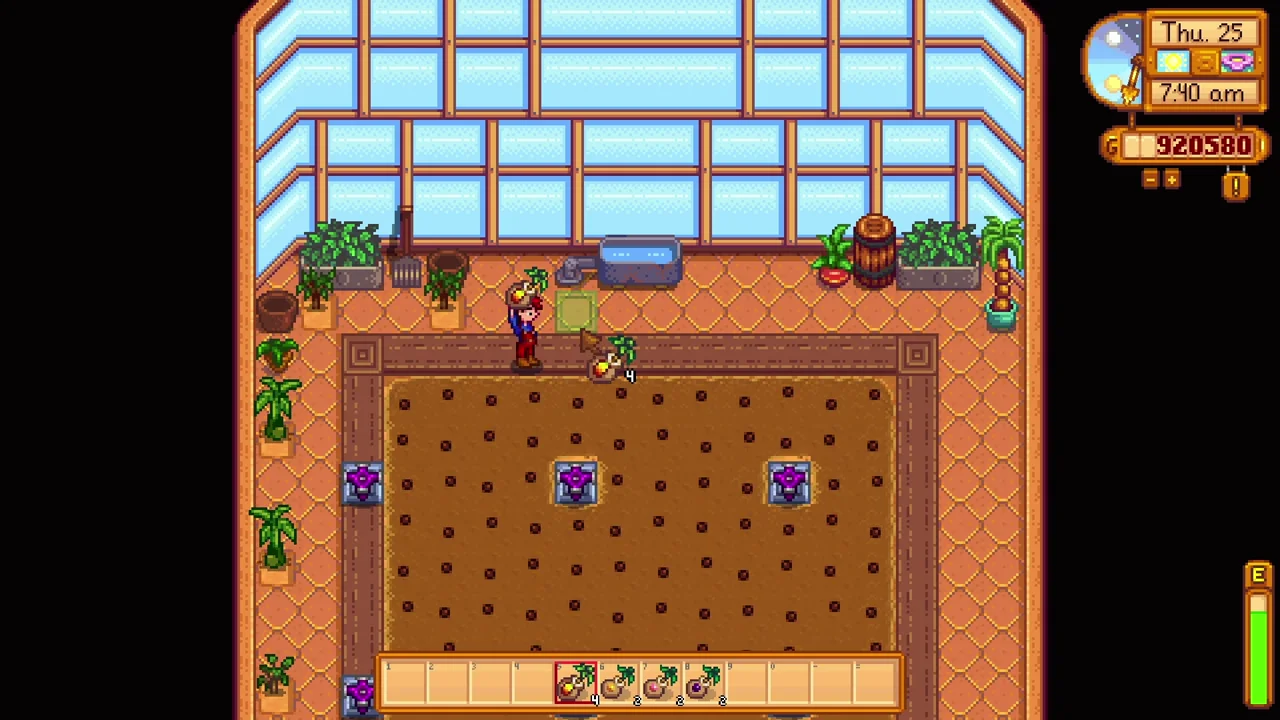
Put Raisins in a Junimo Hut to give its harvesters a chance to collect double crops. Make Raisins from five Grapes in a Dehydrator and keep a supply in the hut during the growing seasons. This is a yield benefit; do not assume every crop doubles.
The documented chance is 20%, and the hut consumes a bag weekly outside winter. Check collection space and remember that Junimos do not harvest in rain. Among Stardew Valley endgame tips, this is especially convenient because it improves a harvesting setup you may already own. Plan the field and sprinkler coverage first, then add Raisins as an extra benefit.
7. Tap Mystic Trees with Heavy Tappers
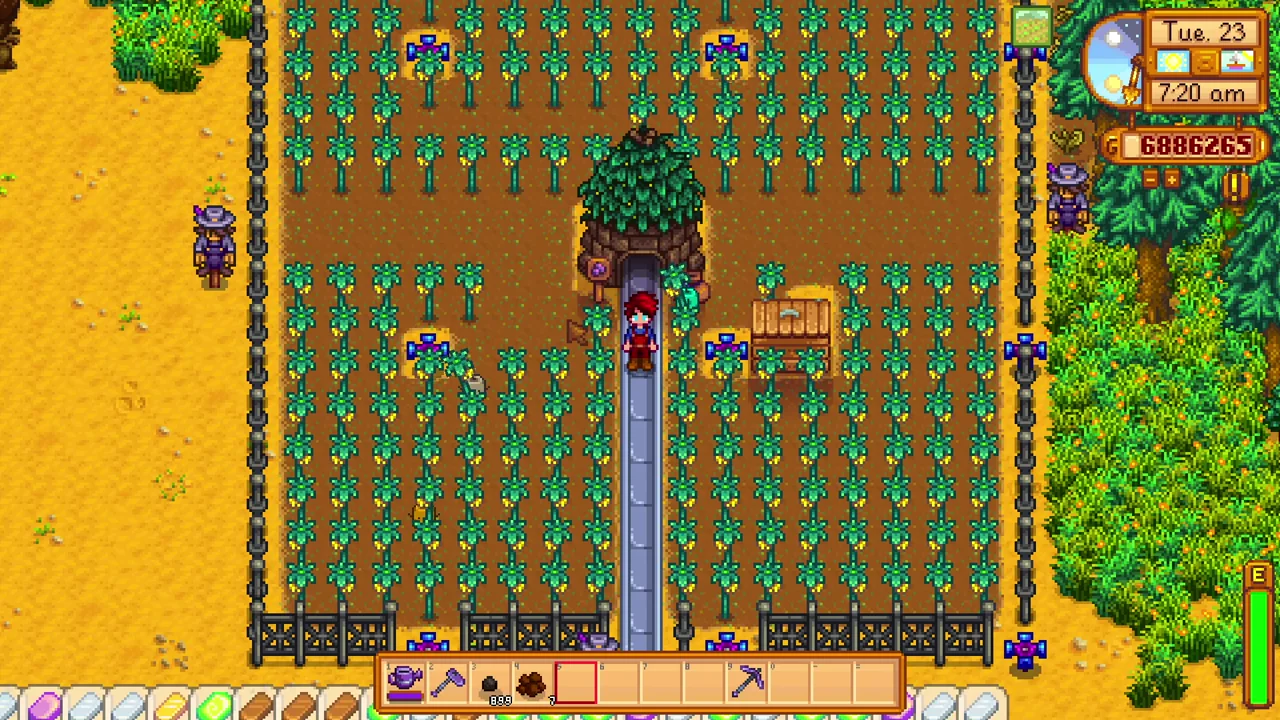
After Foraging Mastery, Mystic Trees can become a renewable source of Mystic Syrup. Fit mature trees with tappers, or Heavy Tappers for faster production, and arrange them on a collection route you can reach easily. The syrup can be kept for healing or sold when you have a surplus.
Choose the number of trees around your seed supply and how often you want to collect. Selling everything may leave you without the convenience item you planted them for. Nearby Mushroom Logs can make the area a useful production zone as well. A small organized orchard is easier to maintain than a forest of machines placed wherever there was briefly an empty tile.
8. Use Golden Animal Crackers
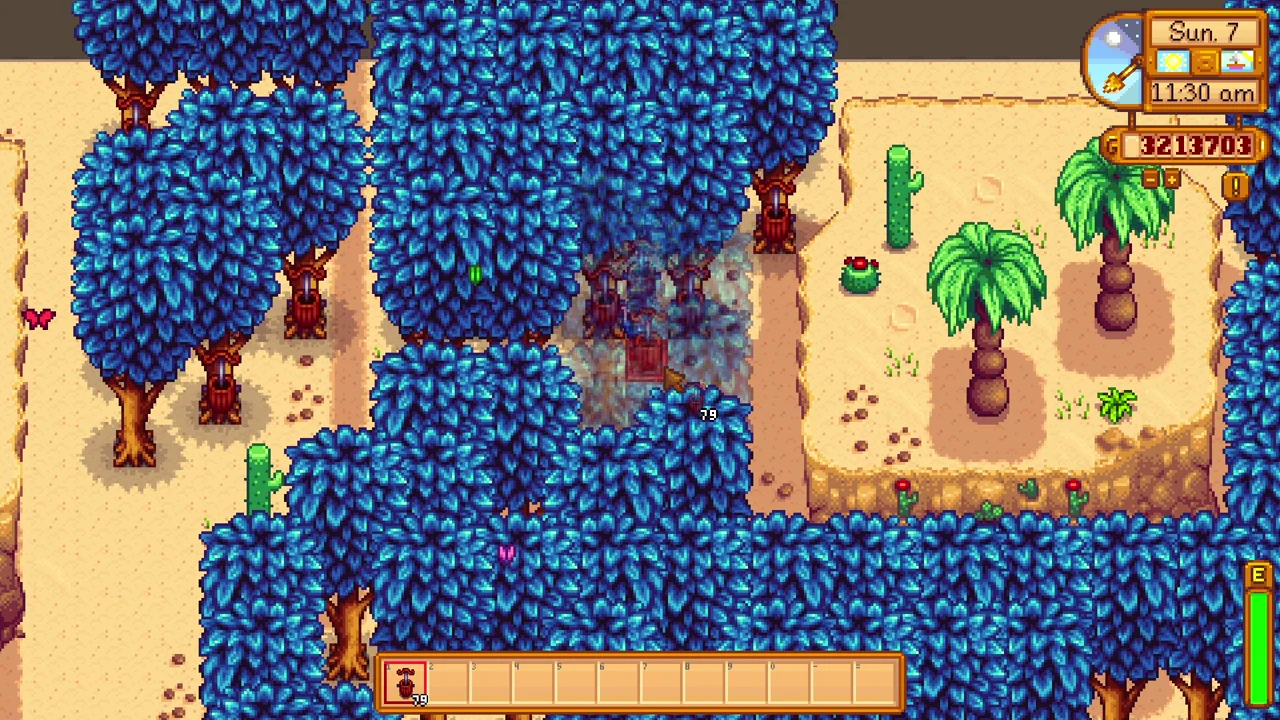
Golden Animal Crackers permanently double the produce of eligible animals. Give early crackers to productive animals you intend to keep, then expand as more become available after Farming Mastery. Their value depends on the animal and the processing routine you can support.
Pigs are the important exception: crackers do not double truffles. Rabbits can still produce different eligible items, so a cracker is not a guarantee of Rabbit’s Feet every cycle. Keep animals fed and supported with appropriate collection equipment. These Stardew Valley endgame tips work best when a multiplier improves an already reliable system rather than compensating for missing care.
9. Adopt and care for extra pets
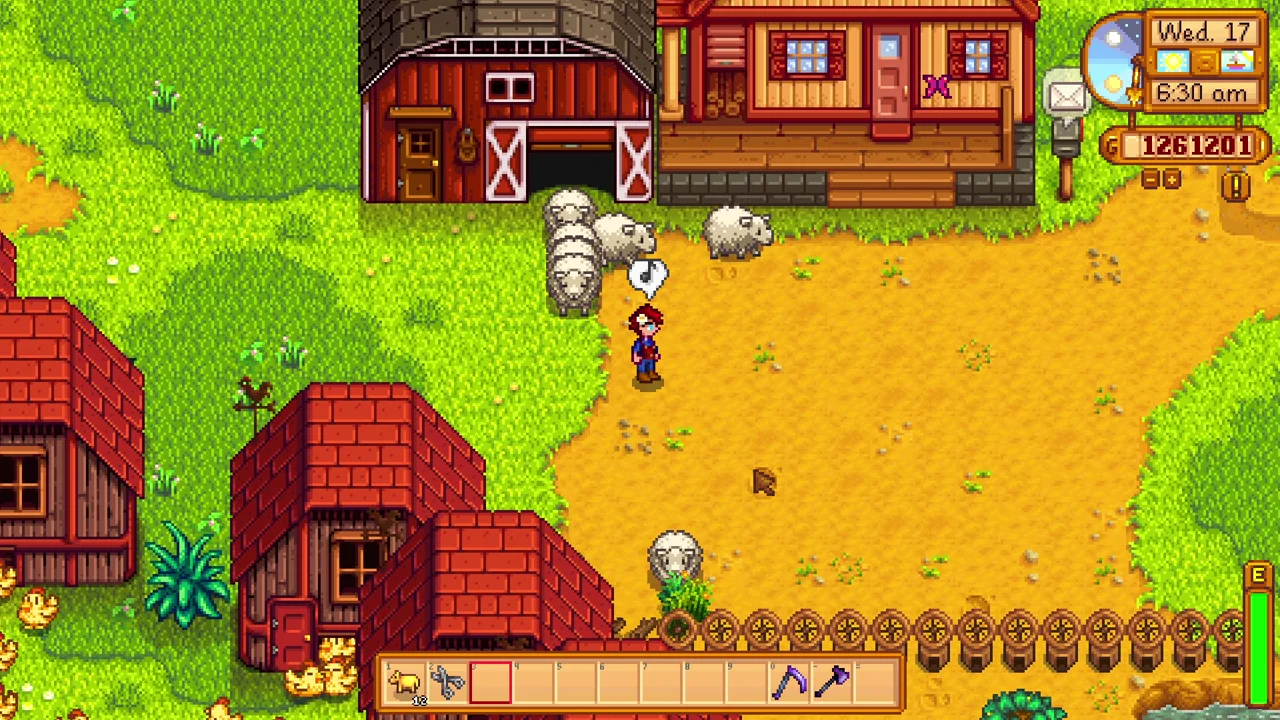
Extra pets are an enjoyable late-game project once the adoption requirements are met. Give each pet the support it needs, including a suitable bowl, and make time to pet them. A crowded collection of rare pets is a cosmetic preference rather than the definition of a finished farm.
Pet behavior and possible gifts vary by pet type, so do not buy several purple turtles expecting them to act like a reliable item-production machine. Adopt the animals you actually want to see around the farm. This section of the video is about spending established wealth on something fun after the essential systems already work.

10. Spend Fairy Dust where time matters
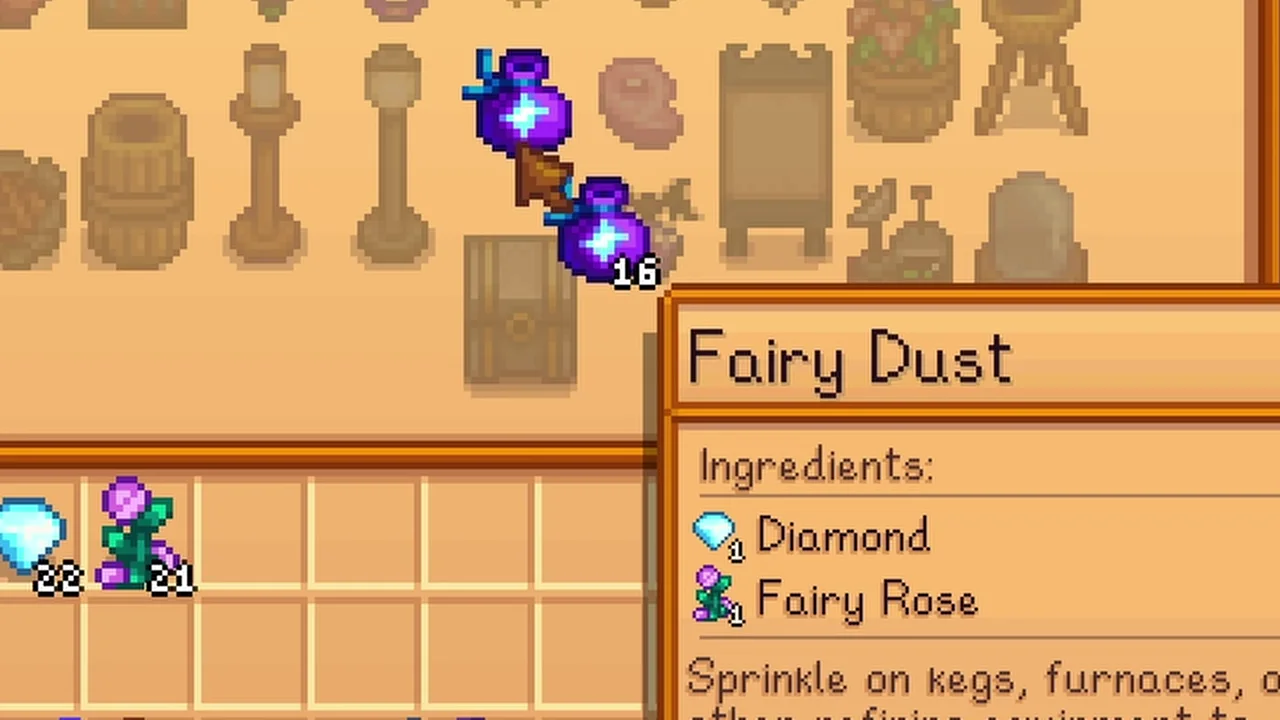
Fairy Dust can finish eligible machines, and one use on a cask advances its product to the next aging stage. Using it on gold-quality wine skips the long final step to iridium. That is a convenience with an ingredient or trade cost, not automatically a profitable habit.
Compare crafting with the unlocked Bookseller and raccoon trades when you have suitable surplus items. Decide what the saved time is worth before rushing ordinary products. In an established save, paying for convenience can be a perfectly good choice. The useful Stardew Valley endgame tips are the ones that remove a chore you dislike without consuming supplies needed for something more important.
11. Duplicate Jade for staircases
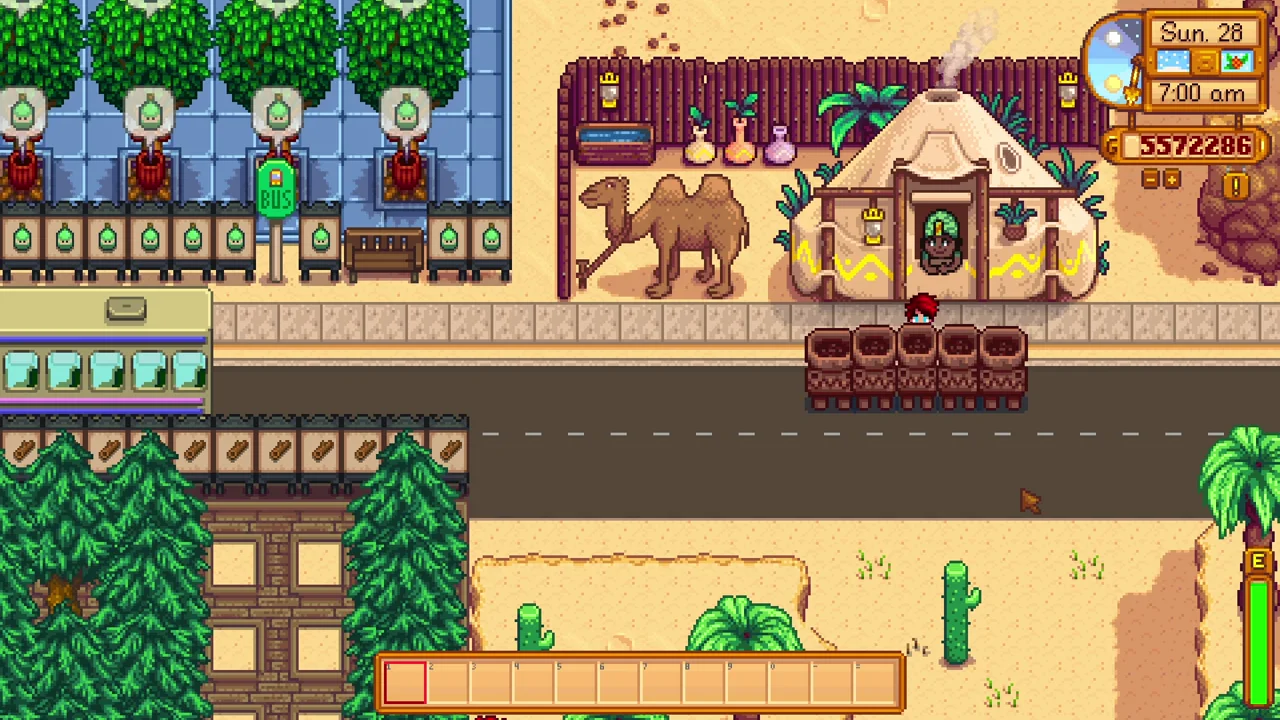
Set aside Crystalariums for Jade when deep Skull Cavern travel is one of your goals. Trade Jade for staircases at the Desert Trader on Sundays, and keep the finished staircases with bombs, healing, and your travel supplies.
Use staircases to leave slow floors and reach deeper areas earlier, then stop to mine when the resources justify it. A large stack does not guarantee a particular ore total or make combat harmless. Keep an exit option and watch your health. The benefit is control over the pace of the run, not an obligation to ignore every interesting floor on the way down.
For the next step, see my Iridium Ore guide.
12. Process surplus fruit in Dehydrators
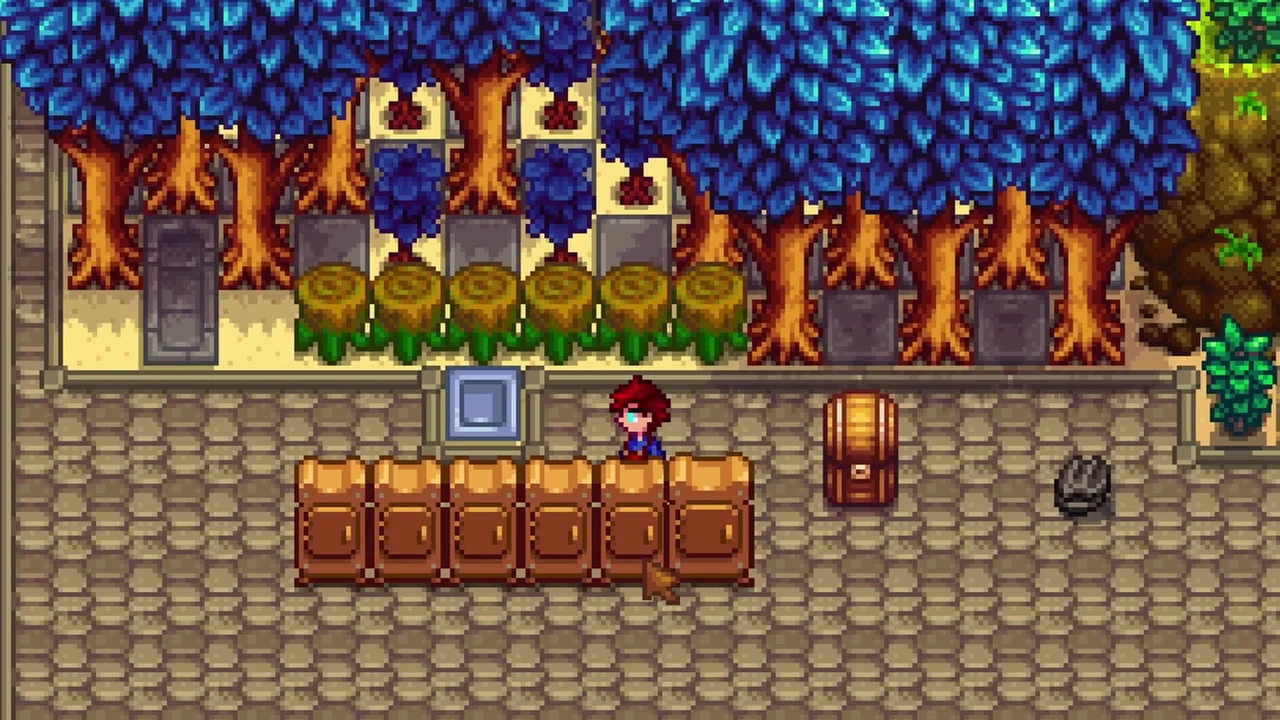
Dehydrators process five matching eligible fruit or mushrooms in a quick batch. They are useful when harvests exceed the available kegs and jars. Keep premium fruit for the machines that provide the value you want, and use Dehydrators to move the remaining backlog.
Compare five inputs with the dried product before judging the sale price. A large displayed number can hide a lower return per ingredient, but faster turnover may still be the better choice for your routine. These Stardew Valley endgame tips are about matching production capacity to your harvest, rather than growing a field so large that most of its value sits in storage.
13. Choose useful tool enchantments
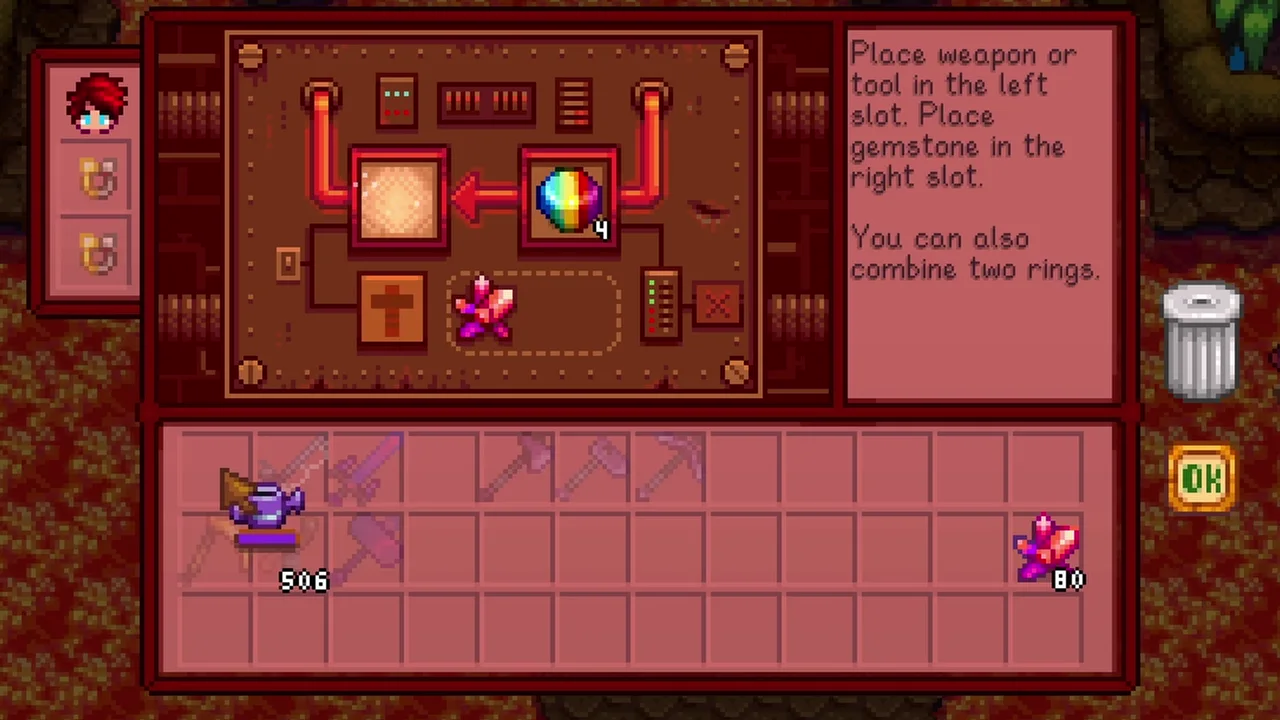
Choose tool enchantments around their main job. Swift can help with repeated tool use, Shaving suits a wood-gathering axe, Reaching expands charged coverage, and Master improves the fishing rod’s skill benefit. Reroll only when the improvement is worth the Prismatic Shards and Cinder Shards.
Generous is available for the hoe and pan, but its effect differs: the hoe can double a dig result, while the pan can increase non-ore rewards. Review the effect for the tool you are enchanting. There is no single mandatory set for every farm. Keep a good existing enchantment while gathering the resources for optional refinements.
14. Keep coffee and Spicy Eel ready
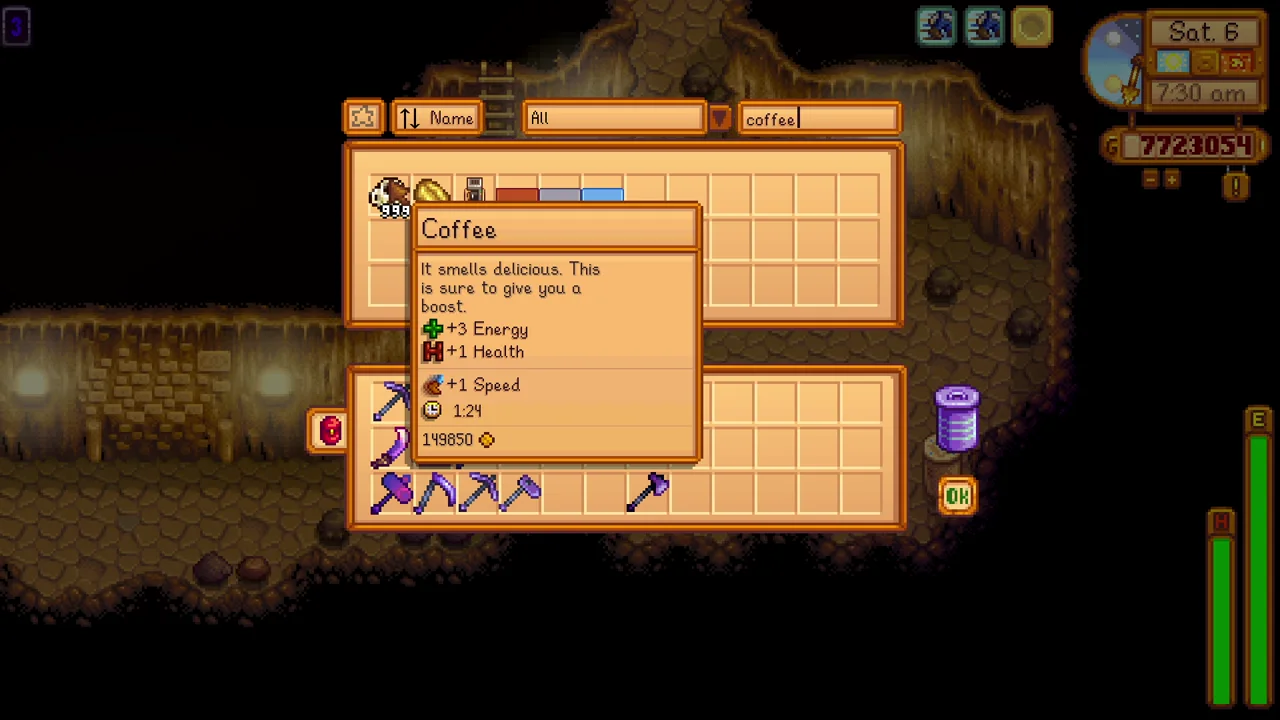
Coffee or Triple Shot Espresso can combine with a food buff such as Spicy Eel. Keep both near your exit or mining chest so starting a trip does not involve searching the farmhouse for ingredients. Ruby Crystalariums can support repeated Spicy Eel trades at the Desert Trader.
Ordinary food buffs replace one another rather than stacking every dish you eat. Plan around one useful food and one useful drink, then use a separate healing item when you do not want to replace the buff. Movement speed is most valuable on routes you repeat, so combine it with sensible machine placement and travel unlocks.
15. Cook with Qi Seasoning
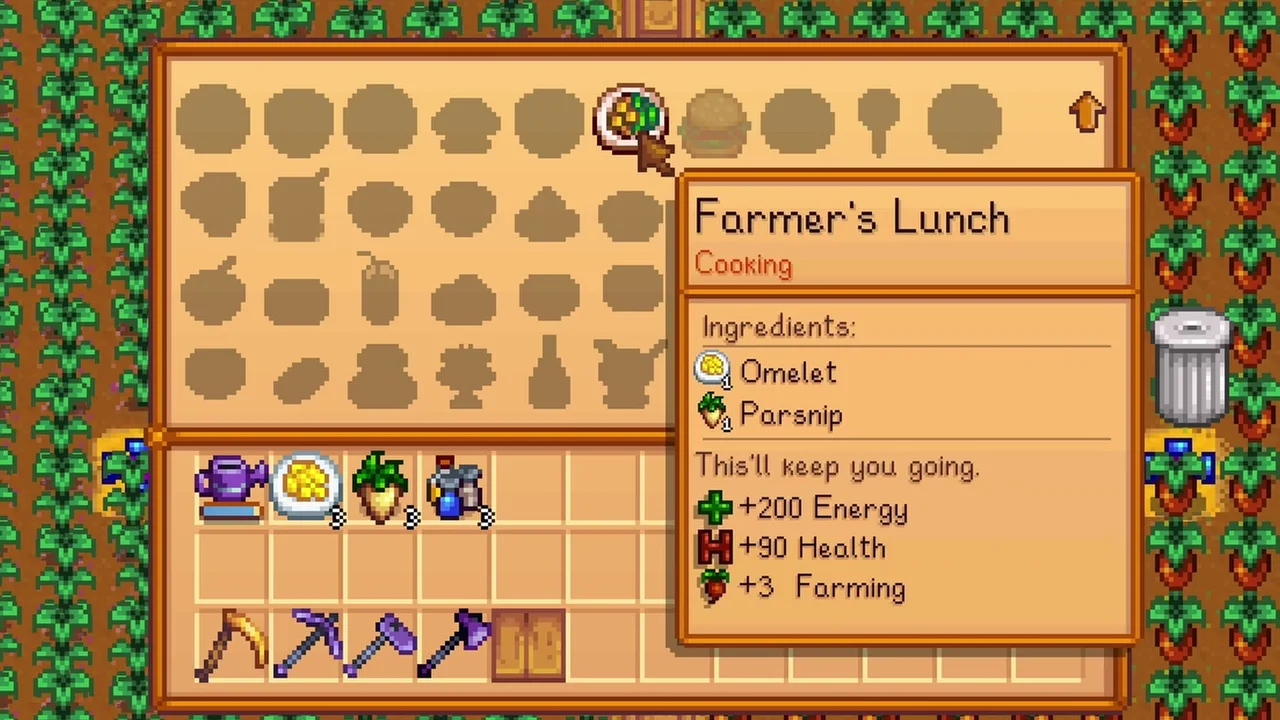
Qi’s Seasoning improves eligible cooked food when used during cooking. Save it for meals whose stronger effects or longer duration help a planned activity, such as a demanding fishing session or a long mining trip. Keep the seasoning where your cooking setup can use it.
It is not a way to upgrade every meal you buy after the fact. Compare the seasoned dish with its ingredient cost and your available Qi Gems. A well-stocked kitchen is useful because the correct meal is ready when you need it. These Stardew Valley endgame tips should make preparation easier, not add an elaborate cooking chore before every ordinary errand.
Watch the full video

More Stardew Valley guides
Keep planning your farm with my beginner’s guide and money-making guide.