

These forbidden Stardew Valley tips are unusual shortcuts and deliberate tradeoffs from my video, not rules that every farm must follow. Some are ordinary mechanics, some depend on your platform, and some cost more than their dramatic result suggests. I have separated the useful idea from the exaggeration so you can try the parts that fit your save. Start with reliable improvements such as healing supplies and better processing decisions before rearranging an entire farm around a niche trick.
Watch the companion video on YouTube, or use the contents below. This guide includes late-game spoilers. Mechanics and availability can vary by game version and platform.
Forbidden stardew valley tips: contentsOpen contents
1. Complete Robin’s Resource Rush
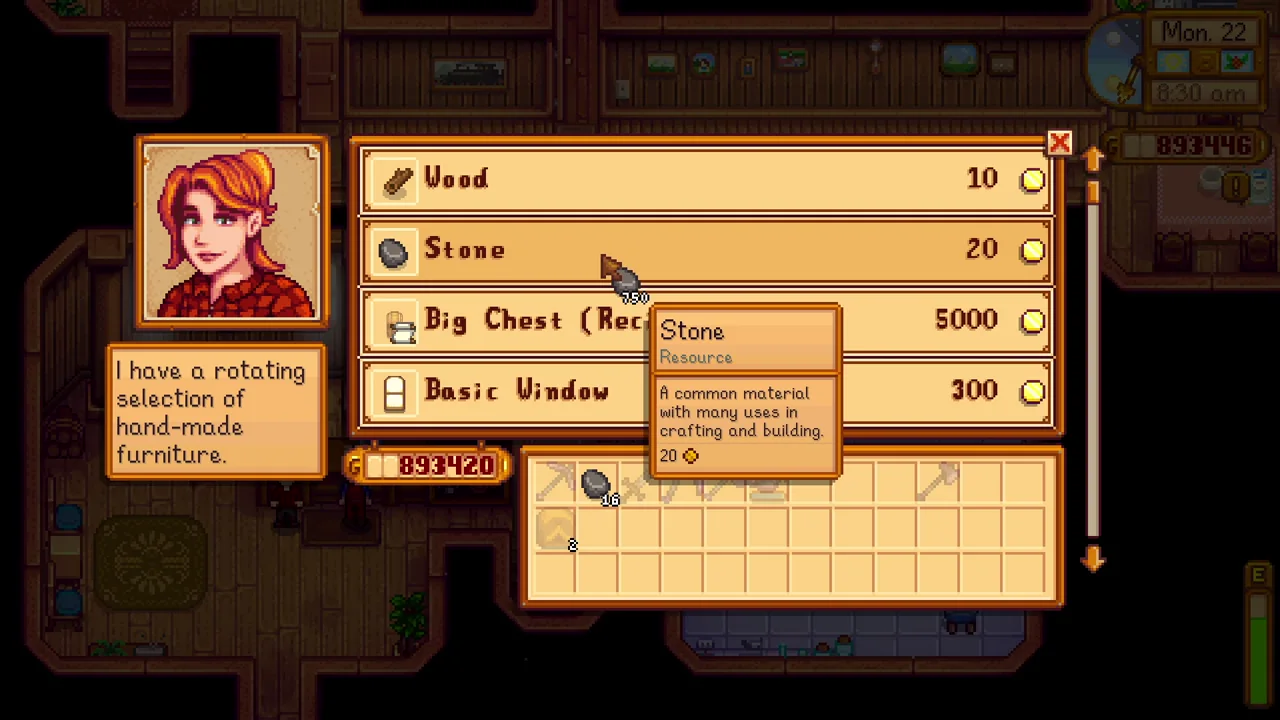
Robin’s Resource Rush asks for a large quantity of newly gathered wood or stone. Read the exact Special Order and its progress counter before assuming stored materials will count. Buying the requested resource from Robin counts, and you keep the materials. Compare the purchase price with the reward and your other plans.
The reward includes the Stone Chest recipe, not a mysterious “stone quest.” This is one of the forbidden Stardew Valley tips that is really a time-versus-money decision. Collect naturally when it fits your routine; buy only when the convenience and recipe justify the expense.
2. Compare goat milk with goat cheese
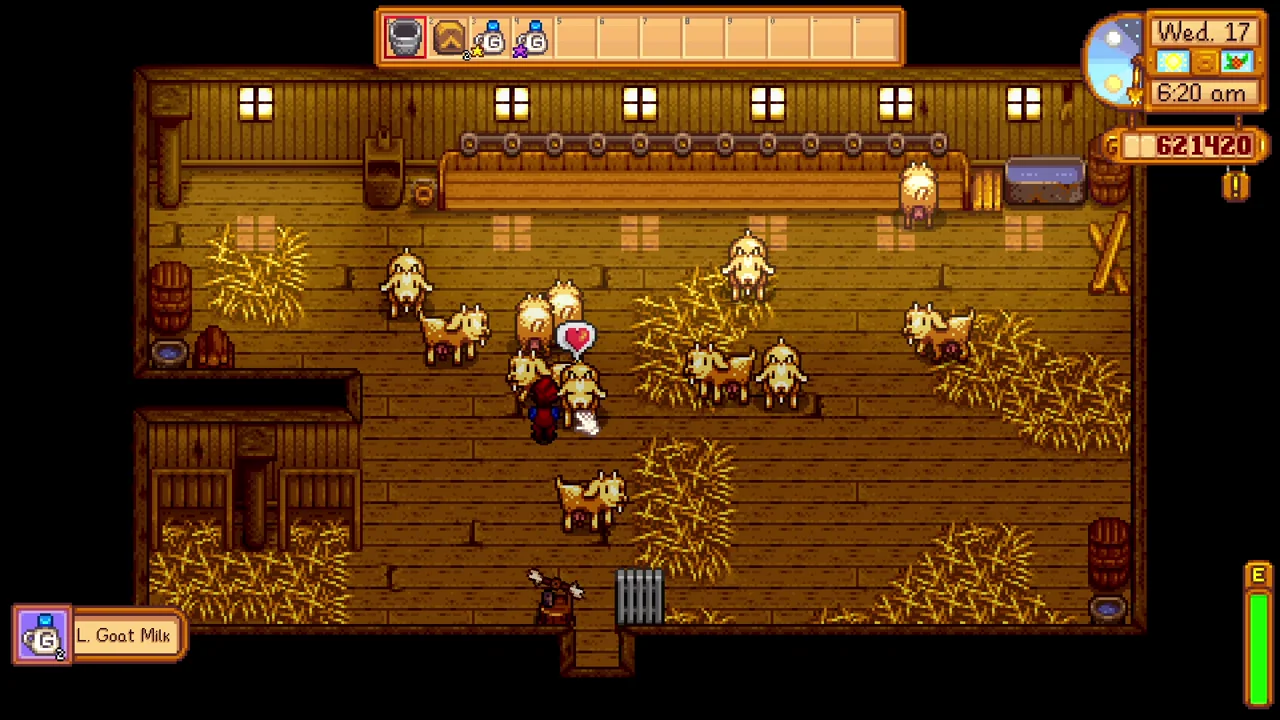
The milk-to-cheese comparison depends on milk size, quality, and professions. Large Goat Milk produces gold-quality Goat Cheese; regular Goat Milk produces normal-quality cheese. Milk quality alone does not determine the cheese’s quality.
Compare the actual inventory prices before selling. Artisan can make processing attractive, while Rancher and high-quality raw milk change the comparison. Do not apply the video’s “always sell the milk” conclusion to every goat product. If casks are available, aging cheese is another choice with its own collection schedule. The useful shortcut is to check the numbers on your save rather than assuming every machine always improves every input.
3. Turn hops into Pale Ale
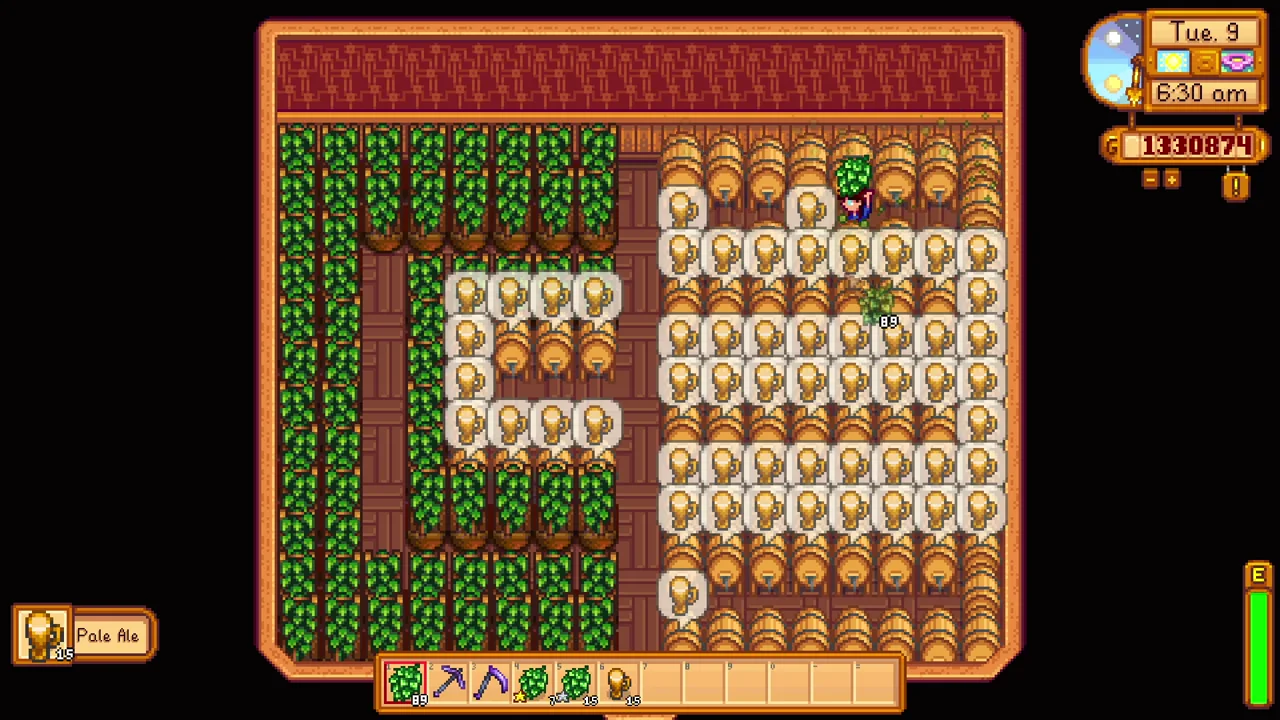
Hops regrow daily after maturing and can become Pale Ale in kegs. With Artisan, Pale Ale sells for 420g, making a low-value raw crop much more useful. The routine needs frequent harvesting and enough keg capacity to prevent a growing backlog.
This does not make hops the best crop for every farm. Trellises affect movement, the processing work is repetitive, and daily attention may be the exact chore you are trying to reduce. Try a smaller field before scaling. These forbidden Stardew Valley tips are most useful when the extra return fits the time you actually want to spend playing.
4. Upgrade multiplayer cabins
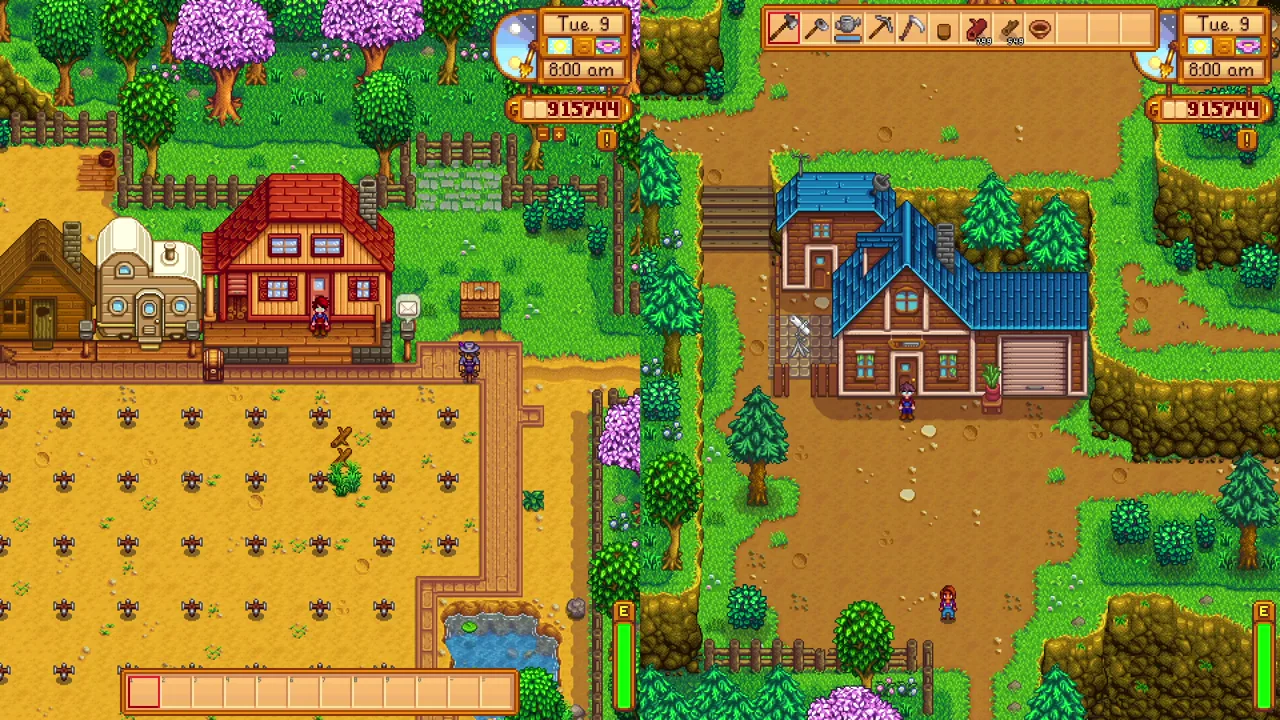
Multiplayer cabins can provide extra interior space and, after upgrades, additional cellars. The resident farmhand must arrange the cabin upgrades, so this is not the same as upgrading any building as the host. Each upgrade still needs resources and planning.
Player and cabin limits differ by platform, and split-screen support is not identical across versions. Do not assume every device supports seven extra cabins or eight simultaneous players. Use the supported co-op options for your version and keep the residents needed to manage the cabins. Extra casks help only when you have enough surplus product and want the additional collection routine.
5. Stack fishing equipment and buffs
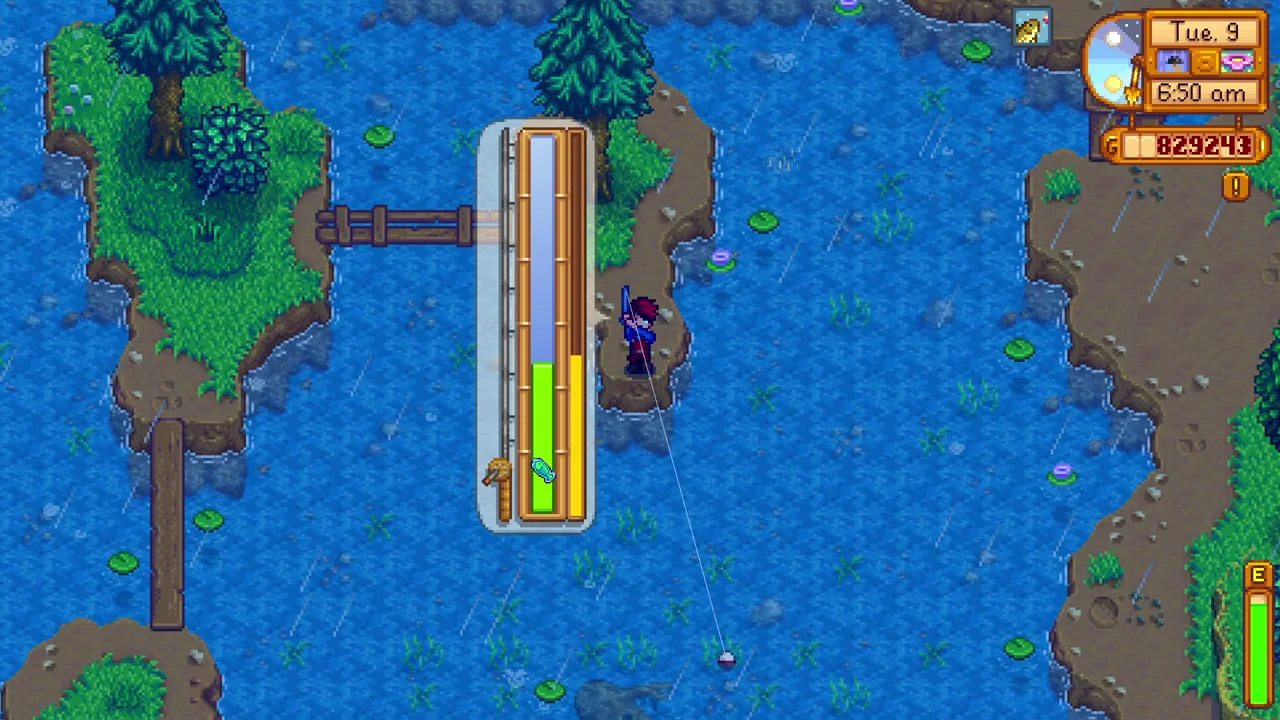
The Advanced Iridium Rod supports two tackle slots. Pair useful tackle with the Master enchantment and an appropriate fishing food, such as Seafoam Pudding, when you are tackling difficult fish. Qi’s Seasoning can improve an eligible cooked meal.
Two Trap Bobbers slow the loss of catch progress when the fish escapes the bar, but they do not guarantee a first-try legendary catch. Practice the fish’s movement and bring replacement tackle. You can also choose other combinations if a larger bar or a different effect helps you more. This is equipment-supported practice rather than a way to remove fishing skill from the minigame.
For the next step, see my fishing guide.
6. Understand marriage and Stardrops
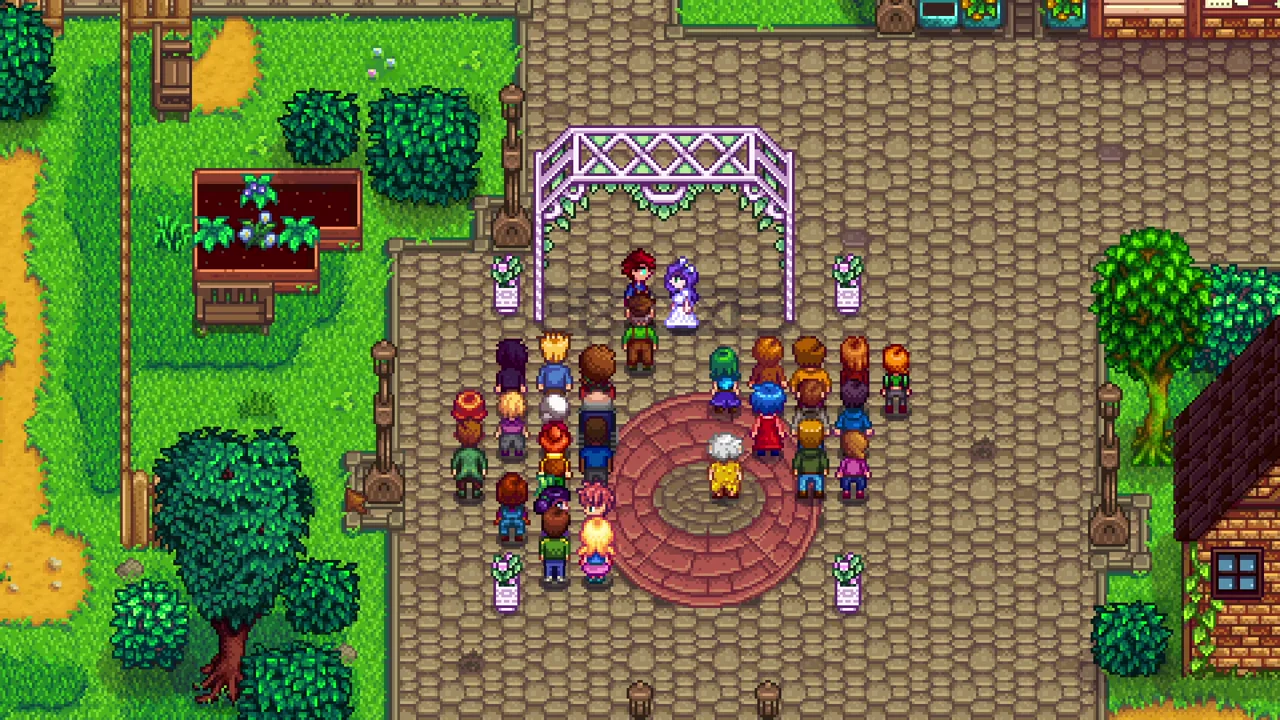
A spouse can give you a Stardrop after reaching 12.5 hearts. You can keep that Stardrop if you later divorce, but remarriage does not provide an unlimited series of spouse Stardrops. There are also costs and relationship consequences to the decision.
Memory erasure uses the Dark Shrine of Memory and a gold payment; a Strange Bun is associated with a different shrine. Do not follow the video’s item mix-up. Marriage does not need to be reduced to an energy upgrade, and Krobus offers another living arrangement. Treat this entry among the forbidden Stardew Valley tips as an explanation of the mechanic, not a recommendation to undo a relationship you enjoy.
7. Deconstruct Grass Starters and staircases
A Deconstructor returns the most valuable ingredient from a supported crafted item. Grass Starters can provide fiber, and staircases provide stone. Duplicating Jade and trading it for staircases on Sundays can therefore support a late-game stone supply.
A staircase returns 99 stone, not 199. Remember the Deconstructor’s unlock cost and the time involved in making Jade before describing the result as free. Keep your mining staircases separate from items intended for recycling. The trick is a useful conversion when you already have the equipment, rather than an early-game substitute for every resource-gathering activity.
8. Plan four early Stardrops
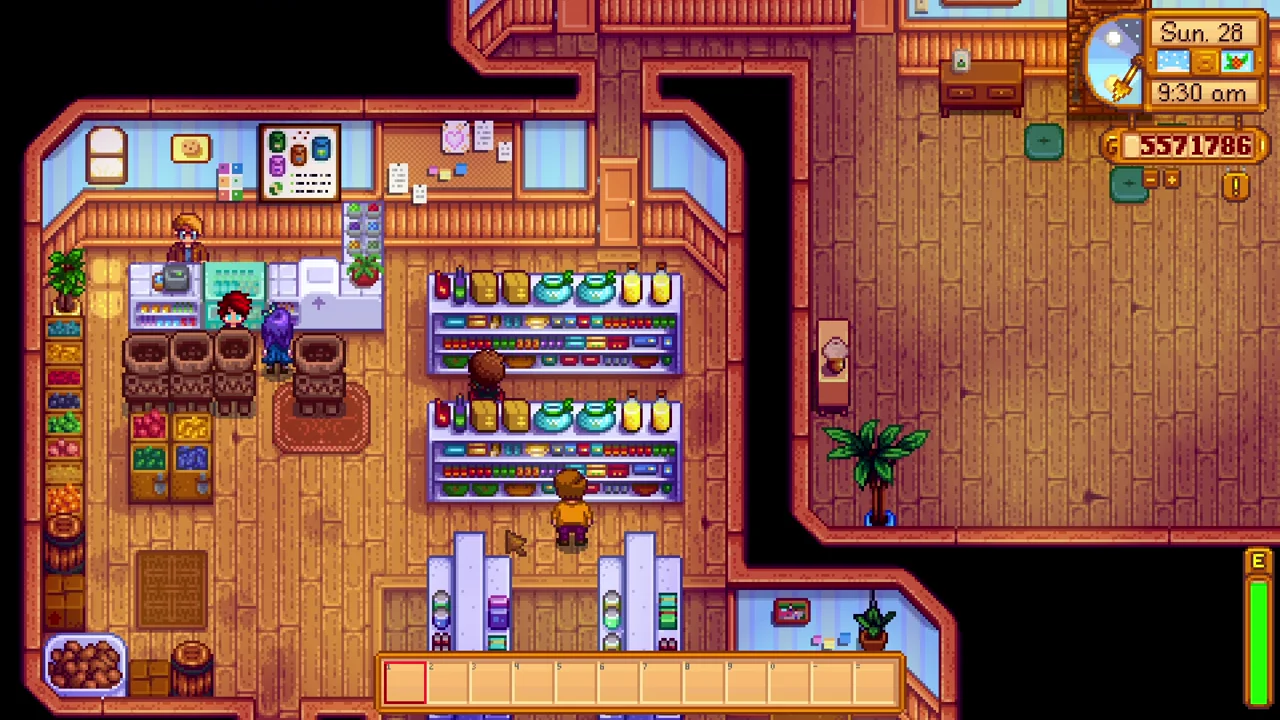
Several Stardrops can be planned during a first year: reach floor 100 of the Mines, buy the Fair reward with Star Tokens, give a Sweet Gem Berry to Old Master Cannoli in the Secret Woods, and develop the relevant spouse or roommate relationship.
Each route has its own requirements. The Fair Stardrop costs 2,000 tokens, a Rare Seed needs time to grow, and the spouse reward is at 12.5 hearts. These are possible goals, not a requirement to rush your first save. Pick the next accessible Stardrop and bring food in the meantime; energy management remains useful even before you collect the full set.
9. Make a Blobfish Mask
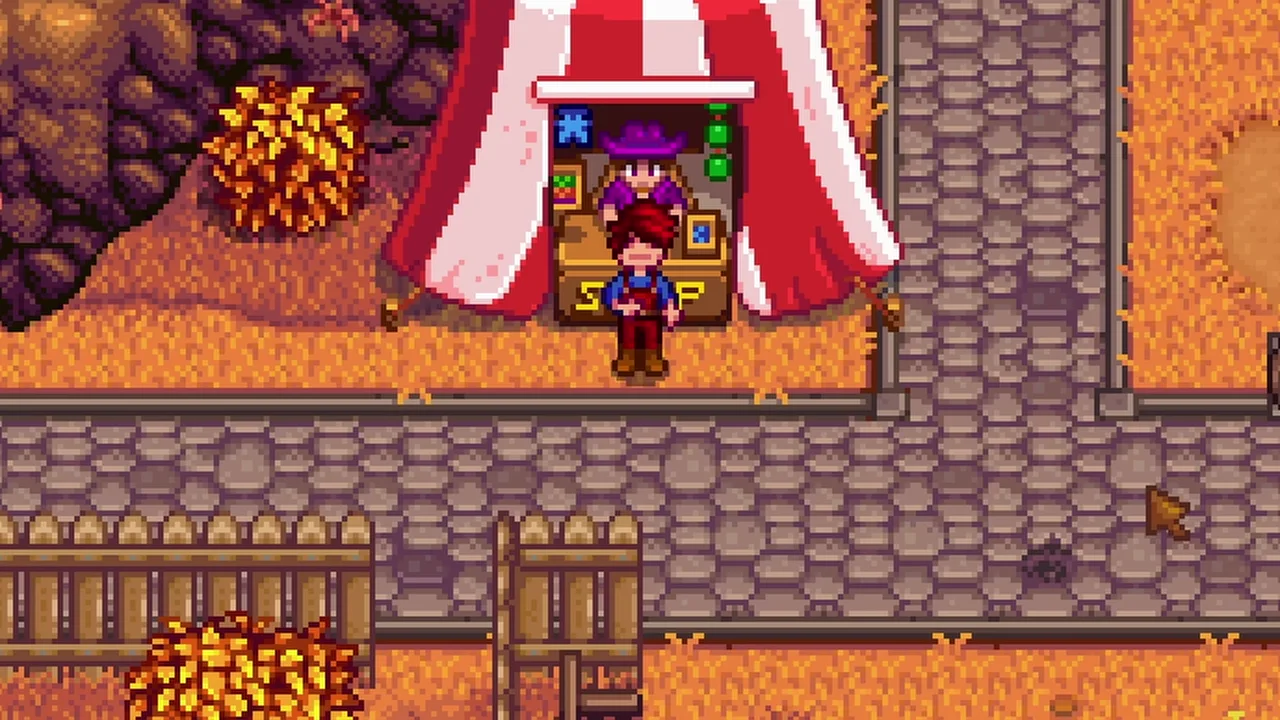
Use a Blobfish with Cloth in the sewing machine to make a Blobfish Mask. Once made, the hat can become part of a deliberately ridiculous outfit, including supported hat-wearing animals or characters.
Not every creature accepts hats, so check the specific target before making a whole matching wardrobe. Sea Urchins in Fish Tanks provide another well-known hat display. This entry is here for the fun of the result rather than farm efficiency. A cosmetic project is a perfectly good use of your resources when the reward is seeing the entire household dressed like an unhappy deep-sea fish.
For the next step, see my Fish Pond guide.
10. Arrive early at Skull Cavern
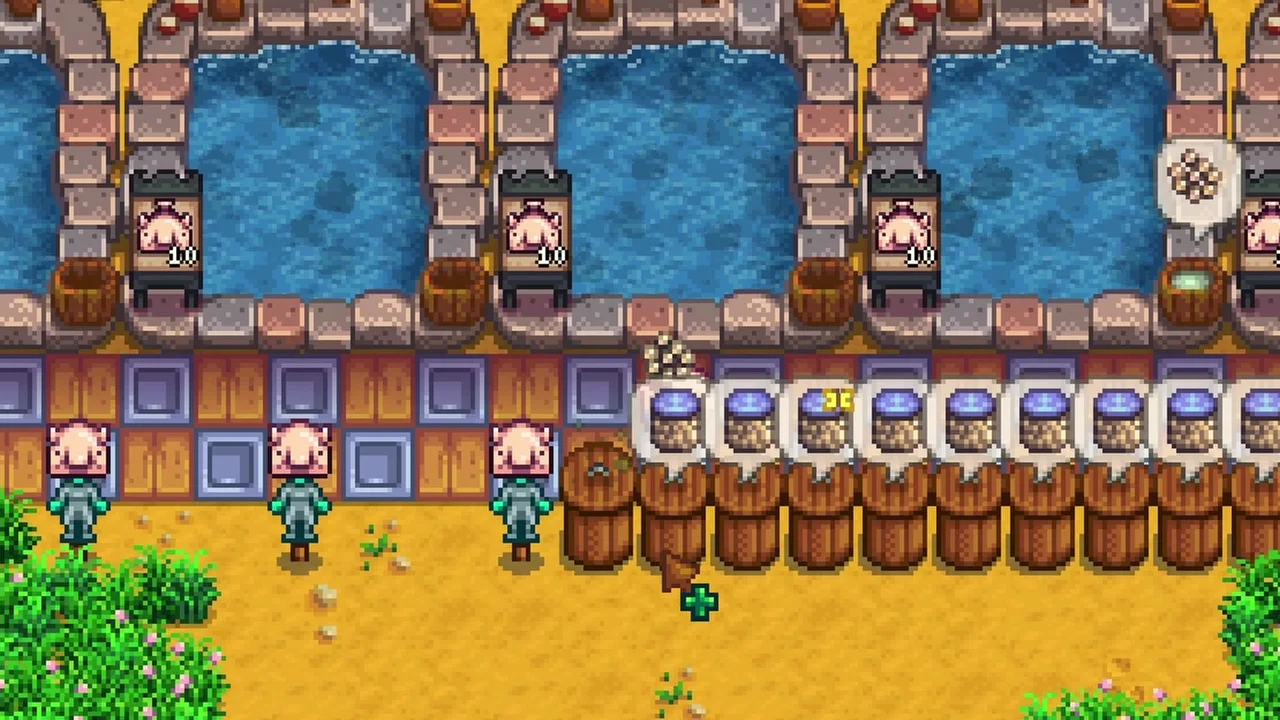
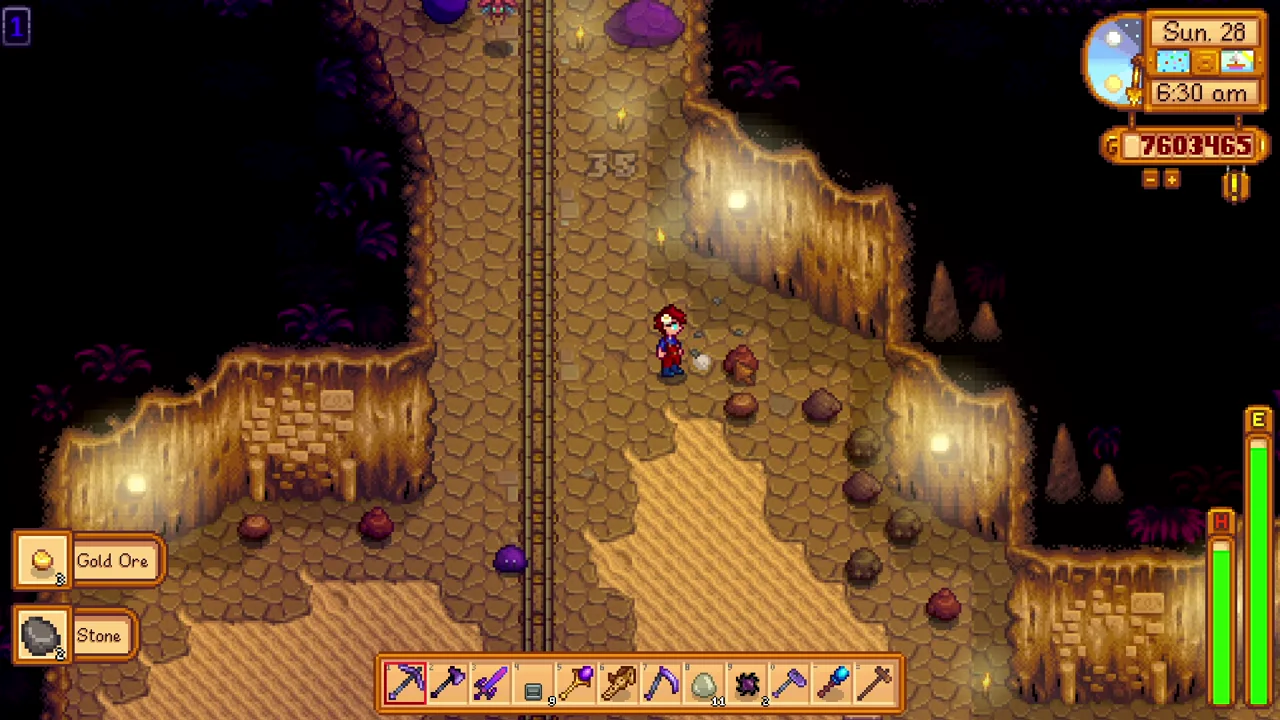
A Desert Warp Totem lets you start a Skull Cavern day before the bus begins its normal service. Keep it with your food, bombs, staircases, and return option so a good-luck morning does not disappear into preparation.
A Tent Kit can provide an overnight option in permitted outdoor locations, but the next day’s conditions and your supplies still matter. Neither early arrival nor sleeping nearby guarantees a successful run. Use these forbidden Stardew Valley tips to gain time, then spend that time carefully: watch your health, avoid slow floors, and leave room for the ore and equipment you hope to bring home.
For the next step, see my Iridium Ore guide.
11. Use quiet days deliberately
You can sleep early when the day has no activity you want to do. On an established farm, skipping to a harvest or a planned outing may fit your playstyle better than filling the evening with chores for their own sake.
Check crops, animals, birthdays, deadlines, and machine output first. A skipped day still advances those systems. Do not turn the Fortune Teller into permission to play only on the luckiest mornings: building, organization, and many other jobs do not need a perfect luck roll. The point is to choose the pace you enjoy while understanding what continues to change overnight.
12. Choose Artifact Troves or Omni Geodes
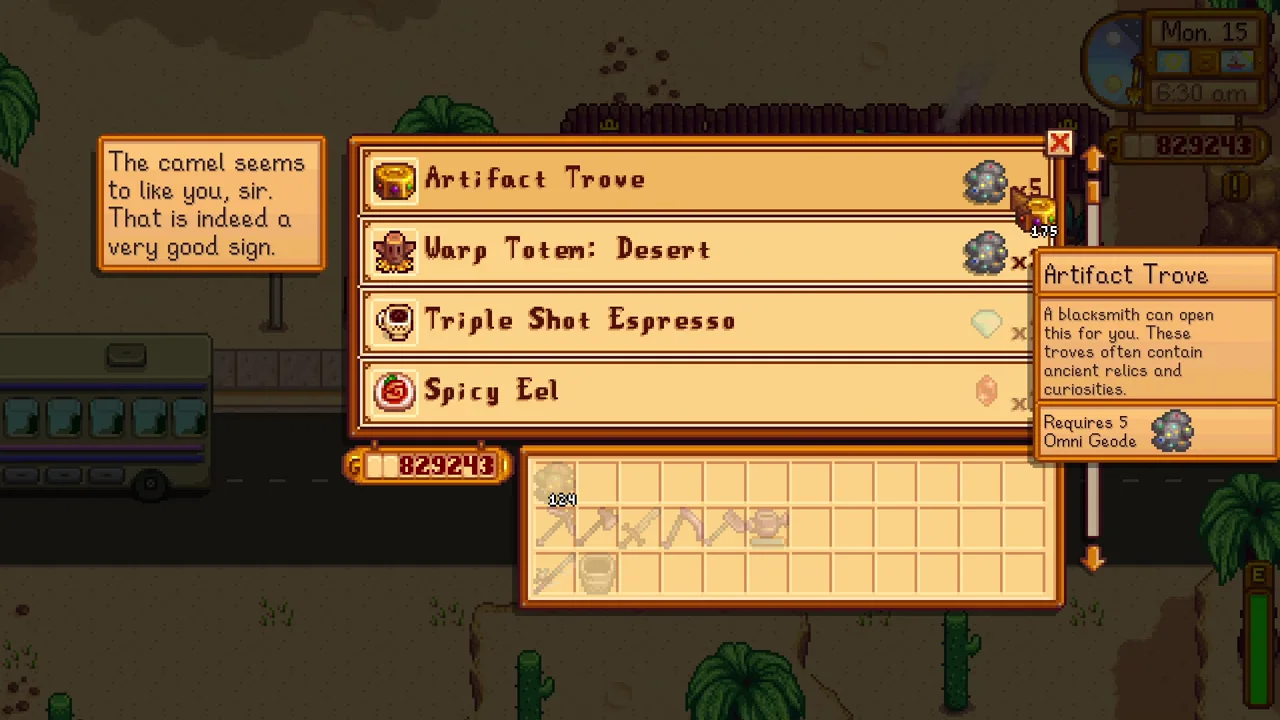
The Desert Trader exchanges five Omni Geodes for an Artifact Trove. Troves have a different loot pool and can help with artifact collection or duplicate sales after reading the Treasure Appraisal Guide. Clint charges to open them.
This is not a universal reason to stop opening Omni Geodes. Minerals, collection progress, and other trade uses may matter more to your farm. The video’s four-geode cost is incorrect, and a trove does not promise a rare high-value result. Compare the collection you still need with the possible contents before committing the whole stack to one route.
13. Plan Rain Totems around restrictions
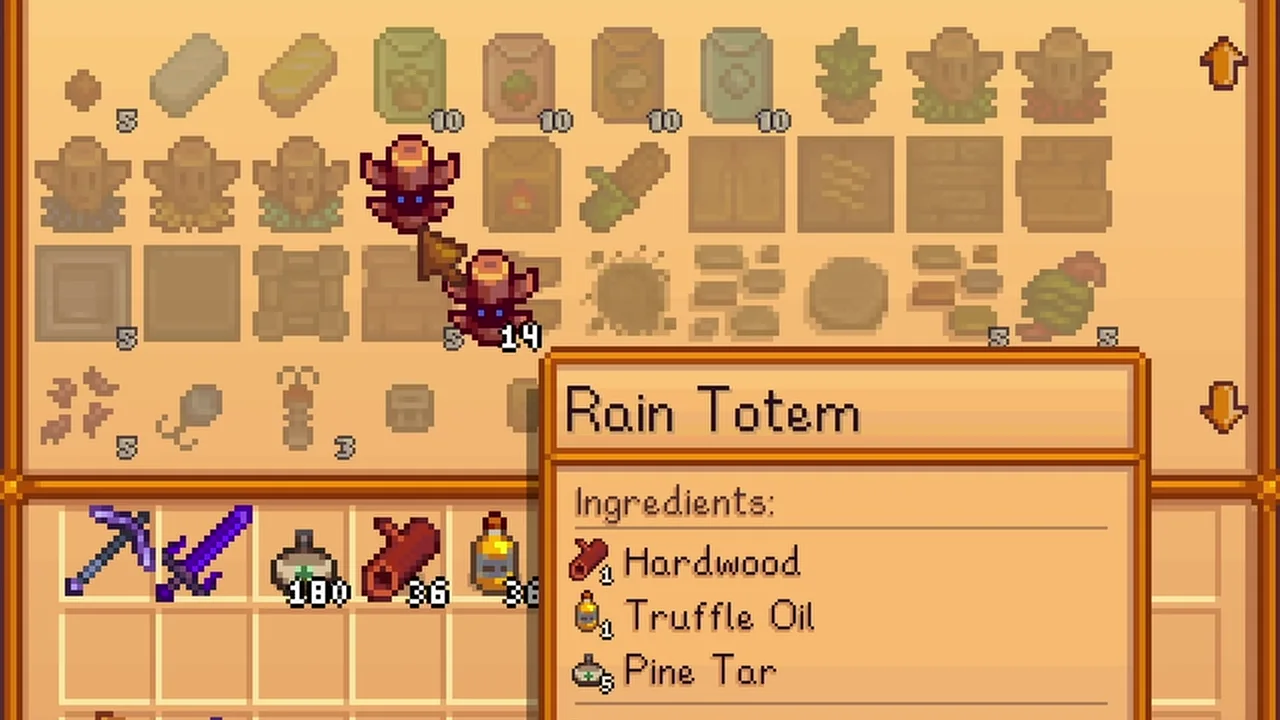
Rain Totems can help plan the next day’s weather for watering or a rainy-day goal. Read the restrictions before spending one: festivals, the first day of a season, location, and winter behavior can affect the result you expect.
They do not revive the old storm-chaining trick in current 1.6. A Rain Totem also consumes materials that might serve another project, so sprinklers remain the more repeatable solution for a permanent crop field. Of these forbidden Stardew Valley tips, this one works best as a targeted convenience for a particular day rather than the foundation of every watering plan.
14. Carry bombs for mining clusters
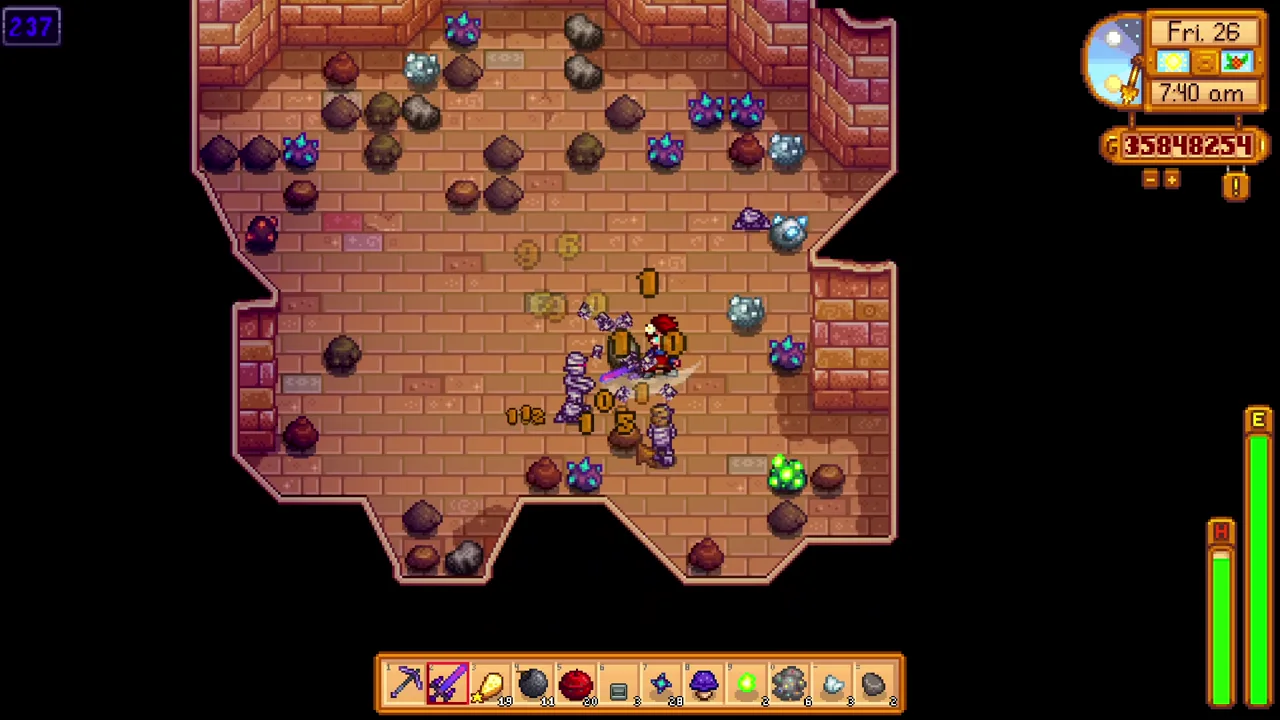
Bring bombs when a Skull Cavern run is likely to involve dense clusters of rocks or ore. Clearing a large area at once can save time compared with breaking every node individually. Carry a pickaxe for precision and cleanup as well.
Step away from the blast and keep your health comfortable. If bombs are scarce, use them on clusters that justify the cost instead of every isolated rock. The same preparation chest can hold staircases for slow floors and a reliable healing stack. Good mining supplies reduce wasted time, but they do not replace paying attention to enemies and escape routes.
15. Keep a practical healing supply
Salad is a convenient purchasable healing option at the Stardrop Saloon for 220g. Keeping a stack available can prevent an early energy shortage or a dangerous mining trip from ending simply because you forgot food.
It is not automatically the cheapest healing source on every farm, and one Salad will not refill every possible health bar. Compare it with foods you already produce and use the quantity your current needs require. The best result from these forbidden Stardew Valley tips may be a simple habit: prepare healing before leaving home, rather than discovering the empty slot when an enemy is already attacking.
Watch the full video

More Stardew Valley guides
Keep planning your farm with my beginner’s guide and money-making guide.
Mechanics references: Marriage, Rain Totem.