

This Stardew Valley luck guide starts with the mistake that causes most confusion: the fortune on the TV and the luck on your food are related, but they are not the same number. Luck can make a mining plan much stronger. It cannot turn every random outcome into the reward you want. Here is how I use it without blaming the spirits for everything.
This focused guide expands the relevant section of my original Stardew Valley YouTube video, with updated mechanics for version 1.6. Jump to the part you need below.
In this guideOpen contents
Daily luck and luck buffs are separate
Daily luck is rolled at the start of the day. The Fortune Teller reports an indication of it; watching the program does not create the luck bonus. Restarting that same day does not simply reroll the daily luck value.
Food, drinks and equipment can supply luck buffs. These are handled separately and do not affect every event that daily luck affects. That is why a guide should name the activity rather than just say “more luck means better everything”.
The practical Stardew Valley luck guide
For a Skull Cavern day, a good fortune plus a luck meal can support more ladder and treasure opportunities. For a building or decorating day, I usually care more about materials and time than the TV’s mood.
A bad-luck day is not a command to go back to bed. If the only thing stopping your next upgrade is wood, gather the wood. The TV helps choose between plans; it should not stop you having one.
| Activity | How I treat luck |
|---|---|
| Skull Cavern treasure search | Prioritise a good day and suitable buffs |
| Finding ladders while breaking rocks | Luck can help; breaking more rocks still matters |
| Opening ordinary geodes at Clint | Do not wait for luck to change their contents |
| Fishing treasure | Luck can help treasure chances |
| Farm layout and routine chores | Work whenever convenient |
Use food and drinks deliberately
This Stardew Valley luck guide separates food buffs from drink buffs: one of each can coexist. For example, you can combine a luck meal with Ginger Ale, or choose coffee when moving faster is more valuable to your route. Eating another buffed food can replace the existing food buff, so carry separate healing food that does not overwrite the effect you paid for.
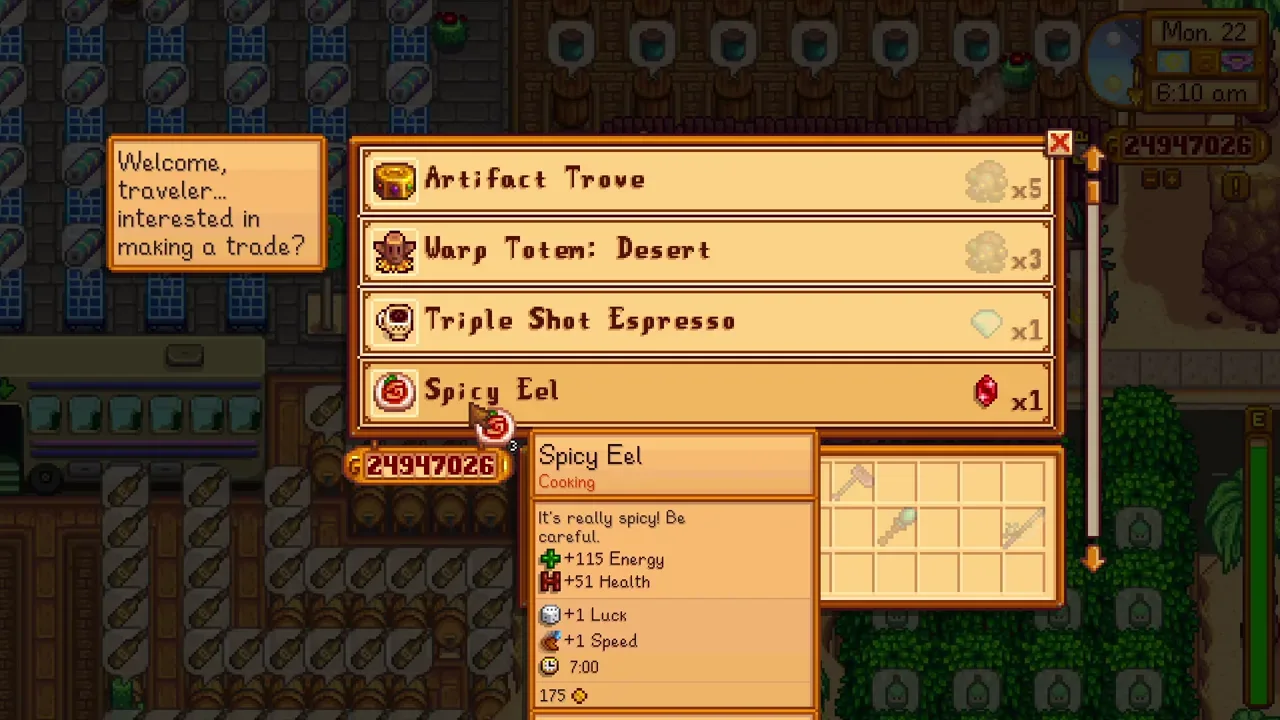
Spicy Eel is a practical mixture of speed and luck. Lucky Lunch and Magic Rock Candy offer different bonuses and costs. The best choice is not automatically the strongest tooltip; it is the one you can afford to use for the run you are actually doing.
The Special Charm and Lucky Rings
The Special Charm supplies a permanent daily-luck improvement after the Secret Note 20 exchange. A Rabbit’s Foot sitting in your backpack does not do the same thing. The foot is useful for the unlock, not as a portable lucky talisman afterward.
Lucky Rings provide a luck buff while worn. They take equipment space, so weigh that against survival, damage and loot effects. Two luck-focused rings are not much help if the resulting setup makes you abandon the run because you cannot stay alive.
Treasure rooms are opportunities, not promises
Increasing the chance of a treasure room does not guarantee a particular reward inside it. This is especially important if you are looking for an Auto-Petter. More treasure rooms mean more chances; the item can still refuse to appear.
Use Staircases to skip slow floors, bring enough healing and keep the route moving. Luck supports that plan, while preparation and time determine how many chances you actually reach. A perfect fortune does not compensate for arriving late with no food.

Do not delay ordinary geodes for a lucky day
The contents of ordinary geodes depend on the save and opening sequence, not on waiting until the TV likes you. Luck can affect finding geodes in the first place, which is a separate event from opening them at Clint.
This is the kind of distinction that saves pointless waiting. If you need to open a stockpile to work on the Museum, do it when the trip fits your plans. Do not turn a simple town errand into a week-long weather forecast.
Avoid using one blanket rule for every drop
The key point in this Stardew Valley luck guide is that daily luck and buff luck have different effects across fishing, panning, mining and some special drops. Crop quality is not simply determined by how friendly the spirits are, and a buff does not guarantee every rare item from an enemy.
When chasing one specific thing, check that item’s actual acquisition rules. My older scripts often compress a complicated system into one exciting sentence. For a written guide, the useful habit is to separate the event you are improving from the reward you are hoping for.
My default is straightforward: check the fortune, pick a sensible task, use a buff when it supports that task, and carry the equipment to finish it. That is enough to make luck useful without making it a superstition.
Watch the original video

Keep exploring the valley
Find more mining & combat guides, or continue with a related guide:
- How to Farm Thousands of Iridium Ore Fast in Stardew Valley (1.6 Guide)
- Stardew Valley Wallet Items: 12 Useful Unlocks and Powers
- 7 Ways to Get Prismatic Shards in Stardew Valley
Game-mechanics references: Luck, Special Charm, Lucky Ring, Spicy Eel, Ginger Ale. Original gameplay and video by MGaud.