

These advanced Stardew Valley tips focus on the decisions behind efficient play: preparation, timing, storage, travel, and choosing which chores to automate. My video uses “pro” as shorthand for an experienced player who likes optimization. It does not mean you need perfect fishing or a first-year Community Center to play well. The written guide adds the limits that matter, including why a pickaxe, an early scarecrow, and a safe storage chest still deserve a place in an optimized farm.
Watch the companion video on YouTube, or use the contents below. This guide includes late-game spoilers. Mechanics and availability can vary by game version and platform.
Advanced stardew valley tips: contentsOpen contents
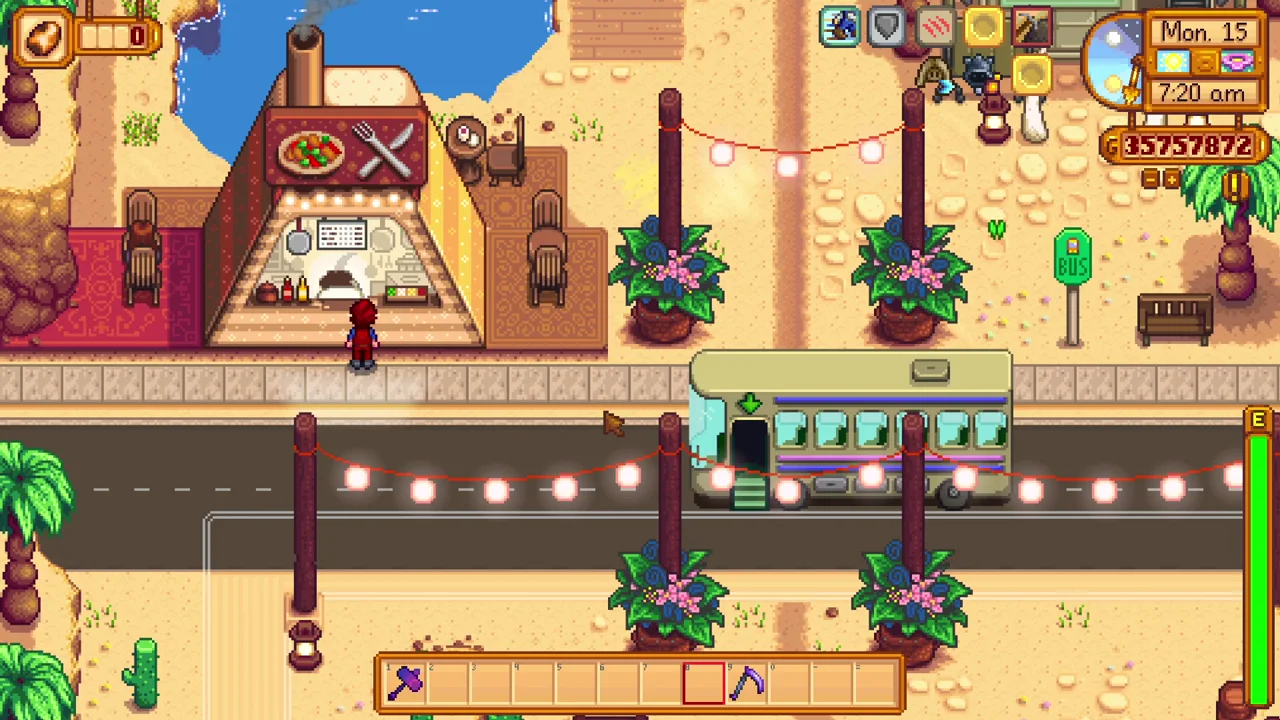
1. Stack Desert Festival meal buffs
A Desert Festival meal can add a special buff alongside an ordinary food buff and a drink buff. Choose the chef’s ingredients for the activity you intend to do, then bring the regular meal and beverage that complement it.
Do not assume every food stacks with every other food. Normal cooked-food buffs still replace one another, and the festival is a limited event. A seasoned fishing meal is also different from its ordinary version. These advanced Stardew Valley tips work best when you plan the exact combination for one useful outing rather than treating a temporary festival benefit as a permanent character stat.
2. Plan a good-luck Skull Cavern run
Use a favorable luck day for a prepared Skull Cavern trip when rare loot or depth is the goal. Pack healing, travel supplies, bombs, and staircases in advance so the morning begins with the run instead of shopping.
A good roll improves opportunities but does not guarantee thousands of ore or a fixed number of Prismatic Shards. Restarting an unsaved day is a personal choice that also discards its progress. You do not need to reset every imperfect run. Learn what caused the delay and improve the next attempt; preparation is a more useful habit than expecting a perfect outcome from the Fortune Teller.
For the next step, see my ring guide.
3. Use spare energy without exhaustion
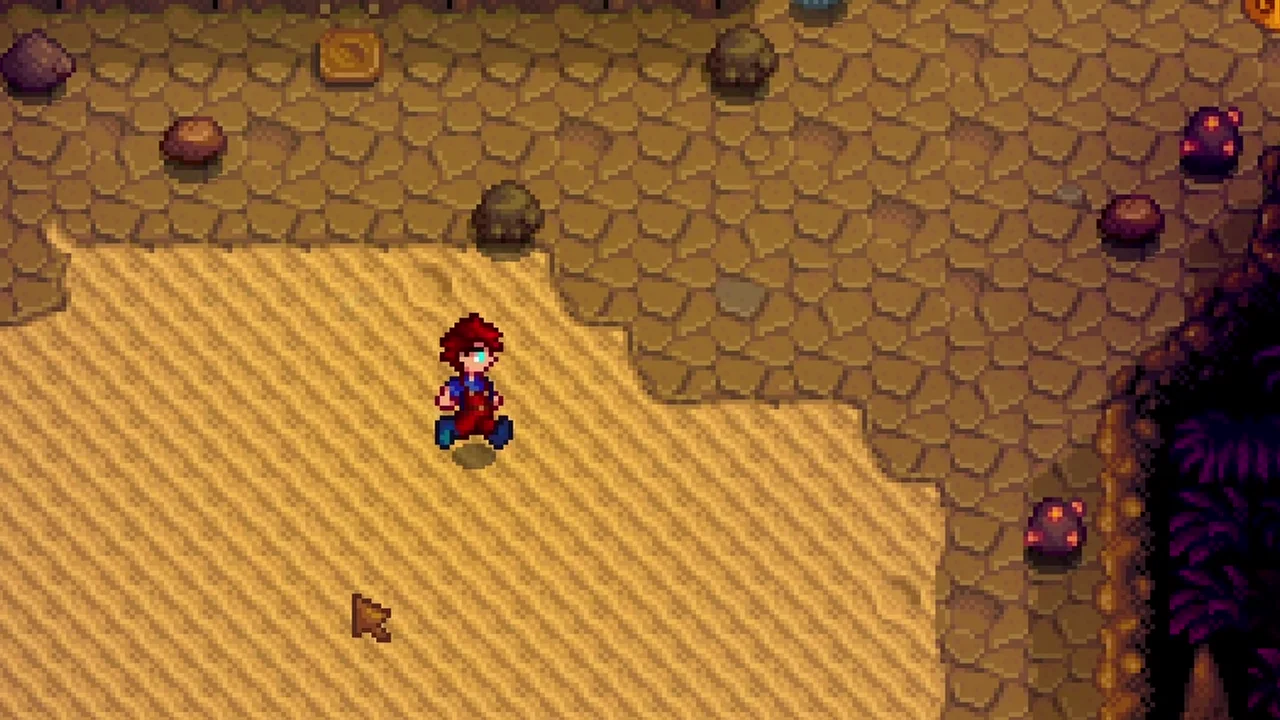
Spare energy can become useful wood, fish, or other progress near the end of an early-game day. Choose a nearby task that fits the time left, then stop before the cost of exhaustion outweighs the small extra gain.
You do not need to spend every last point to have played efficiently. Leave enough time to return and remember that food can support a longer productive session when it is affordable. The useful idea behind these advanced Stardew Valley tips is to notice unused opportunities without turning an otherwise enjoyable day into compulsory resource gathering.
4. Tap oak and maple trees early
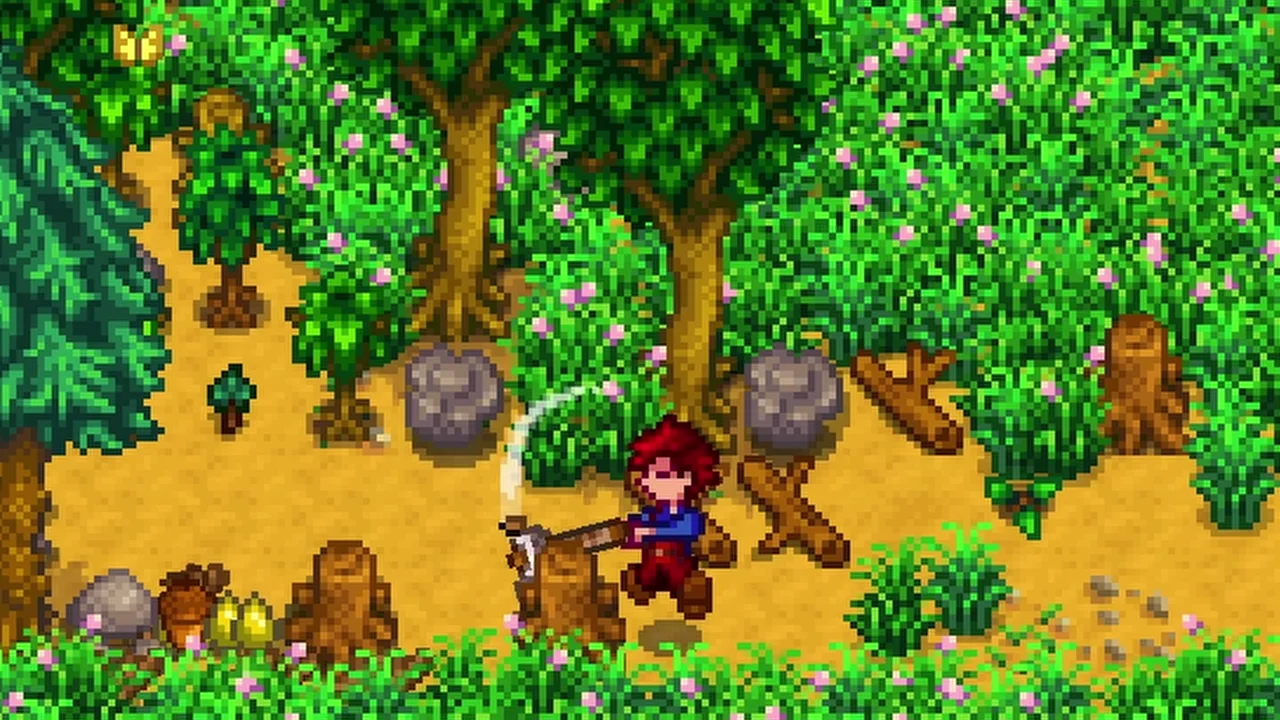
Tap oak trees before you need a large number of kegs. Oak Resin takes time to accumulate, so planting the trees only after unlocking the recipe creates an avoidable delay. Maple Syrup supports Bee House crafting and can be planned the same way.
Build a tree area you can walk through easily and mark the species so you collect the intended product. Keep a reserve for upcoming machine batches rather than selling everything immediately. You do not need an enormous plantation from day one; a modest supply started early can be more useful than a huge one planted after the bottleneck has already arrived.
5. Duplicate Jade for staircases
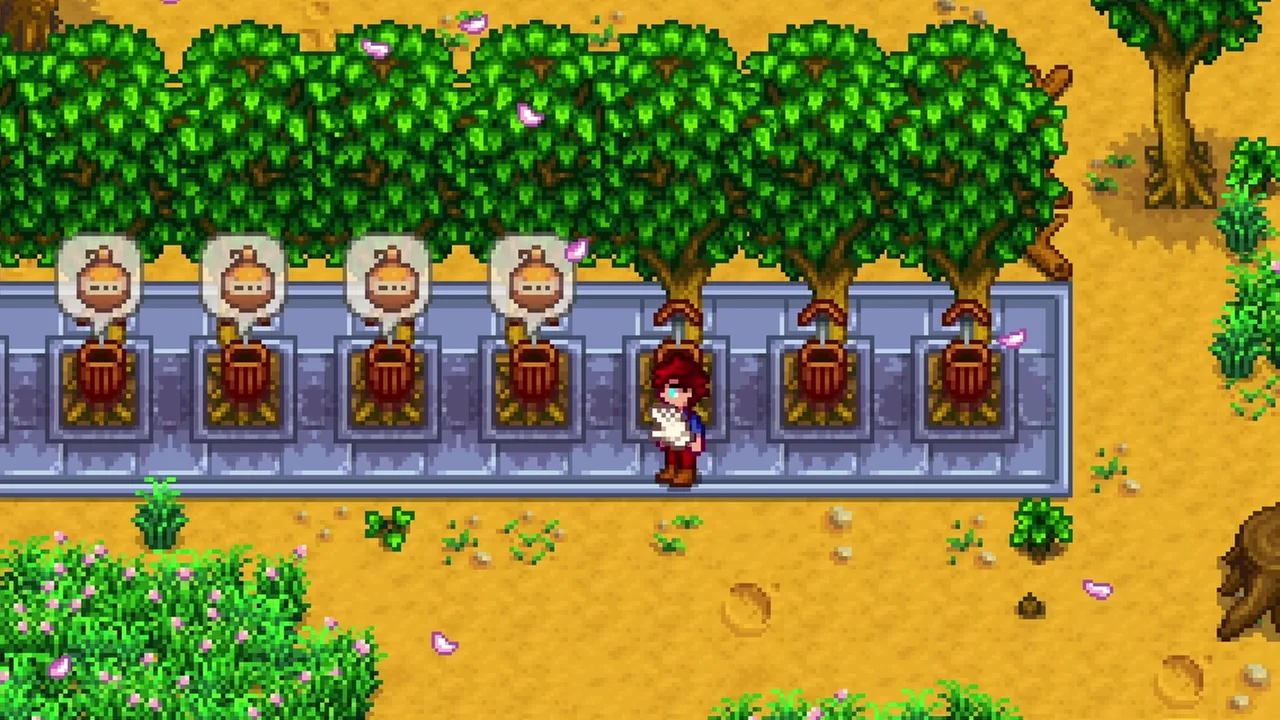
Crystalariums copying Jade support staircase trades at the Desert Trader on Sundays. This gives a Skull Cavern-focused farm more control over slow floors and the time spent reaching deeper areas.
There is no need to put every Crystalarium on Jade. Diamonds, Rubies, and other supported gems can serve different goals. Keep enough staircases for your planned trips, then allocate the remaining machines deliberately. This is one of the advanced Stardew Valley tips that rewards thinking about what the gem will help you accomplish, rather than judging it only by its direct sale price.
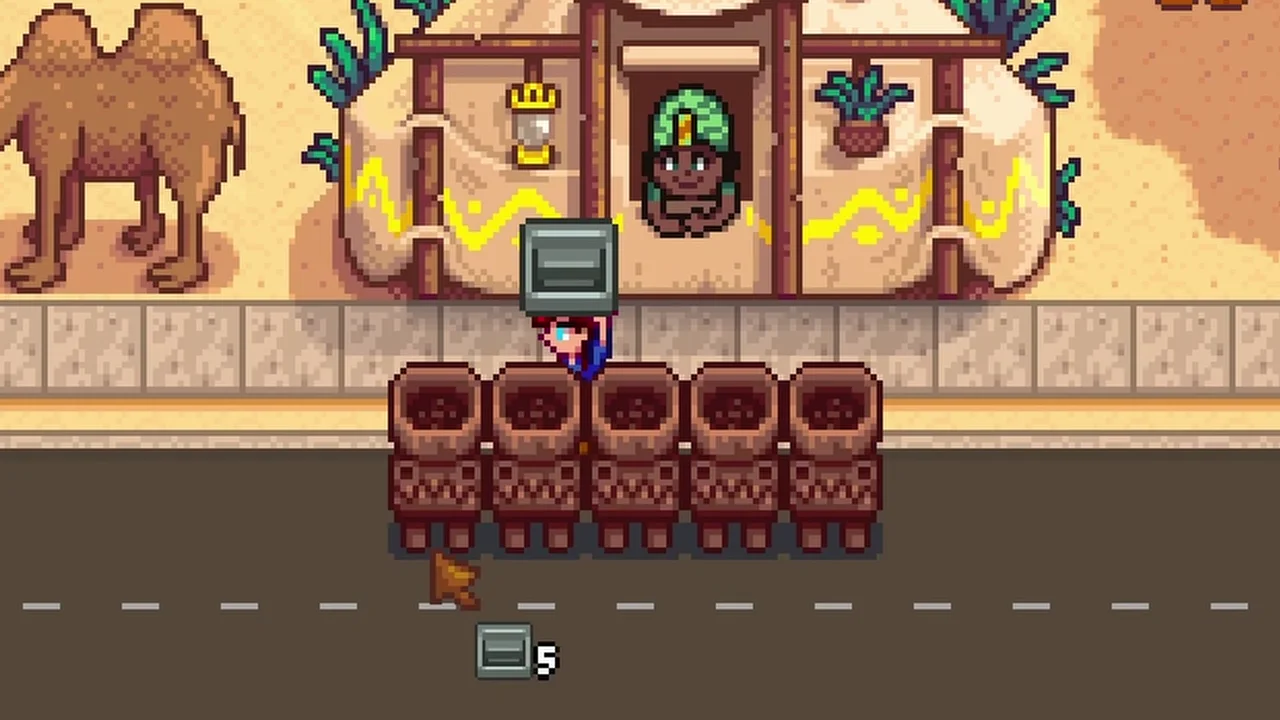
6. Practice Explosive Ammo alongside tools
Explosive Ammo can clear rocks quickly once you understand the slingshot’s controls and impact rules. Practice its use near suitable walls and enemies before relying on it during a valuable mining day. Carry conventional bombs for layouts where they are easier to use.
A pickaxe still matters for isolated nodes, cleanup, and areas where explosives are inconvenient. Skipping every upgrade is an opinionated challenge, not what all experienced players should do. Upgrade the tool when it saves repeated effort. Your best mining setup is the one you can use reliably under pressure, not the one that looks fastest in a short demonstration.
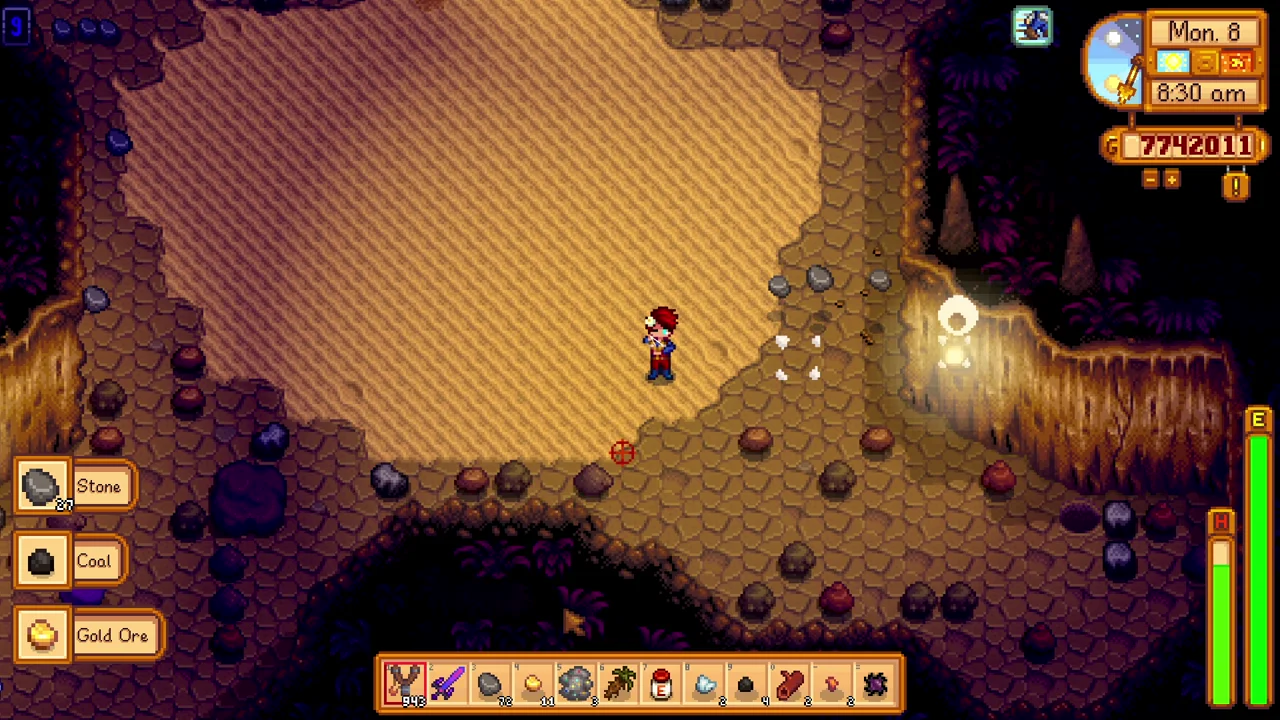
7. Understand animation cancelling
Animation cancelling can shorten certain tool animations on supported PC controls when timed correctly. The footage demonstrates the difference, but the effect and input method are platform-dependent. It is an optional technique for players who enjoy practicing precise inputs.
You can make strong progress without it through better routes, tool upgrades, food, and enchantments. Do not assume a console or mobile control scheme reproduces the same behavior. Among these advanced Stardew Valley tips, this is one to treat as an experiment after the basic routine works, rather than a requirement for a productive farm.
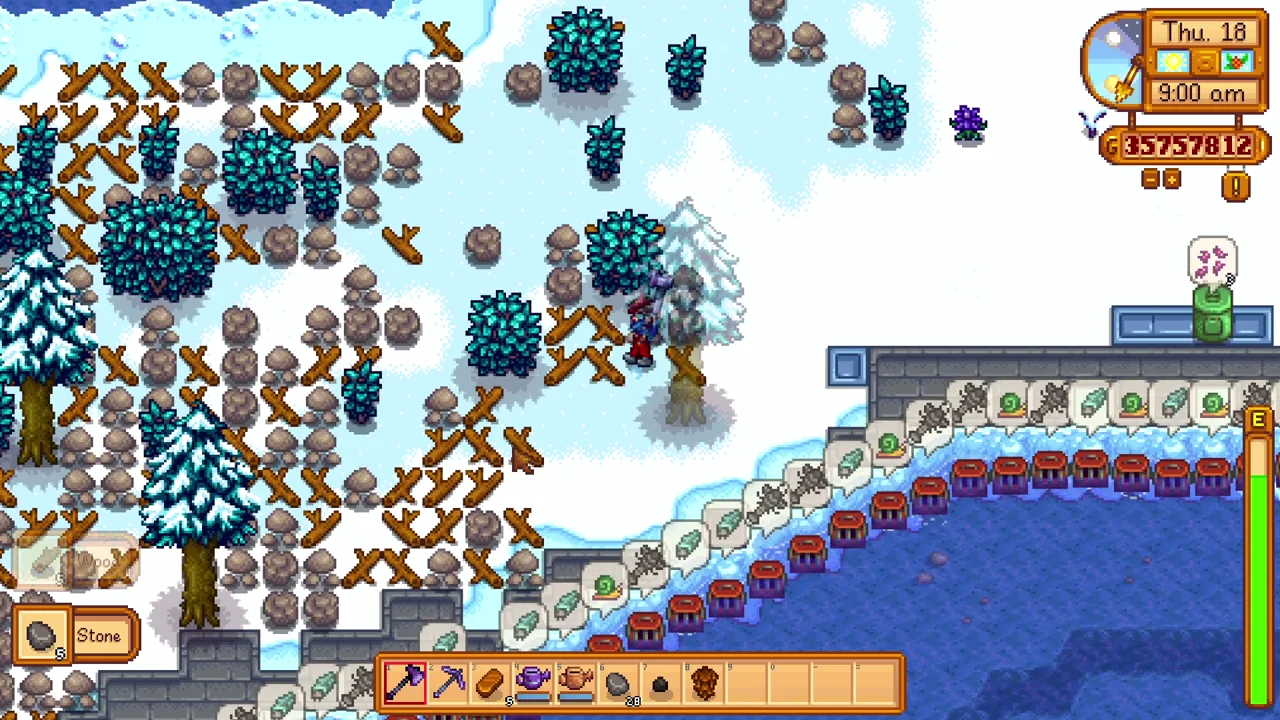
8. Load furnaces before bed
Load furnaces before bed so the overnight period contributes to processing. Keep ore and coal nearby, and collect finished bars on your next route past the machines. The same general planning helps other equipment when its timer fits the gap before you return.
Ore goes into Furnaces, not Crystalariums. Processing times still matter, so do not assume every possible item finishes overnight regardless of when it was loaded. Build enough machines to match your needs and leave a visible reminder beside the route you use most often. A reliable routine prevents supplies from sitting unused while you wait for the next crafting batch.
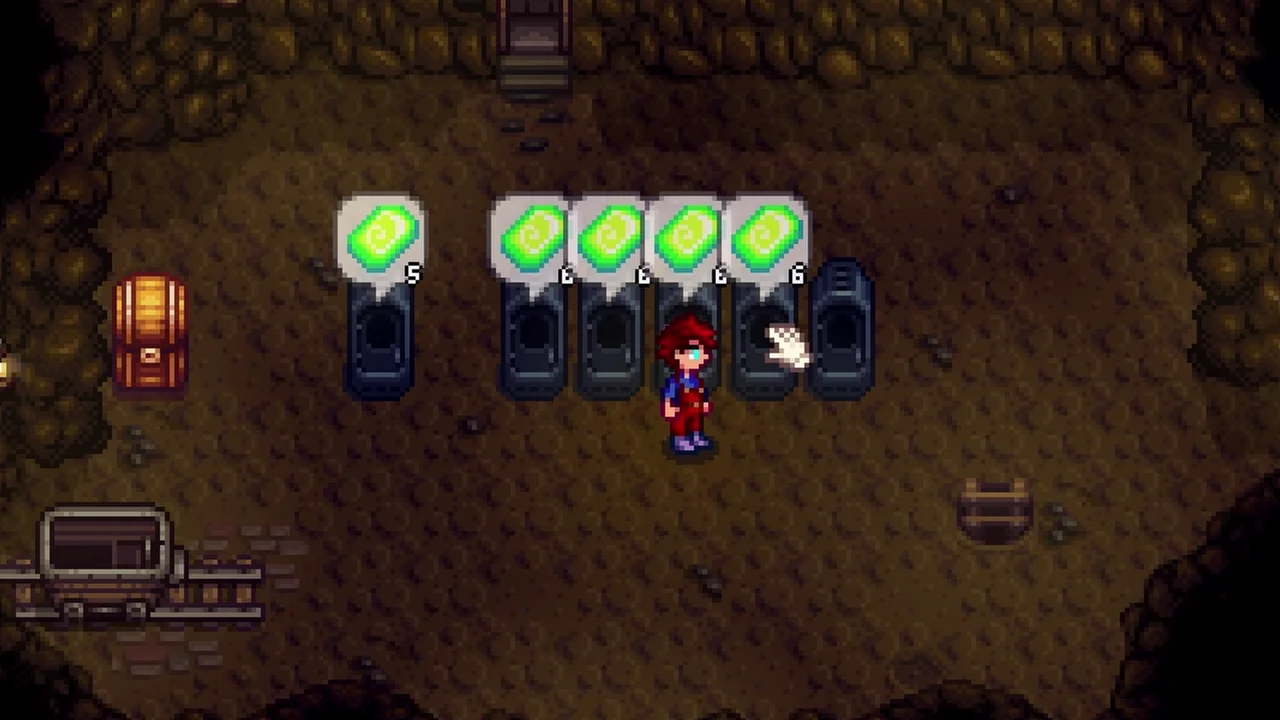
9. Build sprinklers as you progress
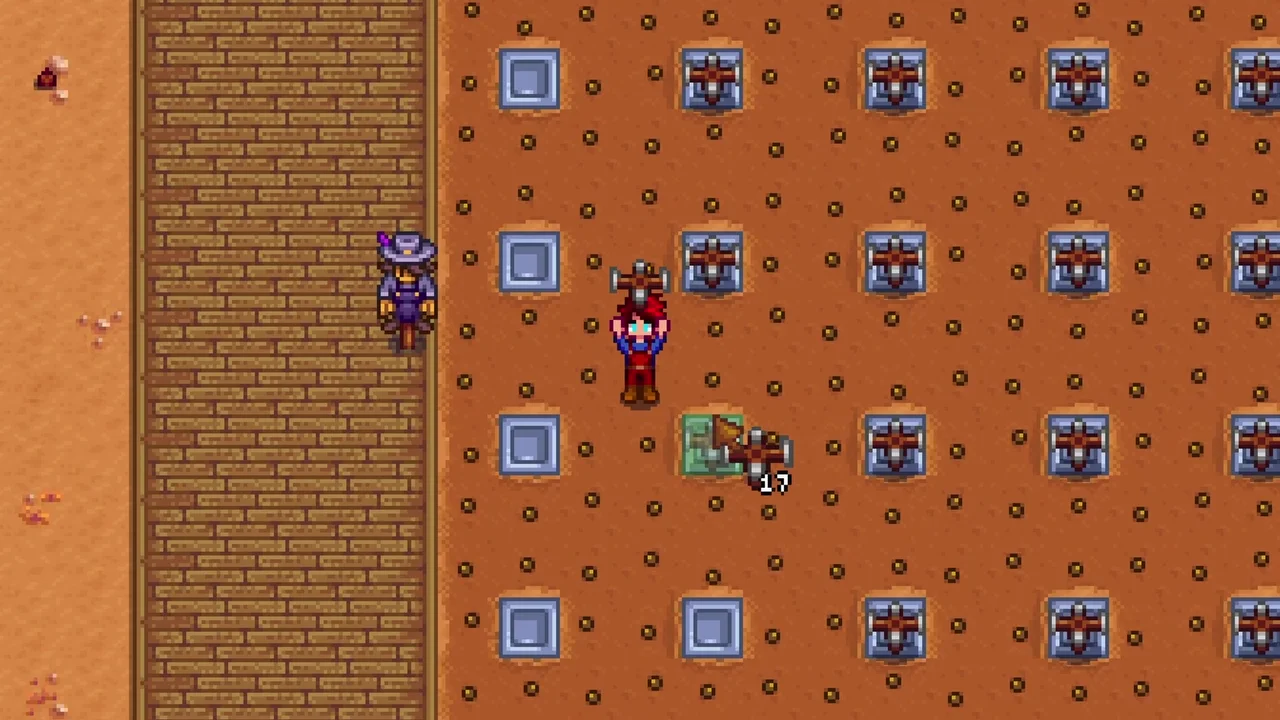
Sprinklers free time and energy for other activities. Start with the designs you can build and place them so their coverage is clear. Quality Sprinklers are a useful stage before the materials for large Iridium Sprinkler fields become comfortable.
An older sprinkler can still water a small extra plot, but do not expand planting simply because one more machine exists. Consider seed cost, harvesting, and processing as well as watering. These advanced Stardew Valley tips favor a field that works every day over a much larger one that creates an unmanageable harvest or blocks the paths you need.
For the next step, see my farming guide.
10. Time fish sales around Fisher
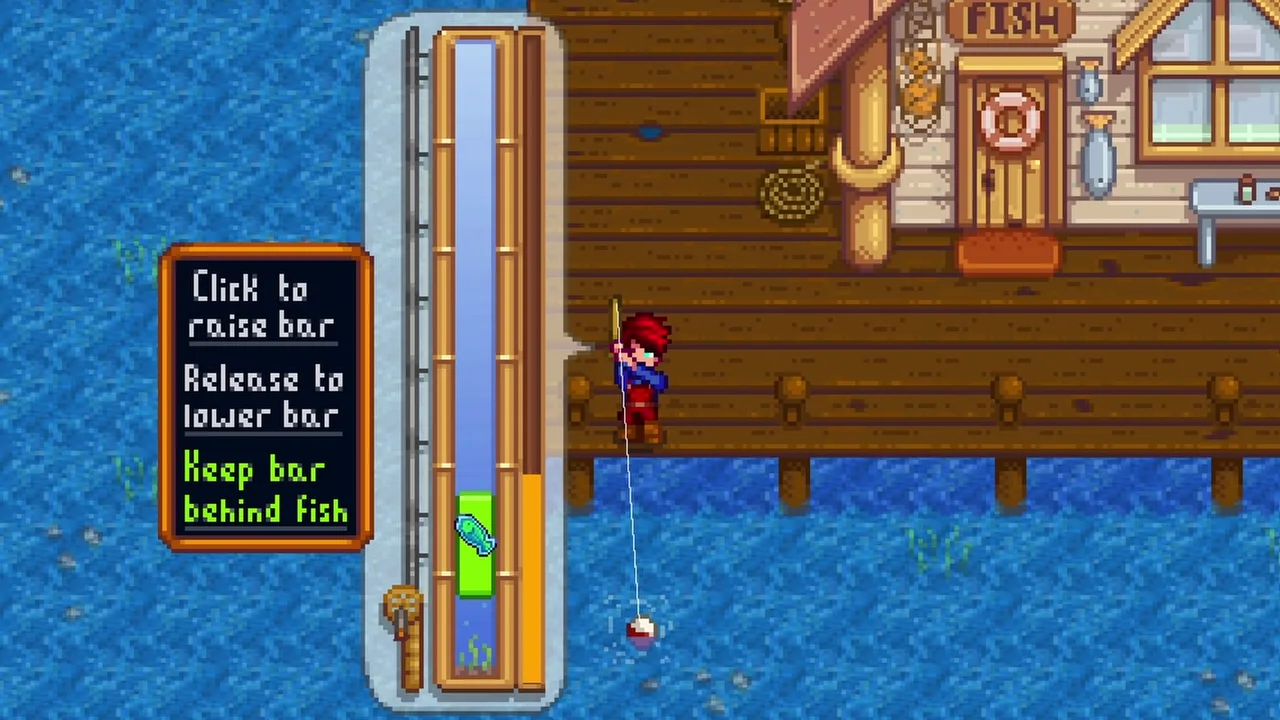
Fishing can fund early upgrades, and the Fisher profession raises fish sale value after you unlock it. If you are close to the level, keeping a batch of fish until the profession takes effect can improve the return on work you already did.
Keep enough cash for immediate needs, and do not treat a particular skill level before Spring 5 as a requirement. Perfect catches help progress but take practice. Choose fish you can catch consistently and compare the day’s earnings with other goals. The useful habit is timing a sale around an imminent bonus, not sacrificing an enjoyable first spring to match a speedrun.
11. Plan the Vault and desert unlock
The standard Vault bundles cost 42,500g in total and repair the bus after completion. That opens the desert and Sandy’s seed stock, including Starfruit for a summer planting plan. Remember that the seeds and processing equipment need a budget as well.
An early desert unlock is a challenge goal, not the definition of successful play. Plan a realistic crop area and avoid spending the entire reserve on access while leaving no money for seeds. Among these advanced Stardew Valley tips, the broader lesson is to price both the unlock and the activity you want to do after it.

12. Preserve useful tilled soil
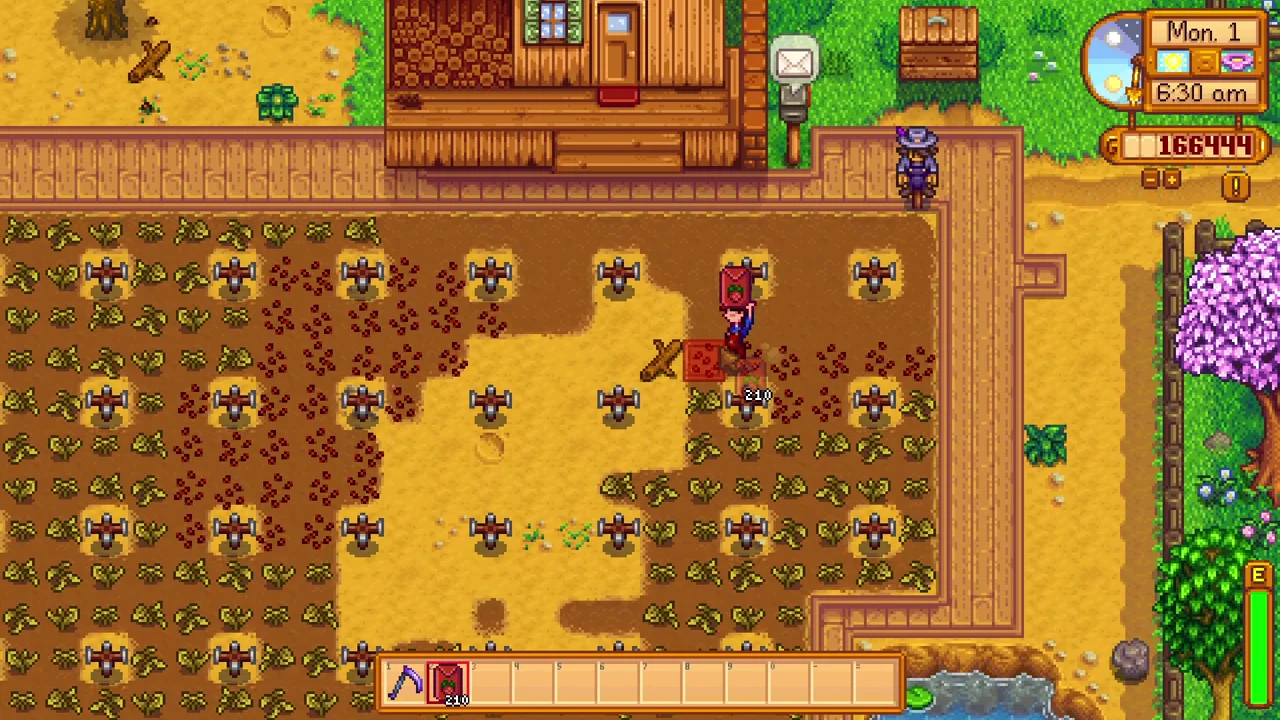
Plants can help preserve tilled ground across a season transition, reducing the work of preparing a large field again. Before clearing every dead crop, consider whether you want to reuse that plot and when the next planting begins.
Check the actual field after each transition rather than assuming every tile remains untouched through all of winter. Seasonal cleanup and debris can still affect the farm, and winter has useful crops and activities of its own in 1.6. Keep the route readable and prepare a hoe anyway. The saved work is a convenience, not a promise that you will never till another tile.
13. Skip slow infested floors
An infested floor can be slow when your goal is depth. Use a staircase if clearing every enemy would consume time better spent reaching more valuable floors. Keep a few staircases specifically for these situations if you cannot carry a large stack.
A dinosaur floor can still be worth exploring when you want a Dinosaur Egg or monster progress. Match the decision with the purpose of the run. These advanced Stardew Valley tips are about choosing deliberately: the fastest route is useful on a depth run, while a collection trip may justify stopping for something you would otherwise skip.

14. Weigh the cost of passing out
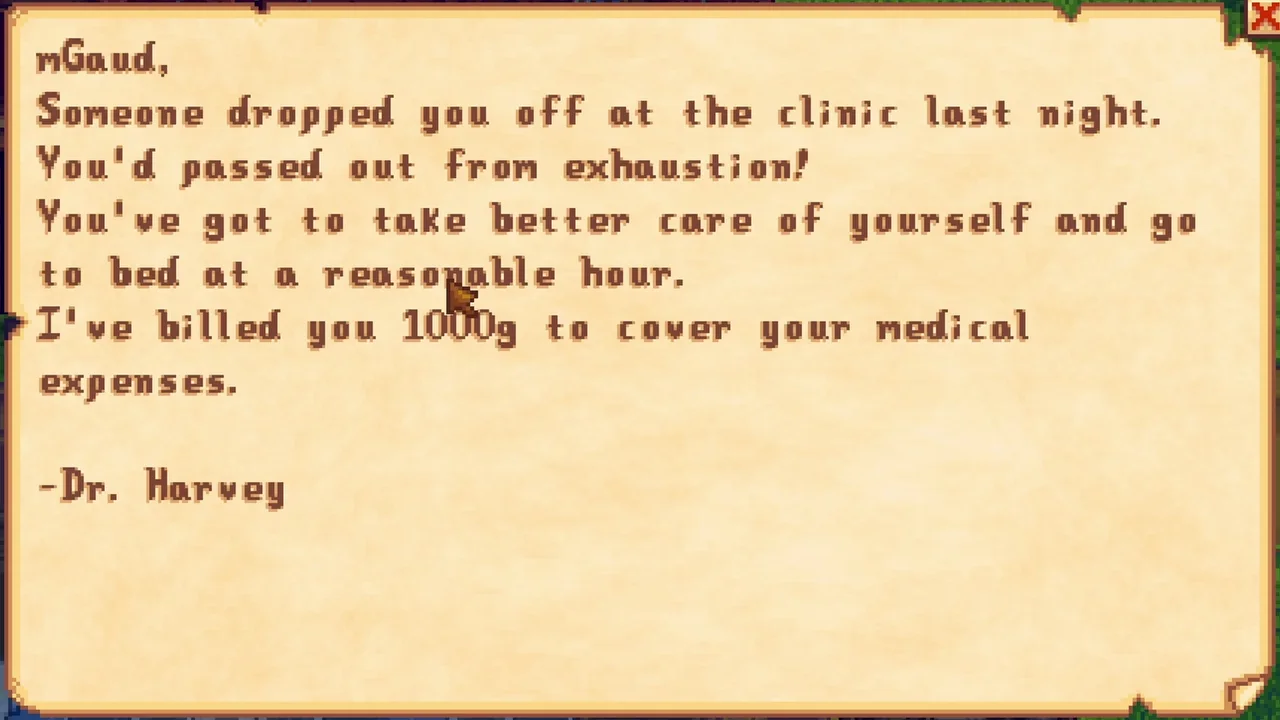
Staying out until 2am can buy more time for a valuable activity, but passing out has costs. It can involve a gold charge and affect the next morning’s energy. Losing all health in combat is a different event and can involve item loss.
Do not call passing out a free teleport without accounting for those consequences. An established farmer may decide that the extra mining time is worth it; a new farmer might prefer a safer return. Carry an exit option and make the choice before a dangerous situation. Planning the tradeoff is the advanced habit, not refusing to go home under any circumstances.
15. Practice a club’s special attack
Clubs have an area special attack that can be powerful when used well. Practice the timing and compare it with the sword or dagger style you already know. Weapon stats, enchantments, enemy behavior, and control comfort all affect the result.
A Wooden Mallet is not universally better than a Lava Katana simply because both exist in the video’s comparison. Choose equipment around a real combat test rather than a dramatic ranking. These advanced Stardew Valley tips should leave you more consistent in dangerous areas, with enough healing and space to react when the special attack is unavailable.
16. Plan Community Center seasonal items
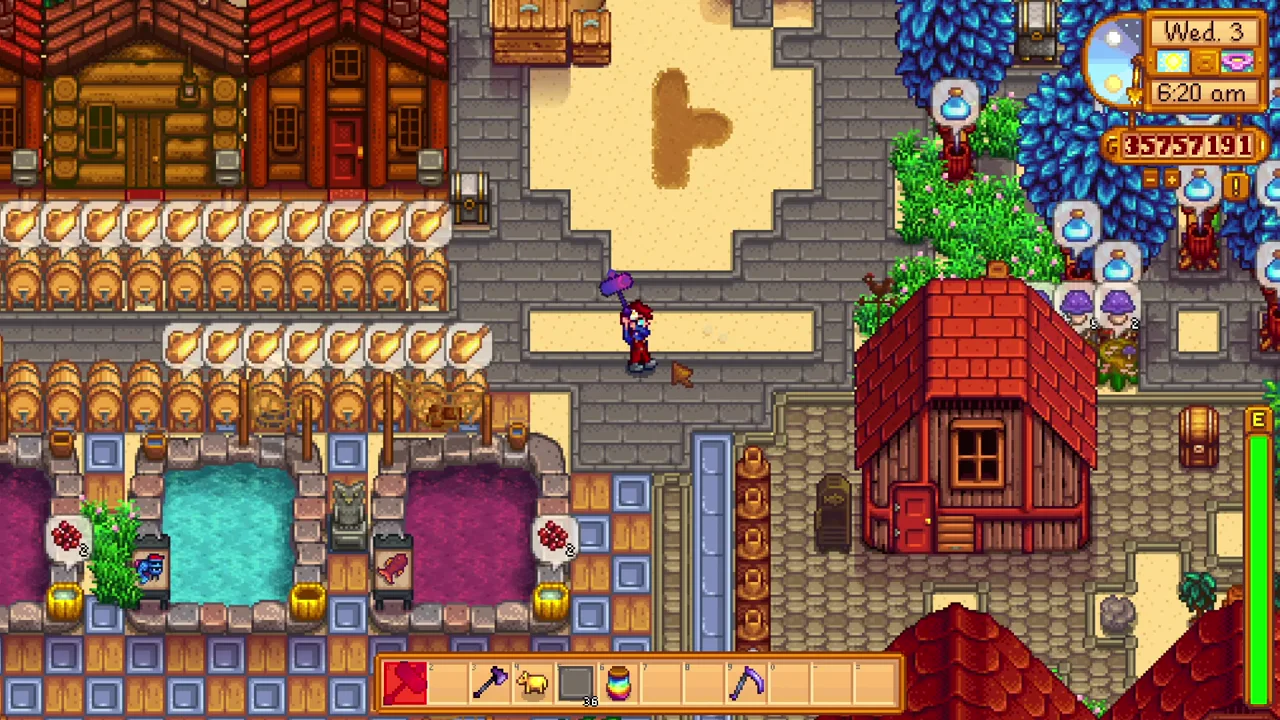
Track seasonal Community Center items early so you do not miss a crop, fish, or forage needed much later. Keep a small labeled bundle chest and check the requirements when entering a new season.
A first-year completion is optional, and some requirements depend on route choices or availability. Ginger Island is a useful later goal after the Community Center or Joja route and boat repairs, but winter is not wasted if you arrive later. Use the season for mining, friendship, winter crops, and organizing the farm. Good planning creates options rather than imposing a deadline on every save.
For the next step, see my Community Center guide.
17. Choose animals for your goals
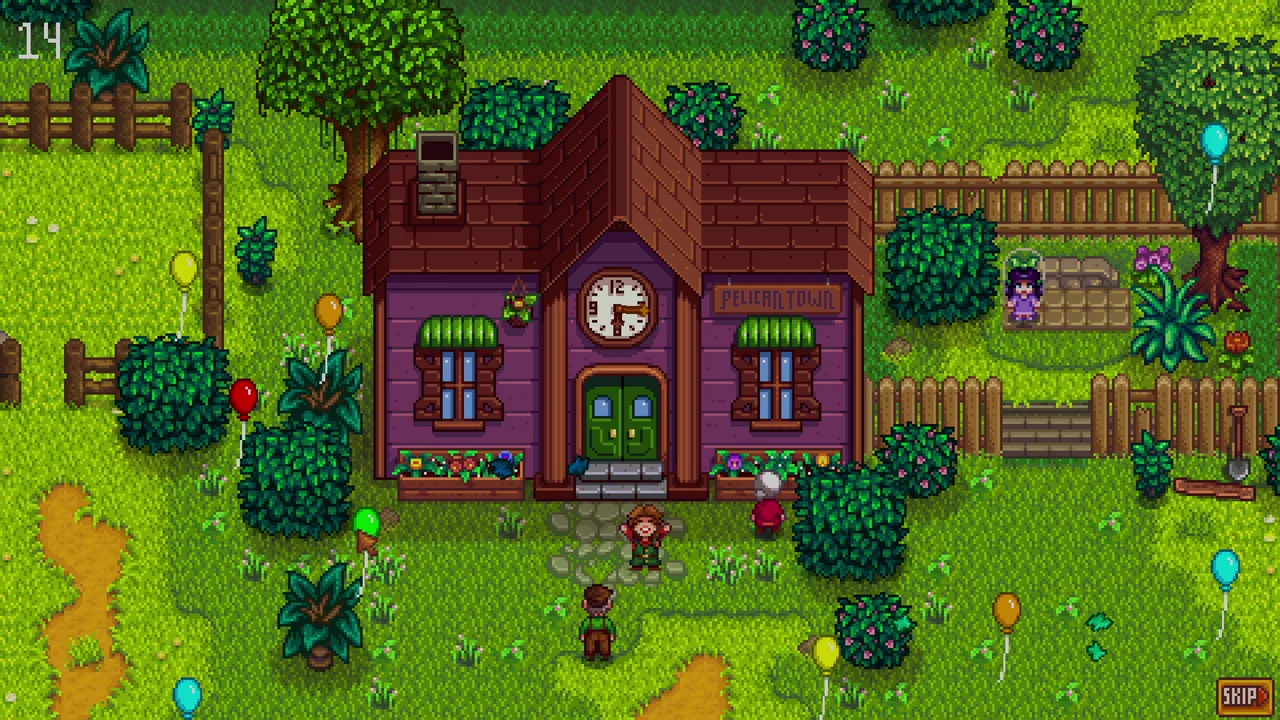
Choose animals around bundles, income, gifts, and the routine you want. Rabbits can provide Rabbit’s Feet, pigs can find truffles outside in suitable conditions, and other animals supply useful produce and processing options.
Chickens and goats are not useless simply because one particular farm favors rabbits and pigs. Buildings, feeding, friendship, weather, and Golden Animal Crackers change the comparison. Start with the animals your current goals require, then specialize later if you enjoy it. These advanced Stardew Valley tips support a deliberate animal plan instead of buying every expensive animal or dismissing inexpensive ones automatically.

18. Store mine loot in a chest
Place a chest in a safe, convenient area near the Mines entrance to hold food, equipment, and overflow. It reduces trips home and lets you keep a valuable item without relying on loose drops remaining through a reload.
Do not use the video’s dropped-item trick as permanent storage. Location changes, quitting, and different game behavior can make that unreliable. A cheap chest is the more dependable option. Label it and clear it on a regular route so it does not become another forgotten pile. Saving inventory space is useful only when the stored supplies are still there when you return.
19. Use Rarecrows without delaying protection
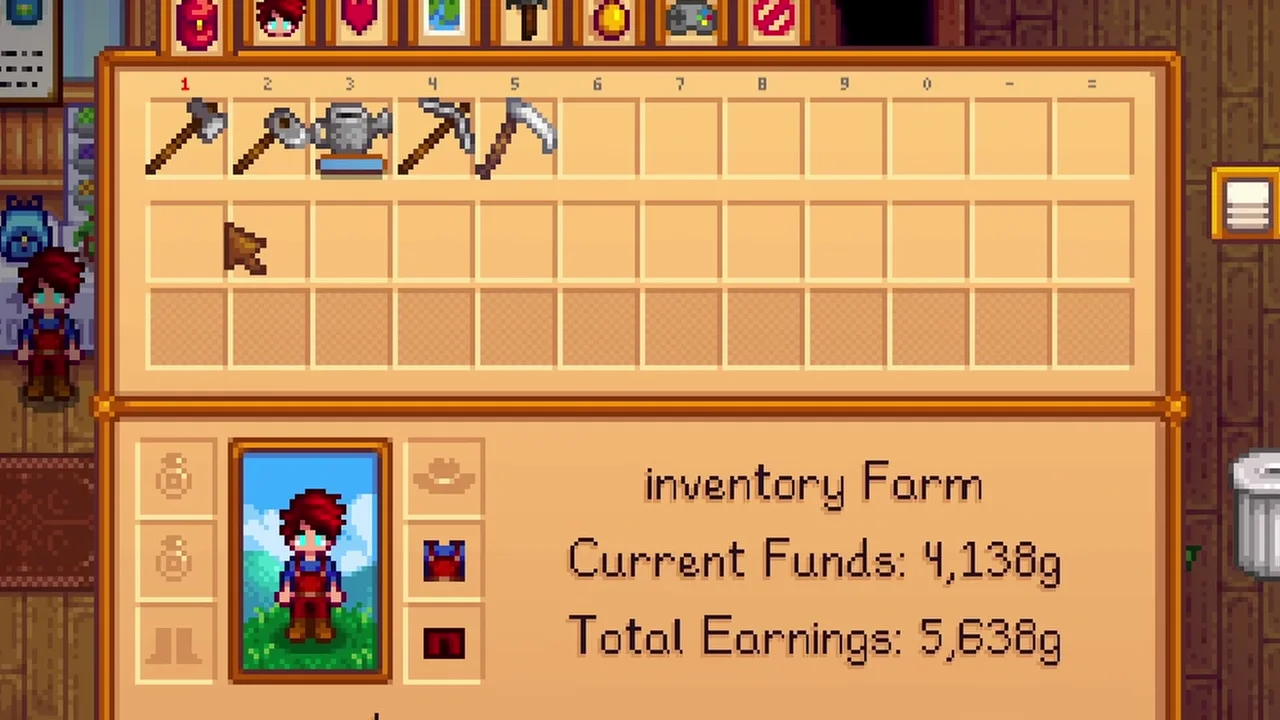
Rarecrows provide crop protection as well as decoration, and the Casino offers the Alien Rarecrow after you unlock access and obtain the required coins. Use it if you enjoy that route and want the cosmetic option.
Do not delay early crop protection until the Casino becomes available. Crafting an ordinary scarecrow is a practical use of resources, and later rarecrows do not make it a mistake. Place protection around the actual planted area and check the coverage after expanding. These advanced Stardew Valley tips are intended to prevent losses, not turn a late-game decorative choice into an obstacle for a new farmer.
20. Upgrade the tools you actually need
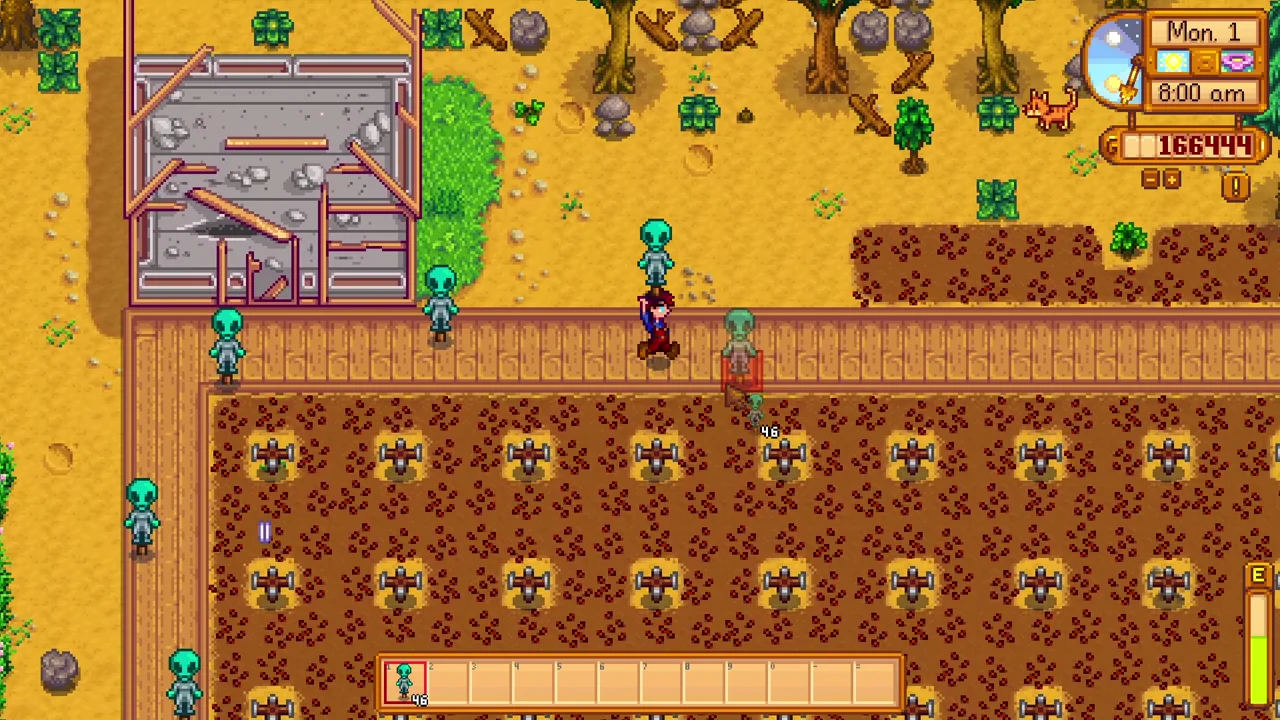
Upgrade tools in the order that solves repeated problems on your farm. An axe can unlock resources, a pickaxe makes mining more convenient, and a watering-can upgrade can help before sprinklers cover the field. Schedule upgrades around weather and the jobs you need to do.
The pan and trash can have useful upgrades too; their value depends on your activities. Avoid spending scarce bars simply because an upgrade is available, but do not refuse every upgrade to imitate a highly specialized playthrough. The most useful advanced Stardew Valley tips help you recognize your own bottleneck and remove it with the least unnecessary work.

Watch the full video

More Stardew Valley guides
Keep planning your farm with my beginner’s guide and money-making guide.
Mechanics references: Community Center, Luck.