

Stardew Valley spending mistakes often begin with a sensible purchase made at the wrong time. A backpack, sprinkler, or cellar can be useful while still delaying the goal you care about most. These ten examples from my video explain the tradeoffs behind the purchase. Some of the video’s absolute advice needs context, and the community-upgrade order is corrected below. Your farm is not ruined by choosing convenience; the aim is to make that choice deliberately.
Watch the companion video on YouTube, or use the contents below. This guide includes late-game spoilers. Mechanics and availability can vary by game version and platform.
Stardew valley spending mistakes: contentsOpen contents
1. Compare Quality and Iridium Sprinklers
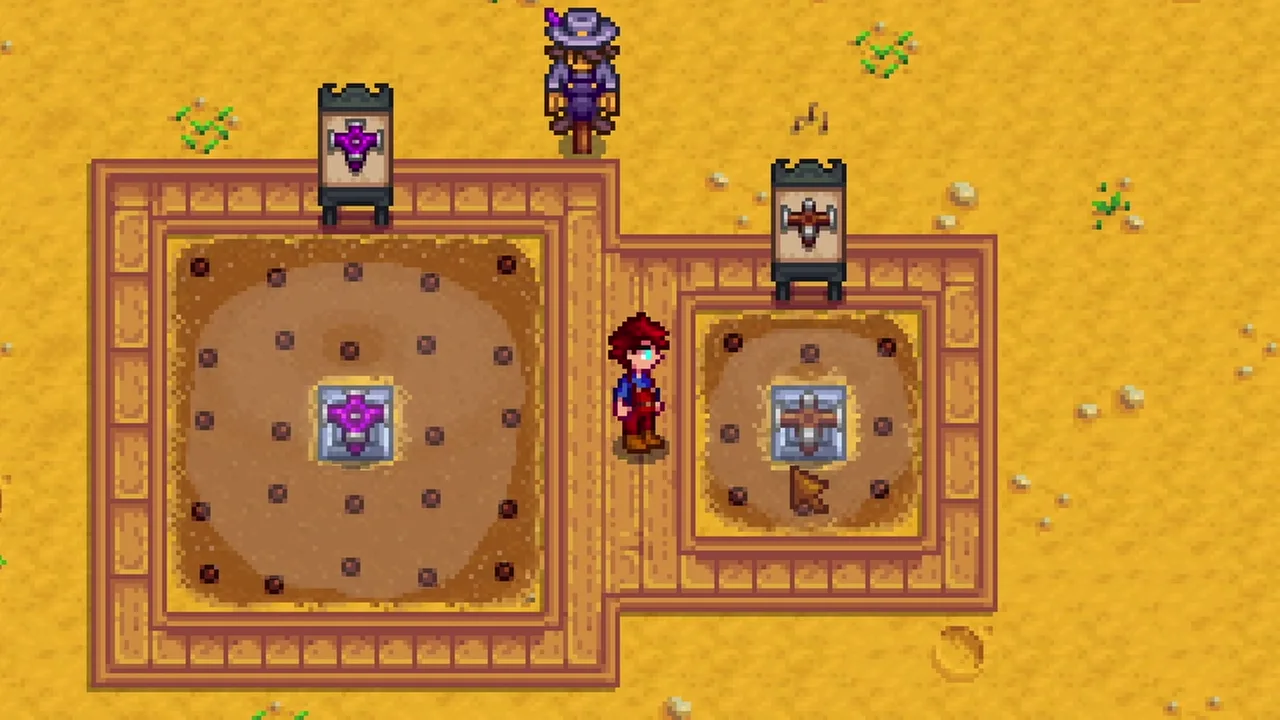
Compare a Quality Sprinkler with an Iridium Sprinkler in the layout you actually intend to build. Quality Sprinklers water eight surrounding tiles; Iridium Sprinklers water twenty-four. The basic Sprinkler waters four, so calling the eight-tile model a regular sprinkler can create confusion.
The benefit is not simply three times as much usable farm space. Bigger coverage also means fewer machines to place and a different layout, while batteries and iridium may be scarce. Quality Sprinklers can carry an early farm perfectly well. Upgrade when the wider coverage helps your plan, rather than treating every older sprinkler as waste. This is one of the Stardew Valley spending mistakes that disappears when you price the whole layout.
For the next step, see my farming guide.
2. Budget for strawberries and a backpack
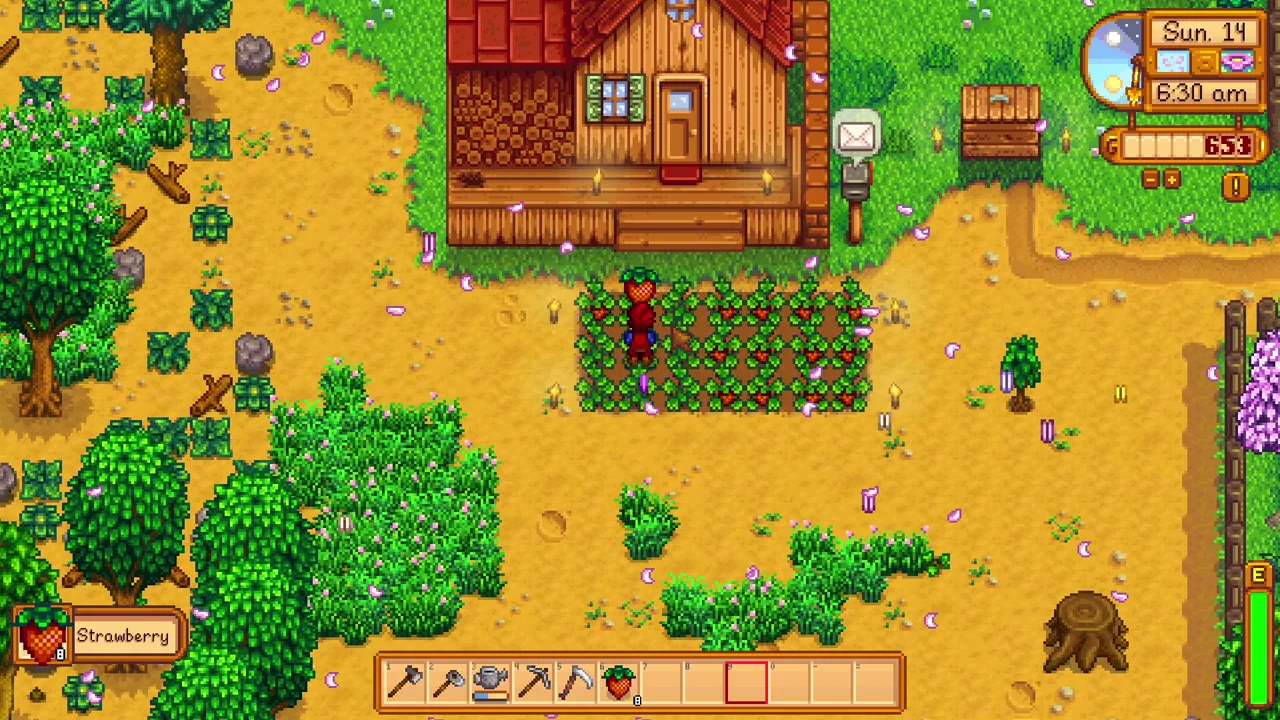
Before the Egg Festival on Spring 13, decide how much money you want available for Strawberry Seeds. A 2,000g backpack upgrade can compete with that purchase, but extra inventory space can also help you earn more from fishing and mining before the festival.
There is no universal rule to delay the backpack. Compare the time left, your expected income, and the crops you can comfortably water. Use a convenient chest to reduce inventory pressure if you choose to wait. Buy enough seeds for a manageable field instead of turning a profitable crop into a daily energy problem. The useful lesson is to budget for both goals, not to label one purchase wrong.
3. Save Dragon Teeth for the Island Obelisk
Dragon Teeth are needed for valuable island upgrades, so keep a reserve before spending them on one-use travel or repeated innate-enchantment rerolls. The Island Obelisk is a permanent travel option and can be a better long-term priority once you can afford its other costs.
Island Warp Totems can still be useful for a particular trip. Compare the convenience with your current supply instead of refusing to use any consumable. Collect teeth and suitable monster drops while exploring the Volcano, and organize them with the rest of your obelisk materials. Preventing Stardew Valley spending mistakes is often about preserving the rare ingredient that is hardest to replace.

4. Organize storage with chest signs
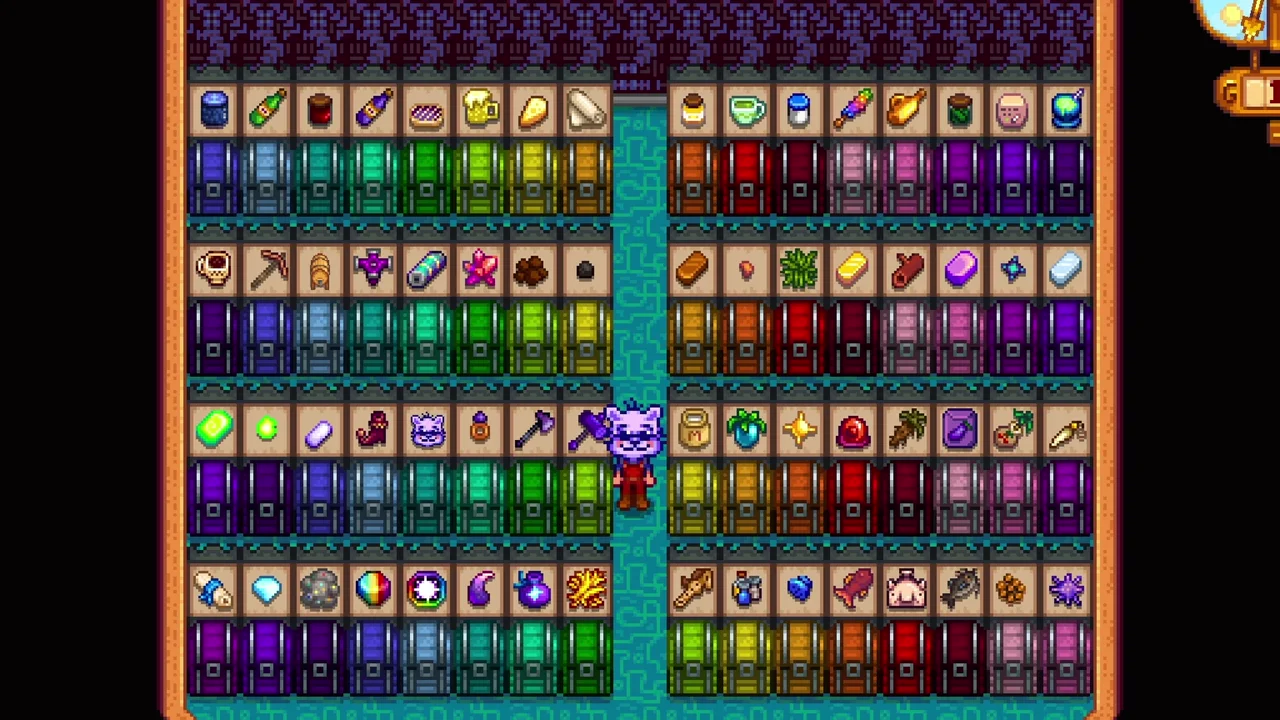
A chest is only useful storage if you can find what is inside it. Group tools and materials by the activity they support: mining, fishing, crops, animal processing, or construction. Use chest colors and signs so the organization remains obvious when you return after a few days away.
Put supplies near the place you use them and keep a small reserve of seasonal or unusual items. You do not need to hoard every object forever. Sell surplus when you have a reason, and give temporary items a clear destination. The aim is to stop buying or gathering something again simply because it disappeared into an unlabeled box.
5. Sell wine before aging every bottle
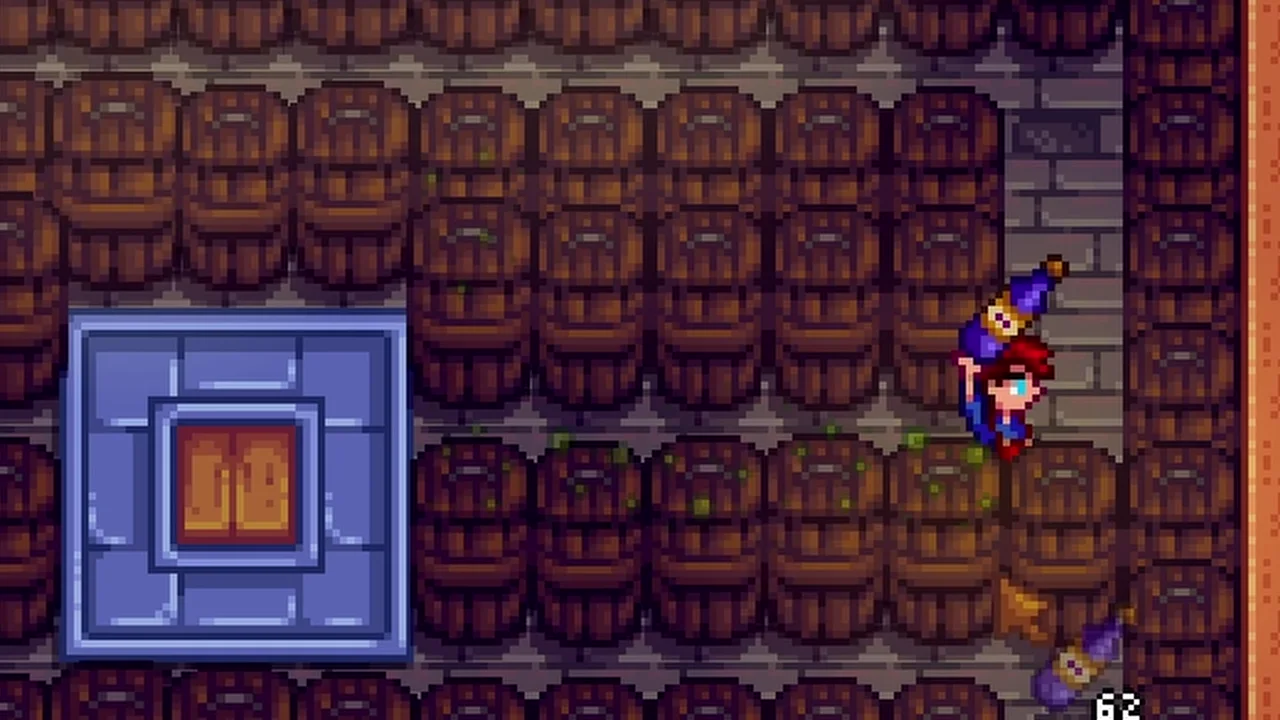
A fresh bottle of wine takes fifty-six days in a cask to reach iridium quality. That can be worthwhile for surplus bottles, but filling every cask does not mean your next seed purchase can wait two seasons. Sell enough unaged wine to fund the next production cycle.
Keep casks working with the portion you can afford to leave aging. When kegs produce more than the cellar can handle, sell the overflow instead of letting it build up indefinitely. Aging increases value over time; it does not replace cash flow. Of these Stardew Valley spending mistakes, this one can be especially deceptive because the valuable inventory makes a cash-starved farm look rich.
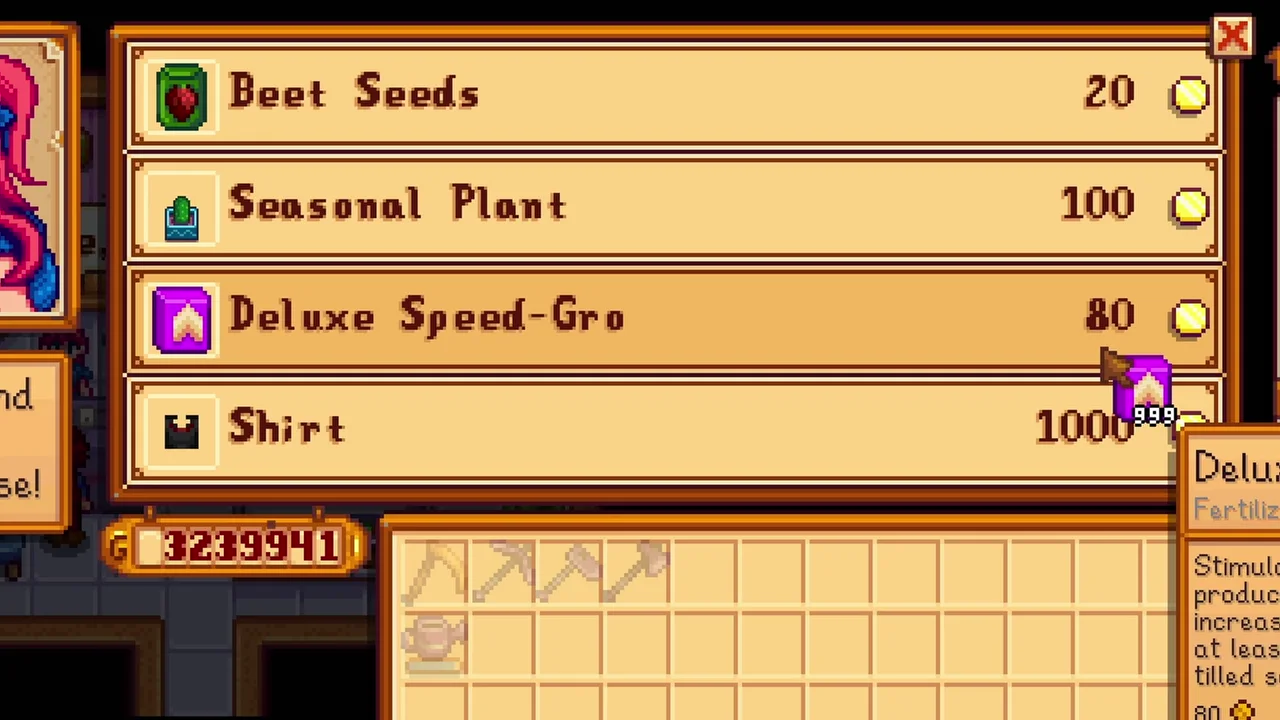
6. Buy Deluxe Speed-Gro at the Oasis
Sandy sells Deluxe Speed-Gro for 80g on Thursdays at the Oasis. Once the desert is available, planning a purchase around that stock can reduce fertilizer costs. Compare the saving with the travel cost and the planting date you need to meet.
Do not postpone a useful harvest merely to follow an absolute rule about where to shop. Growth boosts matter when they change the harvest schedule, and they do not accelerate the repeat-harvest interval of an already mature regrowing crop. Work backward from your intended harvest dates and buy the amount your field needs. A cheaper bag is helpful only when the entire planting plan still works.
7. Understand Golden Coconut chest loot
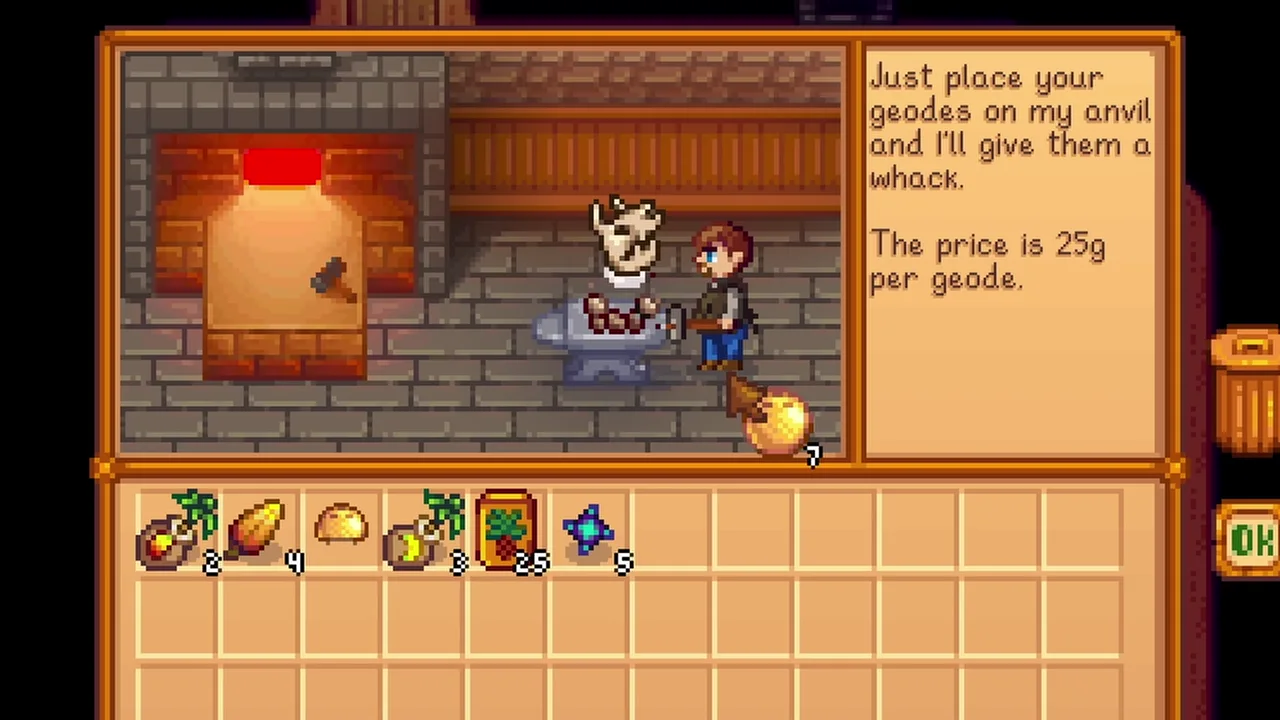
The video suggests postponing your first Golden Coconut opening while pursuing specific Volcano chest rewards. This is a narrow loot-table optimization, not a reason to avoid coconuts throughout an island playthrough. The first opening can also advance your collection and island goals.
Check the Volcano Dungeon’s current chest contents before rearranging your routine around a particular drop. Rare chest rewards remain random, and withholding one possible item does not guarantee the item you want. If you are still unlocking the island, steady progression is usually more useful than letting one speculative efficiency dictate every visit. Treat the video’s coconut argument as a choice about priorities.
8. Keep a legendary fish for a pond
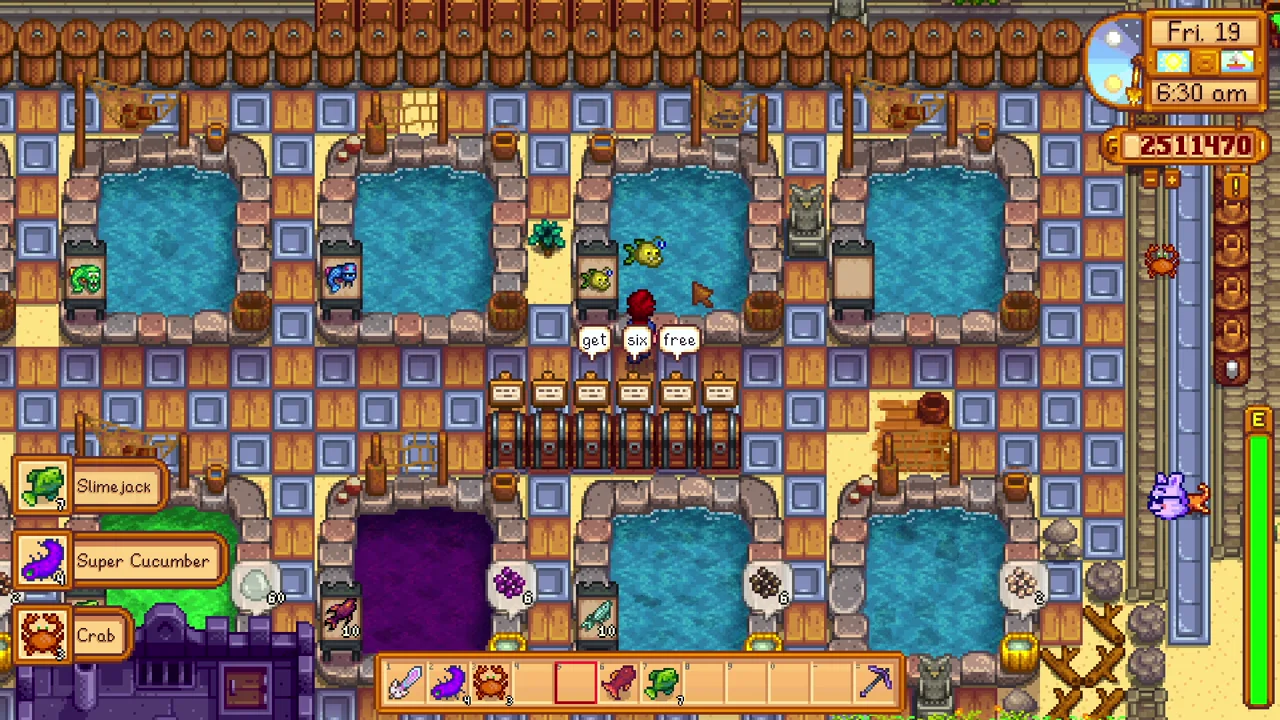
Before smoking a legendary fish, decide whether you want a permanent display or pond use. Current 1.6 versions allow legendary fish in Fish Ponds, where their roe offers a different source of value from a one-time smoked sale. Original legendary catches are limited, so the choice deserves more thought than an ordinary catch.
A pond does not make additional copies of that legendary fish, and output is not a guaranteed daily payment. Keep the catch safely away from cooking ingredients while deciding. If you want a repeatable fishing-income project later, the Extended Family challenge is a separate opportunity involving legendary relatives. It should not be confused with replacing an original fish you already sold.
For the next step, see my Fish Pond guide.
9. Smelt Fire Quartz when you need it
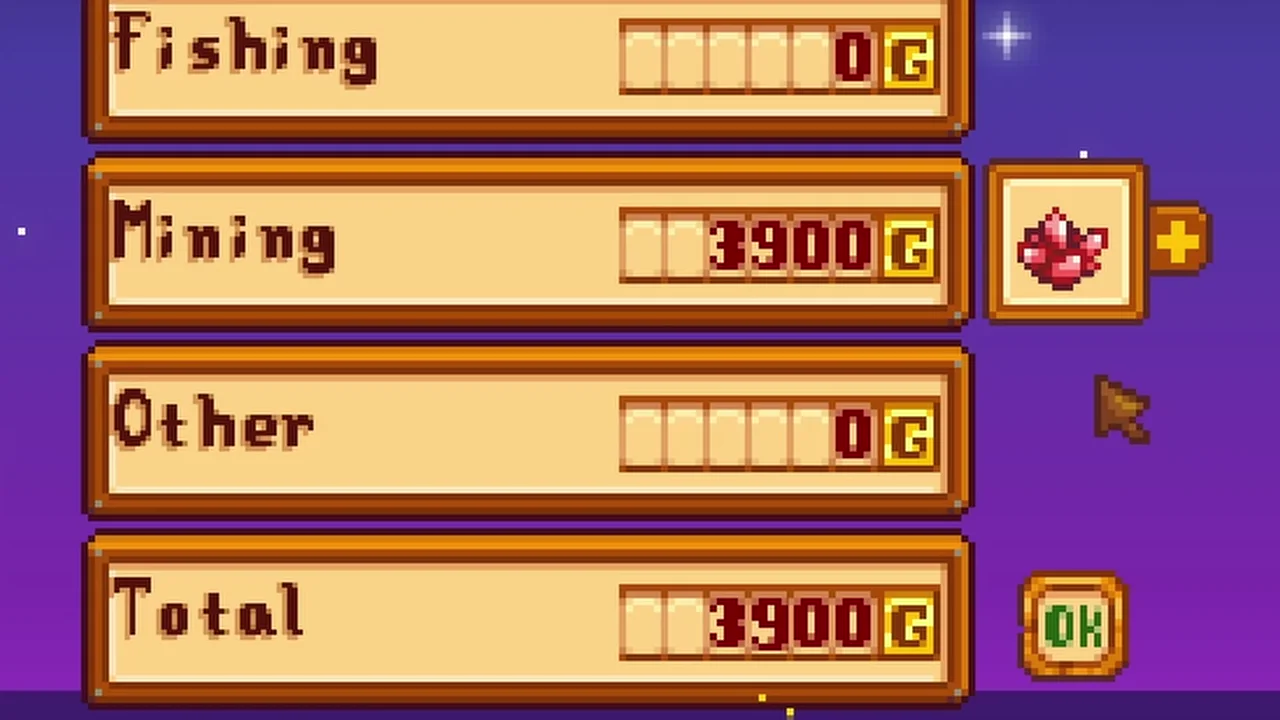
One Fire Quartz can be smelted into three Refined Quartz with coal. That makes it useful when sprinklers or other crafting projects are waiting on refined material. Keep the museum donation and any current requests in mind before smelting the entire stack.
Recycling Broken CDs and Broken Glasses is another useful source, so there is no need to dismiss recycling as inferior in every situation. The right choice depends on what you have and whether coal is scarce. Selling spare Fire Quartz is fine after your needs are covered. The mistake is selling it automatically and later struggling to gather the material it could have supplied.
10. Understand the order of community upgrades
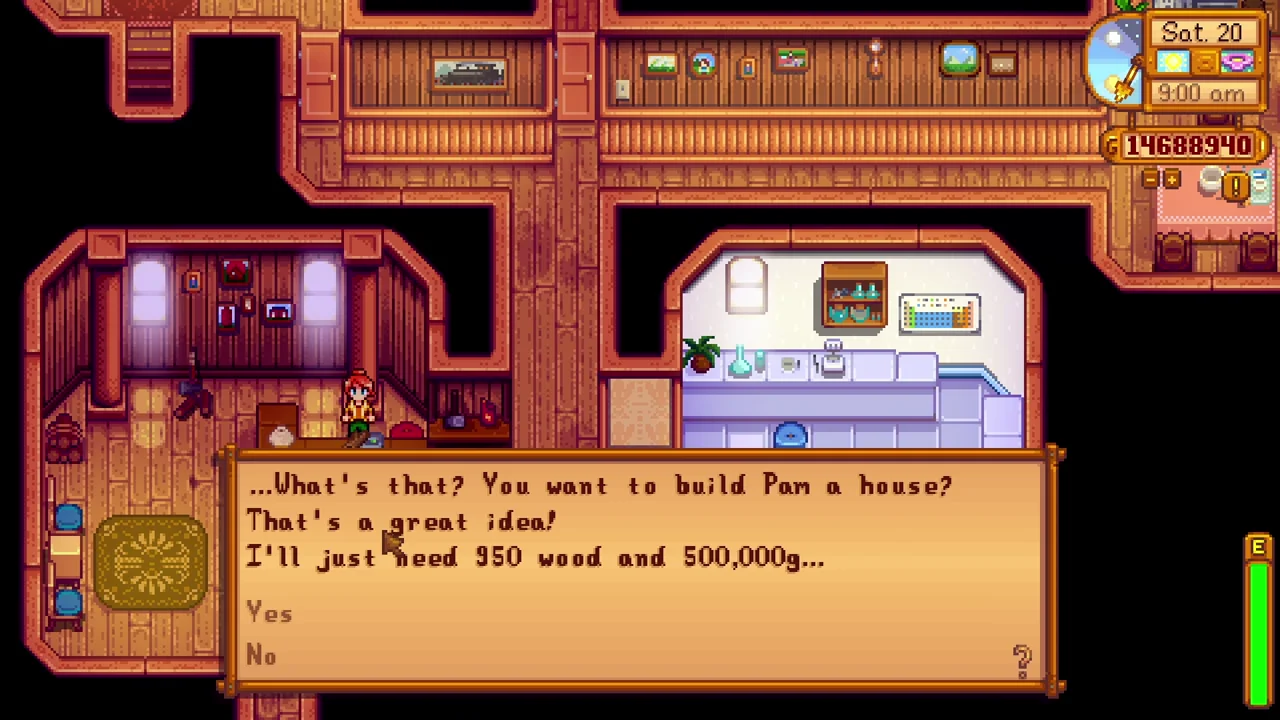
The community upgrades have a required order: Robin first builds Pam and Penny’s house, and only afterward offers the town shortcuts. You cannot buy the shortcuts first, despite the suggestion in the video. The house requires 500,000g and 950 wood after the relevant completion and farmhouse prerequisites; the later shortcuts cost 300,000g.
Budget for the whole sequence if your main goal is faster travel. The house also has its own story value, so buying it is not inherently a poor decision. This correction is the most important example of avoiding Stardew Valley spending mistakes through accurate prerequisites rather than a dramatic recommendation.
For the next step, see my Community Center guide.
Watch the full video

More Stardew Valley guides
Keep planning your farm with my beginner’s guide and money-making guide.
Mechanics references: Carpenter's Shop, Fish Pond.