

A good Stardew Valley shed layout turns a tiny patch of your farm into a ridiculous amount of processing space. But there is a difference between fitting the most machines and enjoying the job of emptying them. Here are the shed and cellar setups from my layout video, with the numbers, costs and access tradeoffs you need before copying them.
Watch my original YouTube video for the gameplay demonstration, or jump to the section you need. The written guide includes corrections and additions for Stardew Valley 1.6.
In this guideOpen contents
Choose your Stardew Valley shed layout first
Let’s start with the humble shed. You could decorate it and have a cool atmospheric building, but today we are maximising efficiency and profit. Upgrade to a Big Shed when your machines actually need the space. The outside stays the same size, while the usable room gets much bigger.
| Space | Practical capacity | Best use |
|---|---|---|
| Shed | 67 machines in an efficient layout | An early processing room |
| Big Shed | 137 machines in a standard efficient layout | Kegs, Preserves Jars or Crystalariums |
| Cellar with aisles | 125 casks on mouse/keyboard; 118 in the mobile layout | Regular access without moving every cask |
| Fully packed cellar | 189 casks | Maximum batch size with a much fussier harvest |
The 137-machine Big Shed layout
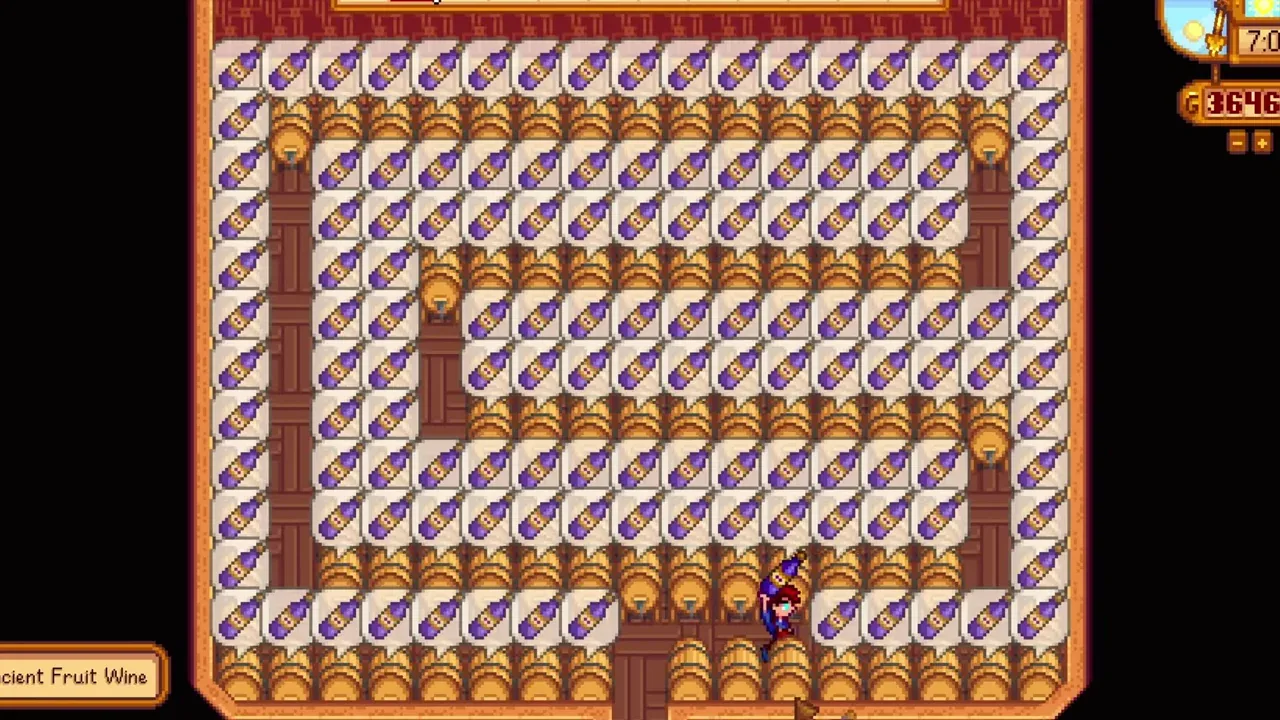
The Big Shed is 17 tiles wide and 12 tiles deep inside, while taking only a 7×3 footprint on your farm. That is why I like it so much. The normal shed is 11×9 inside. An upgrade gives you far more processing space without making the outside of your farm any more cramped.
The layout shown here uses the perimeter and tightly packed interior groups, with aisles connecting back to the entrance. Copy the walking space as carefully as the machines. A missing keg is easy to fix; discovering that an entire row cannot be reached after filling it is considerably more annoying.
On mouse and keyboard, diagonal interaction helps make the 137-machine layout work. If you use a controller or mobile controls, test the corner machines before you commit to a full room. A simpler aisle layout that loses a few machines can save time every single week. I would rather have an easy route than fight the controls for one extra keg.
Shed building costs and the upgrade budget
Robin builds the first Shed for 15,000g and 300 Wood. Upgrading it to a Big Shed costs another 20,000g, 550 Wood and 300 Stone. The full building budget is therefore 35,000g, 850 Wood and 300 Stone, before you craft a single machine.
That last part matters. A huge empty shed does not make money. If Oak Resin is slowing your keg production, start tapping trees before you spend your entire budget on the building. Fill the shed gradually and keep using the equipment you already own.
A chest near the door is useful for the next crop batch, but it occupies a machine tile if it sits inside the packed layout. Keep your storage outside if you want the advertised machine count. You can also place a matching machine outside as a reminder: load it at the same time as the indoor batch, and it tells you when that batch is ready.
Kegs and casks are doing different jobs
Kegs process fruit into wine. Casks age eligible products to improve their quality. The shed is an excellent home for kegs, but casks only age products in a farmhouse or upgraded cabin cellar. Filling a shed with casks will not create a second working cellar.
This is the bottleneck that makes the cellar layout worth planning. You can build more sheds for more kegs. Your main farmhouse has just one cellar, and its capacity is limited. Keep making and selling ordinary wine while the cellar ages a separate batch; you do not need to hold every bottle for a cask.
For ordinary fruit wine, reaching iridium quality takes 56 days, and its sale price is twice the normal-quality wine price before applying the same profession bonus. That is a long wait. Choose a valuable wine for the space, and make sure your farm still has money coming in during the ageing cycle.
The accessible cellar: 125 casks, or 118 on mobile
If you are a normal person, an accessible cellar is the setup I would start with. You keep permanent paths and collect the wine without dismantling the entire room. The commonly used mouse-and-keyboard layout fits 125 casks. The mobile layout uses 118 because interaction and access are different.
The screenshot shows the aisle approach from the video. Think of the empty floor as part of the design. It is what lets you move through the room and reach the inner casks. Keep a path from the stairs, then verify each corner on your own control scheme before filling everything.
The cellar starts with 33 casks. Reaching 125 means crafting 92 more, costing 1,840 Wood and 92 Hardwood. Reaching 118 means 85 more, or 1,700 Wood and 85 Hardwood. The building upgrade itself is a separate expense.
This is a good compromise for a farm you intend to keep playing. You get a large batch, a predictable route and far less work on collection day.
The fully packed cellar: 189 casks
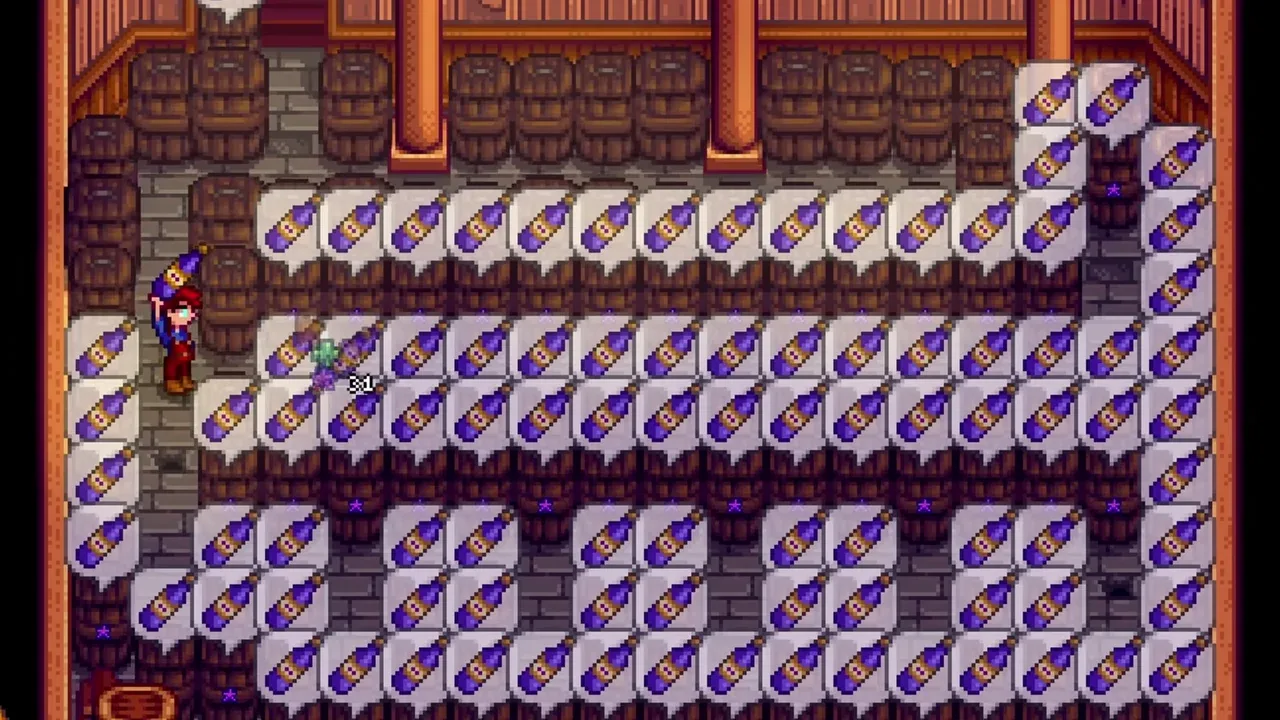
However, if you are incredibly patient, you can go with the other setup: a full basement with absolutely nowhere to walk. All 189 tiles are occupied by casks. Yes, collecting the wine is painful. That is the tradeoff.
Start loading at the back and work toward the stairs, placing and filling casks as you retreat. At harvest time you remove casks to reach the rows behind them, collect the aged wine, then rebuild and refill the room. Keep your tools and next batch ready before you start.
Compared with the 33 starter casks, you need 156 additional casks: 3,120 Wood and 156 Hardwood. Compared with the 125-cask aisle layout, you gain 64 places. Whether that is worth the extra work depends on how much you enjoy this kind of optimisation.
Do not choose the full layout just because the number is bigger. If it makes collection day miserable, use the accessible layout and spend the saved time on something you actually enjoy. Stardew has plenty of other ways to make money.
Can the farmhouse or cabins provide more space?
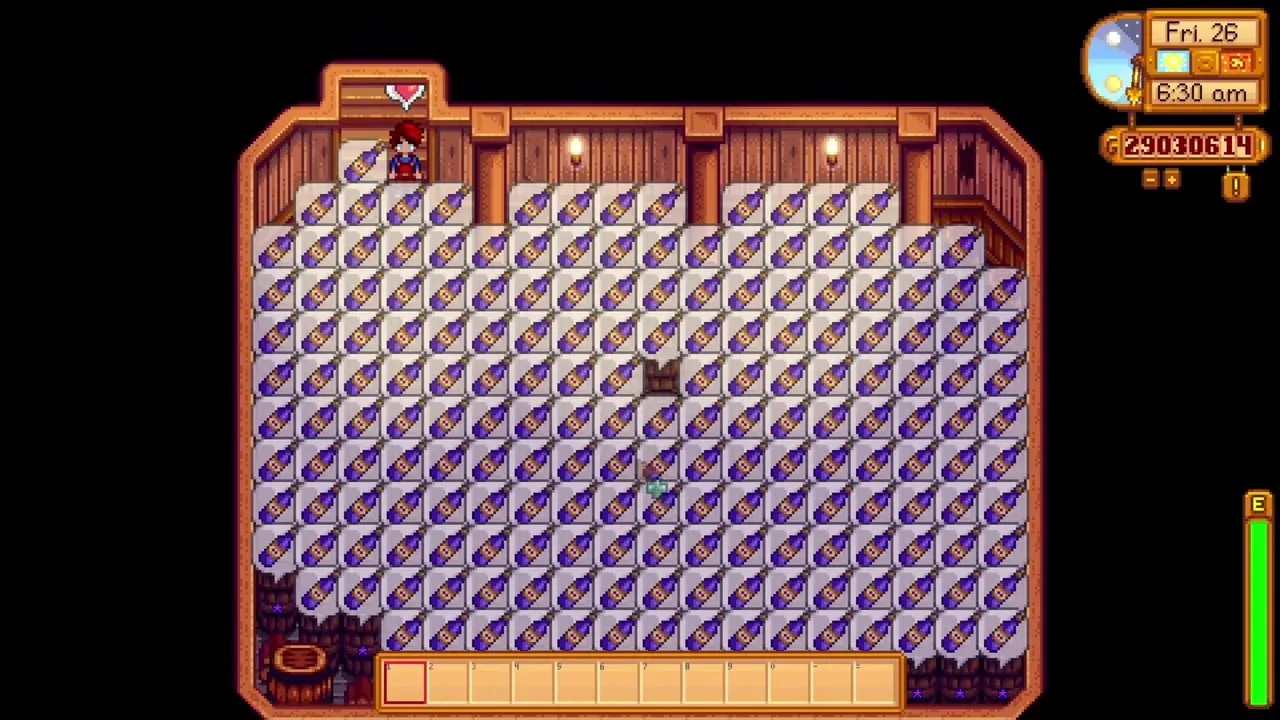
Your farmhouse rooms can also hold processing machines. In my video I go completely overboard with this. It is not pretty, but it certainly makes use of the floor space. Keep your route to the bed, stairs and exits clear, and remember that casks still need the cellar to work.
Multiplayer cabins can eventually have their own cellars after the relevant farmhand upgrades them. That is an additional project with its own costs and player requirements, rather than something you get just by placing an empty cabin. Start with the cellar you already have before expanding the whole operation.
For the outdoor side of the farm, the full video also shows greenhouse, trellis, bee house and off-farm processing layouts. This article concentrates on sheds and cellars so you can plan one job without sorting through every possible building.
My recommendation: build for the harvest route
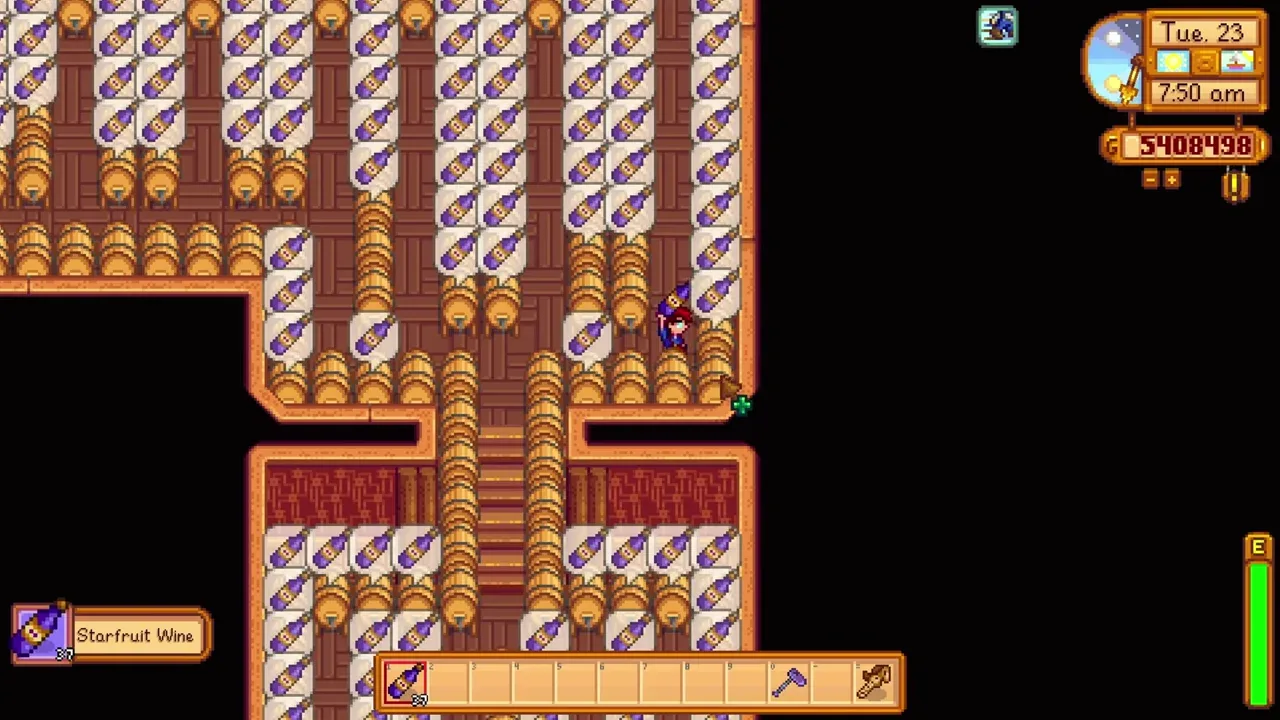
Use a Big Shed for a growing processing business, with a tested 137-machine layout if your controls make it comfortable. Use the accessible cellar first. Try the 189-cask version only when you know the extra batch capacity is worth dismantling and rebuilding rows.
Before filling any room, do a dry run from the entrance. Reach every machine, check corners, decide where inputs will be stored and leave yourself a clear exit. Good layouts save both space and time. If a layout only saves space, it still has one more problem to solve.
Watch the original video

Keep exploring the valley
Browse more farming & design guides, or continue with one of these related guides:
- 11 Tips to Decorate in Stardew Valley (Plus a Bonus)
- Best Farm Layout in Stardew Valley: All 8 Farms Compared
- From Broke to Rich: Stardew Valley Best Money Making Methods
Game-mechanics references: Shed, Cask, Farmhouse. Screenshots and video by MGaud.