
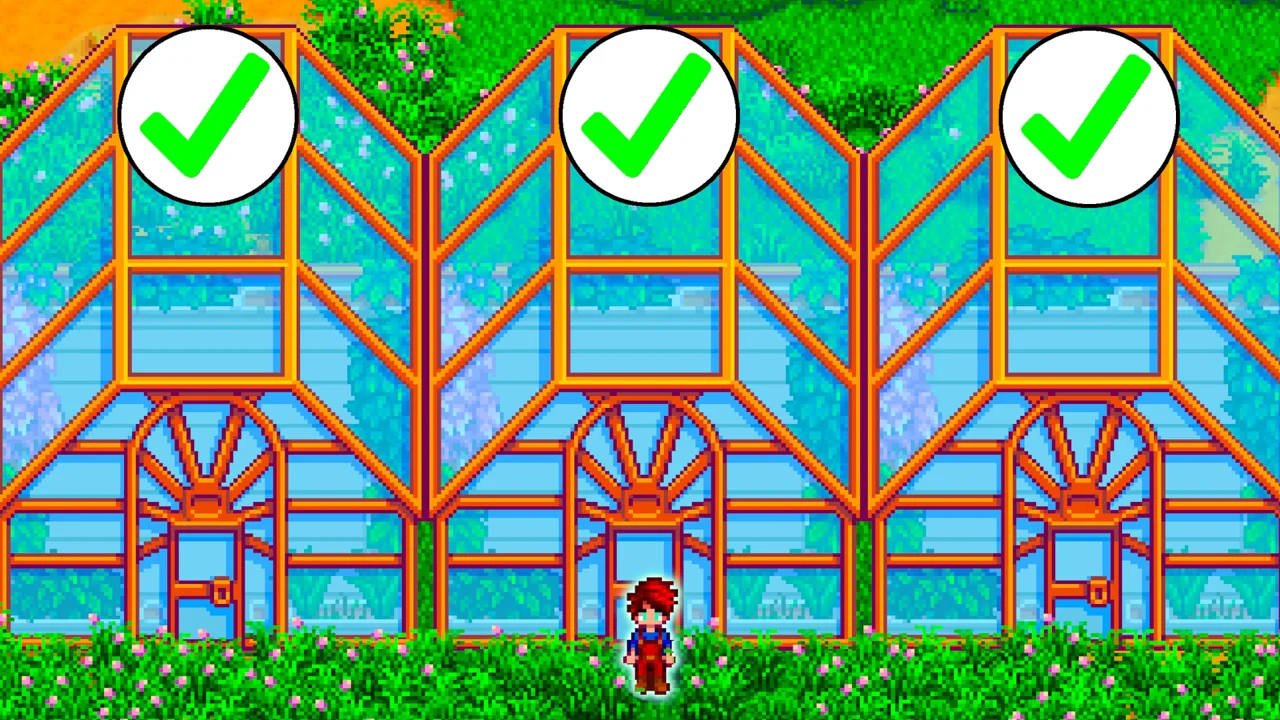
Listen, I know you love your Greenhouse. Stardew Valley Garden Pots let you build another indoor growing space inside a shed, and you can repeat the setup as your farm expands. It is not a second Greenhouse building, but with the right soil it is a brilliant way to grow more crops all year.
Watch my original YouTube video for the gameplay demonstration, or jump to the section you need. The written guide includes corrections and additions for Stardew Valley 1.6.
In this guideOpen contents
How the Garden Pot shed works
Put Garden Pots inside a Big Shed, apply Deluxe Retaining Soil, water each pot once and plant a suitable crop. Indoors, seasons do not kill the crops. The soil keeps the pots watered, so your recurring job is harvesting and processing.
There are two important limits: sprinklers do not water Garden Pots, and Ancient Seeds cannot be planted in them. This works beautifully for crops such as Pineapple, but it does not replace an Ancient Fruit Greenhouse.
Unlock the Garden Pot recipe from Evelyn
Repair the Greenhouse through the Pantry bundles or Joja development. Evelyn then visits with a Garden Pot and teaches you the recipe. Her event needs a suitable sunny morning when you leave the farmhouse; the Pantry route also has a short delay after the Greenhouse is repaired.
If she has not appeared immediately, that does not mean the recipe is broken. Give the event the right conditions. In the meantime, start setting aside Clay, Stone and Refined Quartz.
Materials for Stardew Valley Garden Pots
One Garden Pot costs 1 Clay, 10 Stone and 1 Refined Quartz. One Deluxe Retaining Soil costs 1 Clay, 5 Stone and 3 Fiber. Together, one finished planting spot needs 2 Clay, 15 Stone, 1 Refined Quartz and 3 Fiber, before you add a seed.
You do not need to fill an entire shed on day one. Build a manageable row, confirm that your watering and harvest access work, then expand.
| Planting spots | Clay | Stone | Refined Quartz | Fiber |
|---|---|---|---|---|
| 10 | 20 | 150 | 10 | 30 |
| 50 | 100 | 750 | 50 | 150 |
| 100 | 200 | 1,500 | 100 | 300 |
| 137 | 274 | 2,055 | 137 | 411 |
Get the Deluxe Retaining Soil recipe
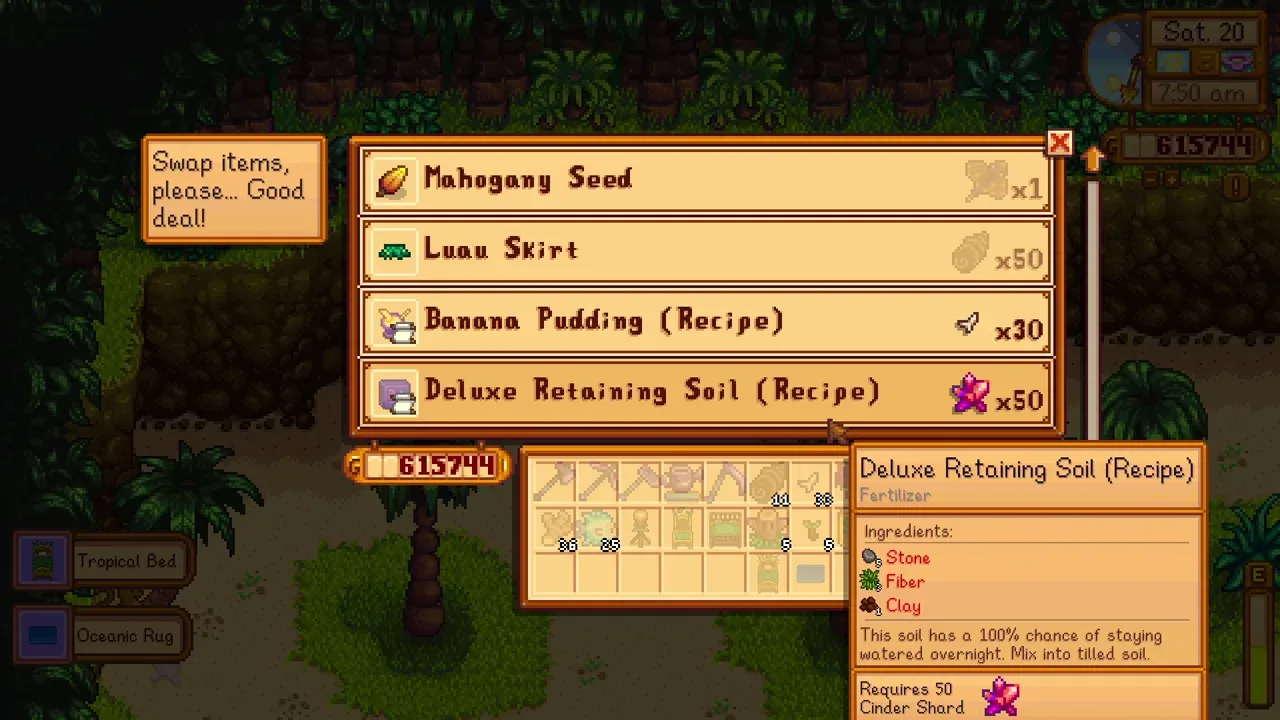
The Island Trader sells the recipe for fifty Cinder Shards. Reaching the trader takes island progress and Golden Walnut upgrades, so this is a later-game setup rather than a first-Spring trick.
Collect Cinder Shards from nodes and enemies in the Volcano Dungeon. A Burglar’s Ring helps with eligible monster drops. Do not assume every trip will produce the same amount: prepare for the dungeon, take useful routes and build a stockpile over several visits.
The recipe is a one-time purchase. After learning it, you craft the soil from Stone, Fiber and Clay. Those crafting materials are the recurring cost of expanding your shed.
Farm the materials without making it miserable
Stone is the easy part if you already spend time bombing mining floors. A Deconstructor can recover Stone from Staircases, and buying Stone from Robin is an expensive but convenient fallback.
Fire Quartz smelts into three Refined Quartz, making it a useful option for this project. You can duplicate Fire Quartz in a Crystalarium if you want a steady supply. Recycling broken glasses and CDs is still a sensible cheap source; do not throw away a working early-game method just because you have a bigger project.
For Fiber, finish Linus’s Community Cleanup request to learn Fiber Seeds. They grow across seasons and make a good dedicated resource crop. The Mutant Bug Lair and suitable mine floors are alternatives while you wait for the recipe.
Clay Nodes at the island Dig Site are especially helpful. Visit when your other island jobs bring you nearby, and keep the Clay rather than selling it. The setup consumes twice as much Clay as you might expect because both the pot and its soil need one.
Build and fill the shed
A Big Shed gives considerably more interior room without a larger outdoor footprint than the original Shed. Robin builds the Shed and then upgrades it. Place it where harvesting and moving produce to machines will be convenient.
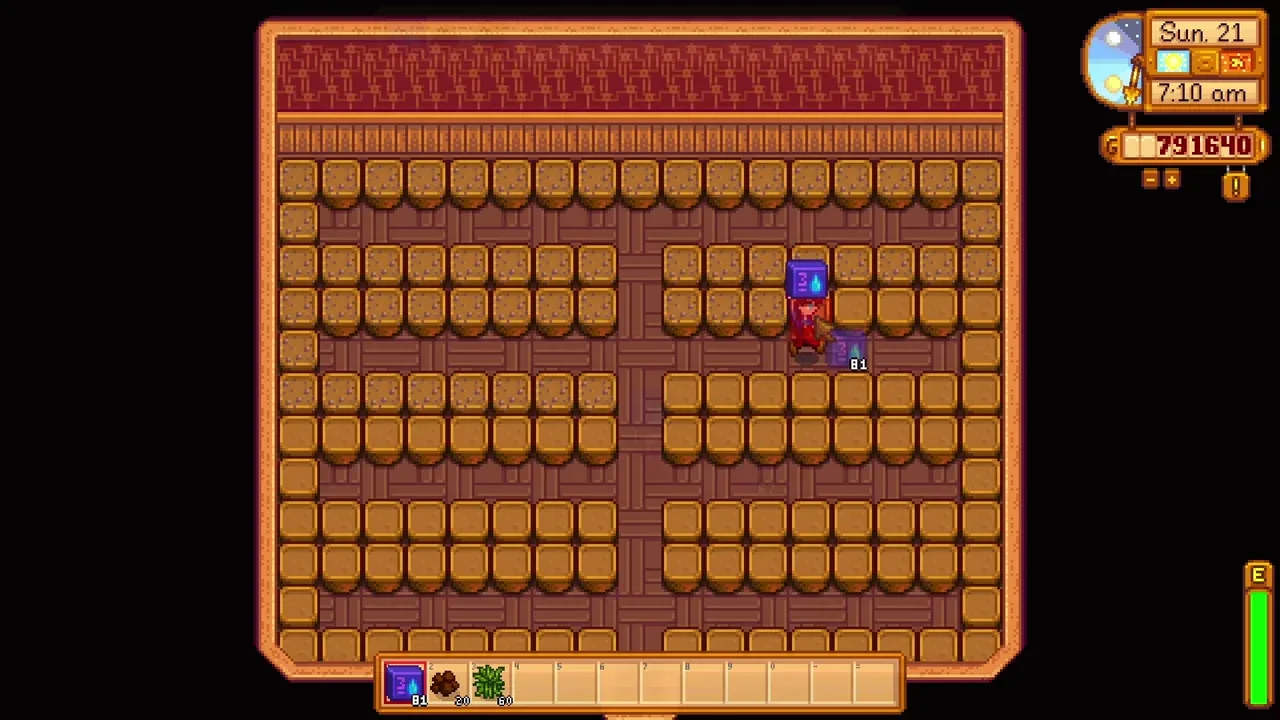
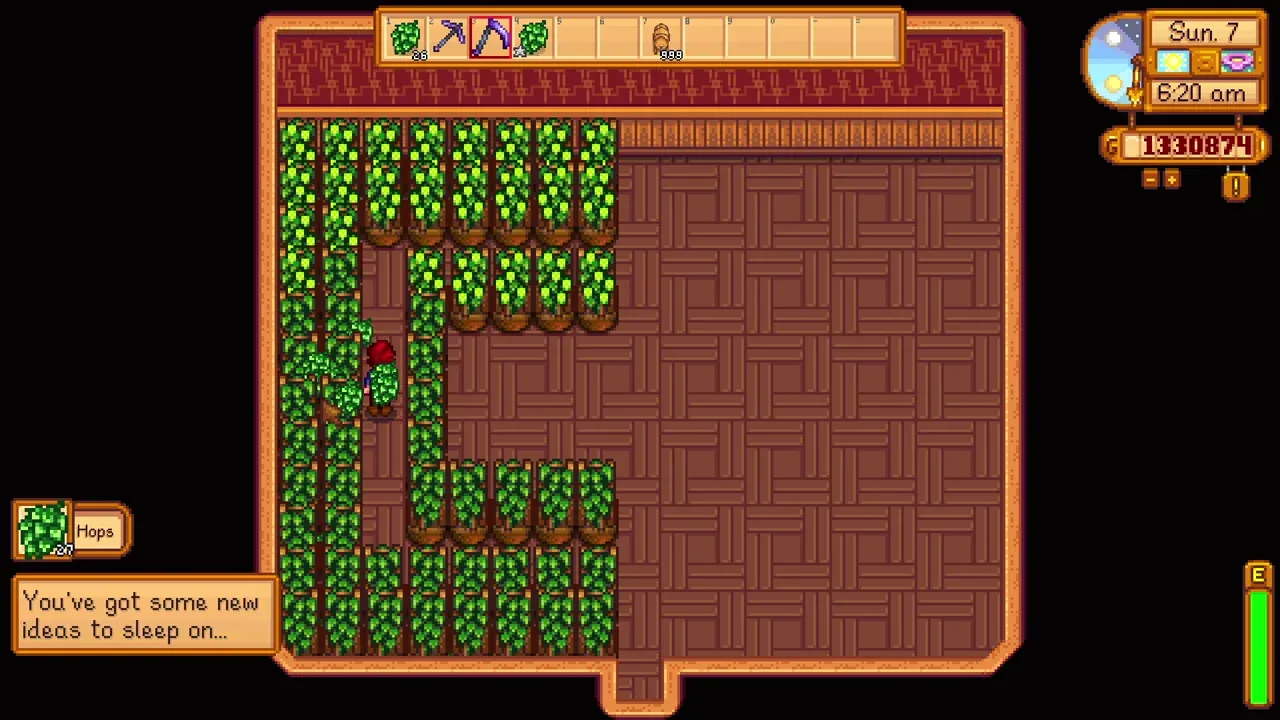
The video demonstrates a dense 137-pot arrangement. That is a target layout, not a reason to block your route. Start with walking lanes, make sure every pot is reachable with your controls, and leave the door clear. A slightly smaller setup that is pleasant to harvest is better than one that traps crops behind a trellis.
Place the pots before planting. Moving a planted Garden Pot destroys the crop inside, so rearranging a finished Pineapple shed is an expensive way to discover that the path was too narrow.
Water once, then choose a crop that fits
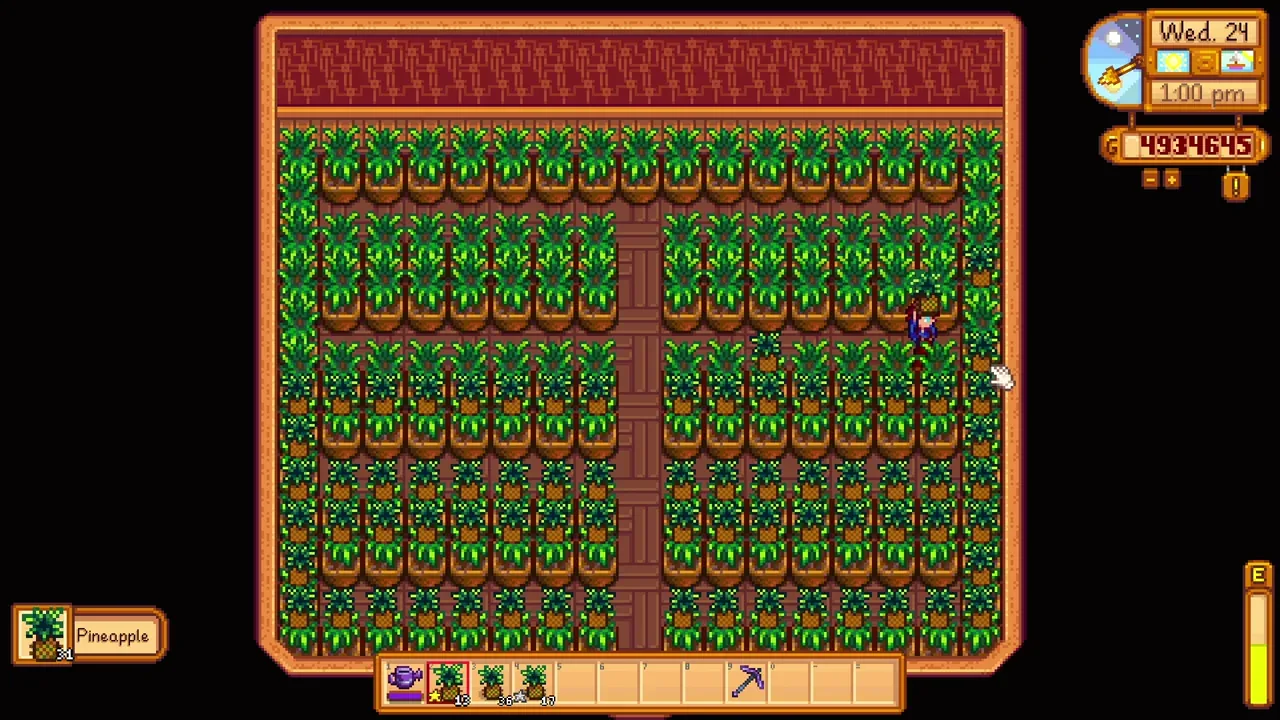
Apply Deluxe Retaining Soil to every pot and water it. The initial watering is tedious, but it is the part that makes the rest easy. Do not substitute Basic or Quality Retaining Soil and expect the same permanent result.
Pineapples are my straightforward choice because they regrow. Peppers, Blueberries and Cranberries are other options. Hops can be excellent for Pale Ale, but their trellises need deliberate access lanes. If you plant Pumpkin or another single-harvest crop, remember that you will be replanting.
Ancient Fruit is excluded. Keep that in the real Greenhouse or on your island farm. Regrowing crops in the shed reduce replanting work, but you still need to collect the harvest and decide whether to sell or process it.
Common mistakes that stop this setup working
Keep ordinary crop pots indoors for the all-season effect. Outdoor pots on the main farm still follow seasonal rules, and ordinary seeds cannot be planted just anywhere around town.
Check every pot after the first watering. One missed tile can quietly slow a crop while the rest of the shed grows. Also check the final harvest route before planting trellis crops. An Iridium Scythe can help with harvesting, but it does not make a poorly planned room enjoyable.
Expand when you can support the crop with processing space and a harvest routine. You can build as many of these makeshift greenhouses as your farm and resources allow; the useful number is the number you will actually keep harvesting.
Watch the original video

Keep exploring the valley
Browse more farming & design guides, or continue with one of these related guides:
- Best Crops In Stardew Valley 1.6 [ Every Season ]
- Stardew Valley Community Center Guide
- From Broke to Rich: Stardew Valley Best Money Making Methods
Game-mechanics references: Garden Pot, Deluxe Retaining Soil, Shed. Screenshots and video by MGaud.