
Golden Walnut locations are spread across almost every part of Ginger Island: obvious bushes, suspicious sand, hidden passages and a surprising number of mini-games. Let me show you where to look. This written companion to my complete video includes all 130 walnuts, clear regional totals and the puzzle details that are easy to miss while watching.
Watch my original YouTube video for the gameplay demonstration, or jump to the section you need. The written guide includes corrections and additions for Stardew Valley 1.6.
In this guideOpen contents
All Golden Walnut locations: the 130-walnut checklist
There are 130 Golden Walnuts in total. The opening line of my script says 131, but 130 is the correct total. This guide follows the same island tour while naming the landmarks that the video points at. Each discovery is counted once in the table below.
Take a Hoe, Axe, Pickaxe, Watering Can and Slingshot. Carry combat supplies for the volcano and a Banana for the jungle altar. Keep Melon, Wheat and Garlic seeds ready for the farm puzzle. Some locations need island upgrades, rain or a particular Journal Scrap, so you cannot reasonably clear everything on the first visit.
| Group | Walnuts | Running total |
|---|---|---|
| General: fishing and first Golden Coconut | 6 | 6 |
| Island East: Leo and the jungle shrine | 11 | 17 |
| Island West: farm, beach and quests | 52 | 69 |
| Island North: dig site, museum and volcano | 49 | 118 |
| Island South: arrival cliff and resort area | 12 | 130 |
General discoveries: 6 walnuts
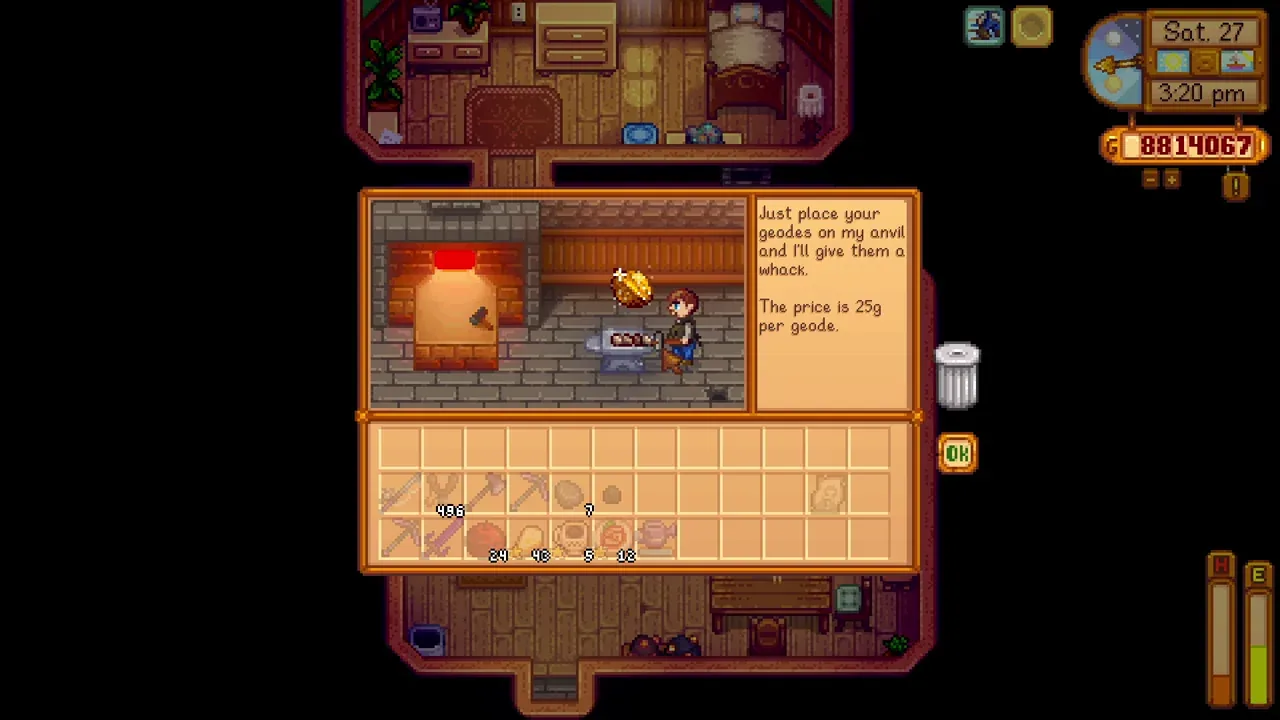
The first Golden Coconut that Clint opens gives one Golden Walnut. Take the coconut back to his Blacksmith shop in Pelican Town; ordinary Coconuts do not count. Later Golden Coconuts contain other rewards rather than an unlimited supply of walnuts.
Fishing anywhere on Ginger Island can yield another five walnuts in total. These are random finds, so keep fishing until that shared five-walnut pool is exhausted. The special star-shaped tide pool in Island Southeast is a separate guaranteed walnut listed in the southern section.
These two sources are easy to miss if you only copy the visible bushes from a video. Keep them on your list even when the island itself looks completely searched.
Island East: 11 walnuts around Leo and the jungle
Follow Leo’s path into the jungle and collect the walnut bush on the way to his hut. Give the first walnut to the parrot inside to open up the northern route. While you are there, hit the bulging tree inside the hut with your Axe for another walnut.
At the bottom of the hut’s stairs, take the hidden path east into the Gem Bird Shrine area. There is a separate walnut bush south of the shrine. Grab it even if you are not ready to solve the gem puzzle.
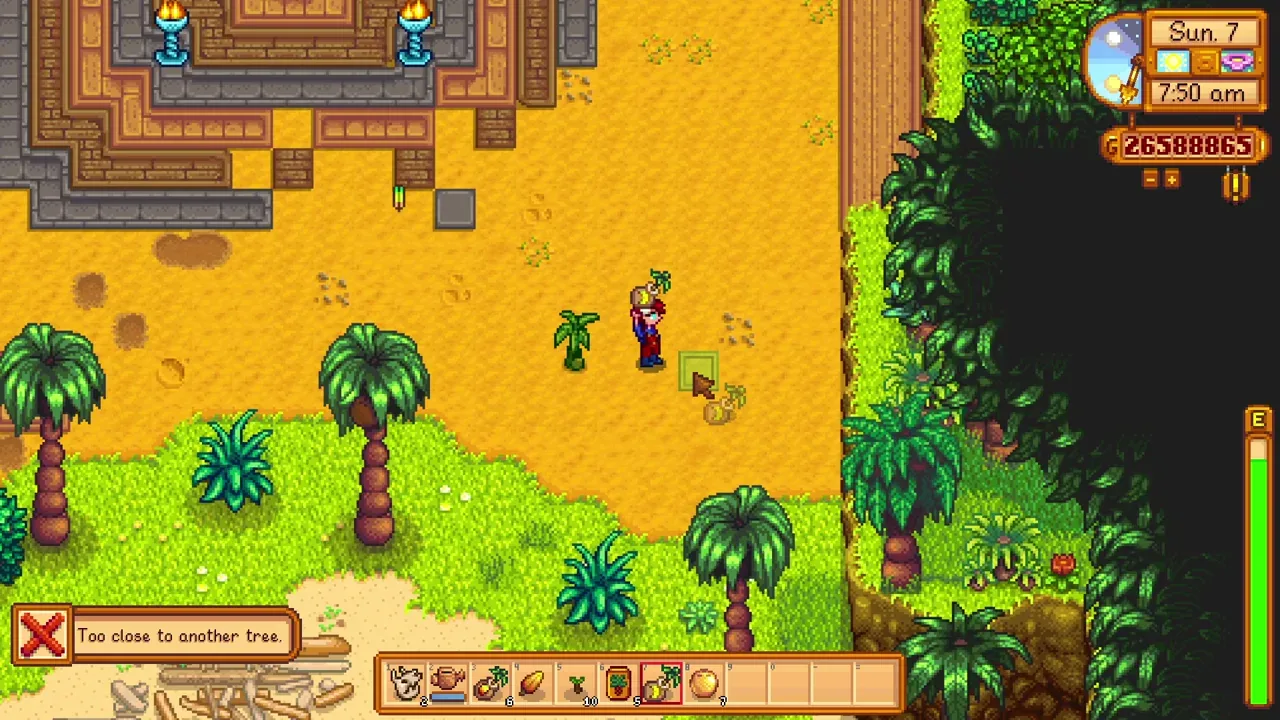
Now place a Banana on the altar by the stairs. The gorilla rewards you with three walnuts. You can grow a Banana Tree from a sapling; Golden Coconuts and the Island Trader are ways to obtain the sapling. The trader exchanges one for five Dragon Teeth.
The Gem Bird puzzle gives the remaining five eastern walnuts. On rainy island days, find the bird, scare it away and remember which region it occupied. Put its gem on the matching directional pedestal: north at the top, south at the bottom, west on the left and east on the right. The combination is specific to your save, so copying my gems will not necessarily solve yours.
| Eastern discovery | Walnuts |
|---|---|
| Jungle path bush | 1 |
| Tree inside Leo’s hut | 1 |
| Bush south of Gem Bird Shrine | 1 |
| Banana altar | 3 |
| Gem Bird puzzle | 5 |
| East total | 11 |
Island West: the Gourmand Frog’s 15 walnuts
After repairing the island farmhouse, enter the Gourmand Frog’s cave and hear his request. Grow a Melon, then Wheat, then Garlic for him. Each completed request gives five walnuts, for 15 in total.
The important bit is to leave the mature crop unharvested. Speak to the frog when the requested crop is ready so he can inspect it, then harvest after receiving the reward. Handing him a harvested Melon is not the same thing.
You can plant all three crops in advance on the island, but present them in the correct order, one request at a time. Keep at least one ripe example of each in the ground until he has seen it. Buy the seeds before your visit if the normal shops are out of season. This is one of the biggest walnut payouts on the island, so it is worth preparing for.
Island West: farming, mussels, tiger slimes and the crystal cave
Harvesting eligible crops on the island farm can give five walnuts. Use crops that do not regrow and are normally harvested by hand, such as Parsnips or Pumpkins. Wheat, forage crops and repeating crops are not the easy solution here. Using the Iridium Scythe on an otherwise eligible crop does not remove its eligibility.
Break the Mussel Nodes along the southern beach for another five walnuts. The drops are random and the total is capped, so return as nodes regenerate until you have all five. Yes, hit them even if you do not want Mussels.
Defeat the Tiger Slimes in their western grove for one more walnut. They are tougher than the ordinary early-game slimes, so bring a real weapon and some food instead of assuming this is a free pickup.
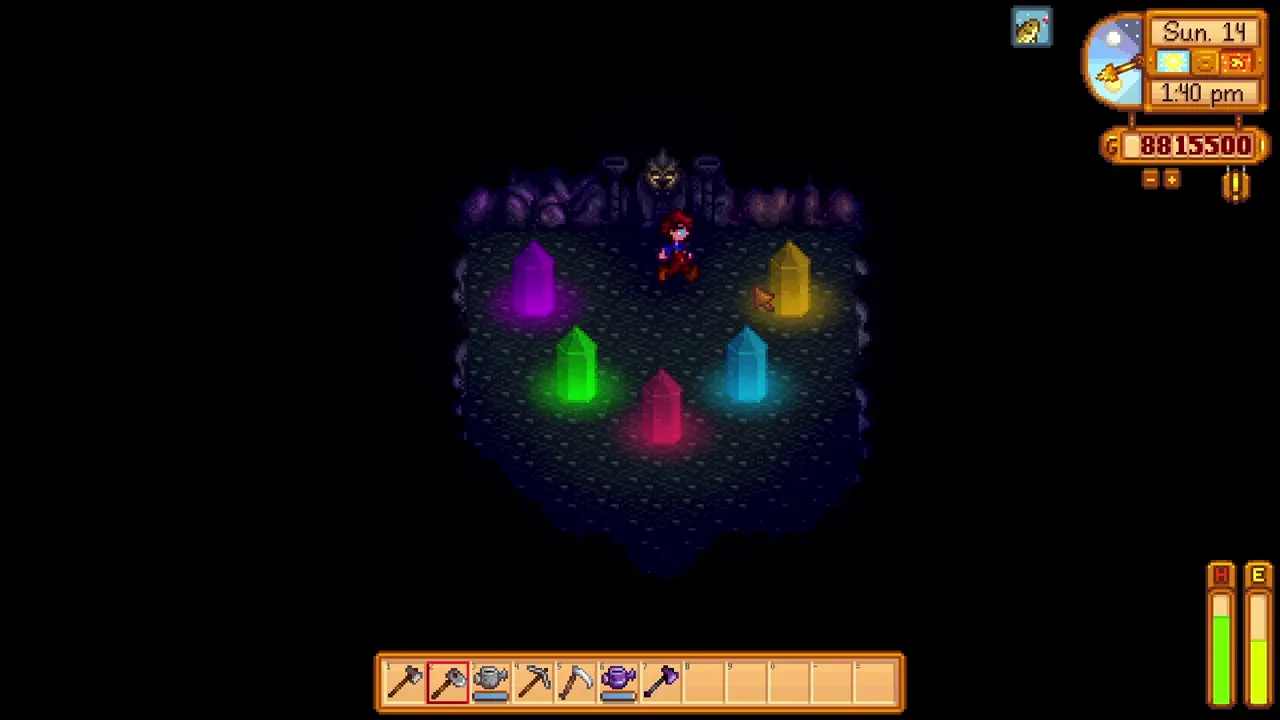
The cave north of the Tiger Slime Grove holds the coloured-crystal memory puzzle. Repeat the increasingly long sequence correctly to earn three walnuts. It is the Simon Says section from my video, and yes, it can be annoying. Watch a full sequence before pressing anything.
Island West: 18 single-walnut landmarks
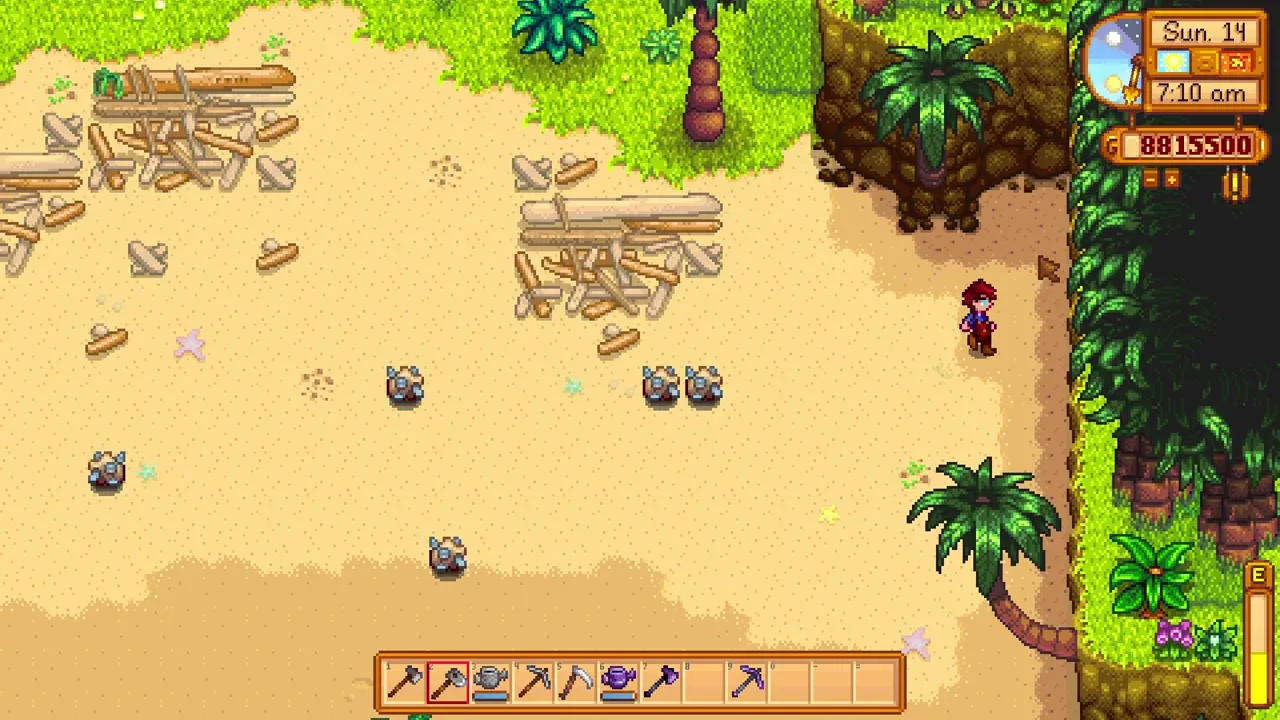
Every row below awards one walnut. These are the beach patterns, bushes and hidden paths from the original tour. The Journal Scrap spots only work after you have found and read the relevant scrap.
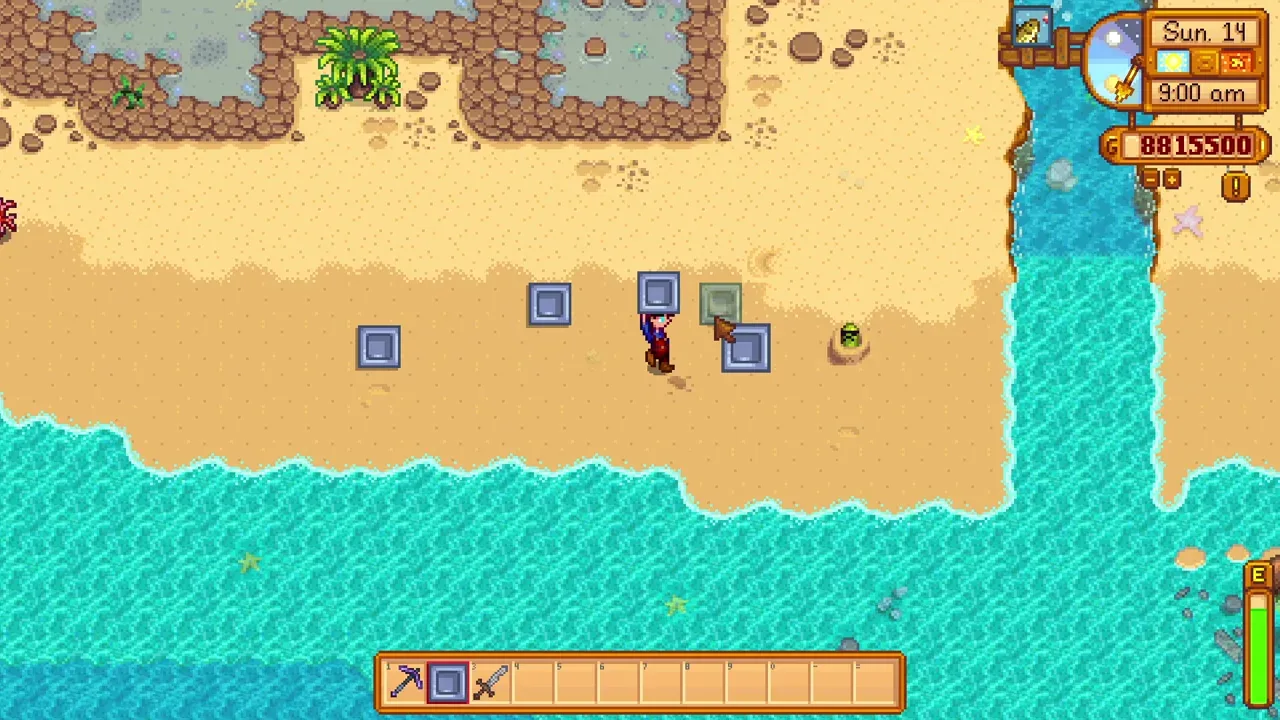
For the mole, covering three holes is the simple method. An upgraded Watering Can can also reach it without blocking the other holes. Remove your placed objects afterwards so the beach is clear again.
Hidden passages often put your character behind scenery. Use the route description and the video together, and clear rocks or weeds where the visible cliff path is blocked.
| One walnut each | Where to look |
|---|---|
| Journal Scrap #6 | After reading it, dig at the southeast beach corner where the cliffs meet, near the curved palm. |
| Shipwreck | Enter through the hidden opening at the west corner of the wreck and collect the interior bush. |
| Whack-a-mole | Cover three holes with objects and hit the mole in the fourth with an Axe, Pickaxe or Watering Can. |
| Blue starfish triangle | Hoe the middle of the triangle on the beach south of the farm. |
| Starfish diamond | Dig its centre near the tide pools; a large rock can partly hide the pattern. |
| X in the sand | Dig the X in the tide-pool area. |
| Sand-indent diamond | Dig between the four indents southwest of the tide pools, near the sea. |
| Pond bush | Look behind the coconut tree beside the pond west of the farm. |
| Journal Scrap #4 | Read it, then dig in the sand north of Birdie’s hut for the walnut and Quality Bobber. |
| Below Qi’s room | Follow the western coast north to the visible bush southeast of the doorway. |
| Beyond Qi’s room | Continue north through the shallow coastal water to another bush. |
| Tiger grove bush | Check behind the Mahogany Tree in the Tiger Slime Grove. |
| Tiger grove grass circle | Hoe the centre of the grass circle, which a tree can obscure. |
| West of Parrot Express | Cross the river bridge west from the station and check the bush by the southern wall. |
| Cliff east of the tiger grove | Follow the cliff edge east, clearing obstructions, to the bush at the end. |
| Pebbles east of Parrot Express | Hoe the centre of the diamond-shaped pebble pattern. |
| Hidden path east of Parrot Express | Follow the concealed route east, then north, to its final bush. |
| Cliff above the farmhouse | From the station, follow the cliff south and bend east above the farmhouse. |
Birdie’s Pirate’s Wife quest: 5 walnuts
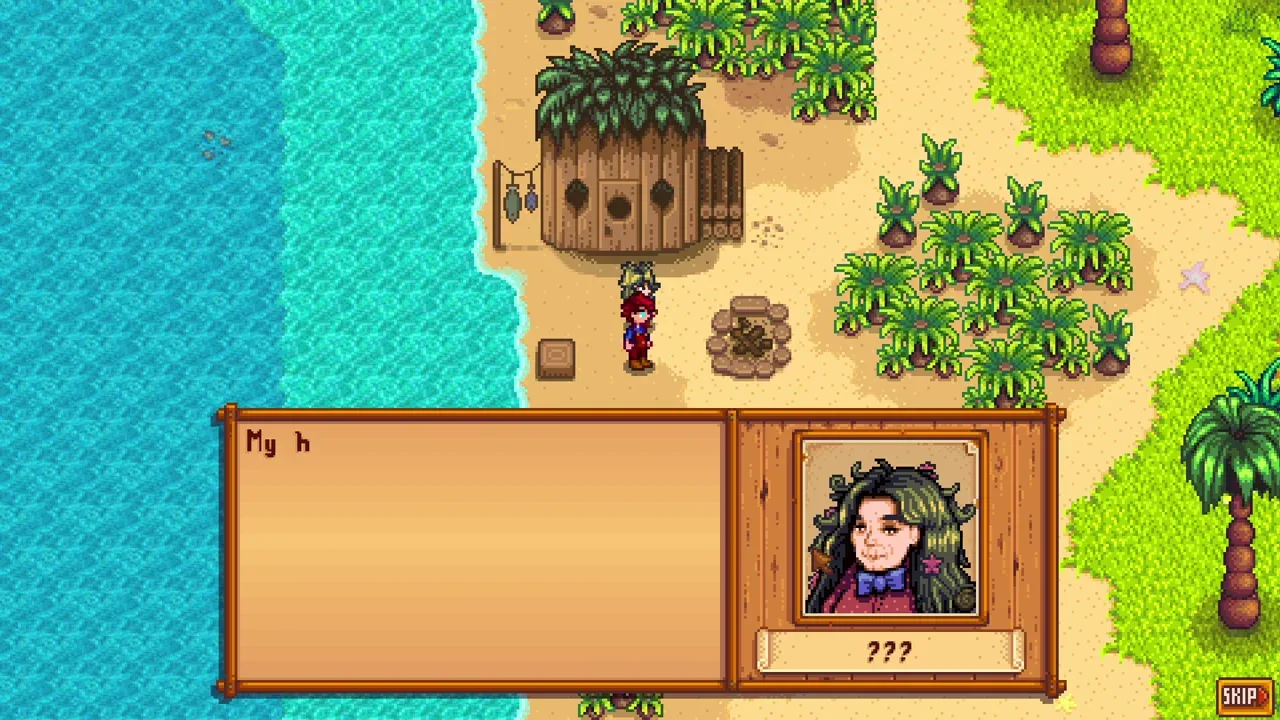
Birdie is on the western beach. Her quest starts with the War Memento and takes you back to several villagers. Follow the exchange chain below, then return the Pirate’s Locket to Birdie for five Golden Walnuts and the Fairy Dust recipe.
This is not a random gift puzzle. Each exchange item has a particular recipient. Keep the new item in your inventory and visit the next person rather than trying to use it as an ordinary present. Plan the mainland trip around shop hours and the villagers you can reach that day.
| Bring this | To this person | Receive |
|---|---|---|
| War Memento | Kent | Gourmet Tomato Salt |
| Gourmet Tomato Salt | Gus | Stardew Valley Rose |
| Stardew Valley Rose | Sandy | Advanced TV Remote |
| Advanced TV Remote | George | Arctic Shard |
| Arctic Shard | Wizard | Wriggling Worm |
| Wriggling Worm | Willy | Pirate’s Locket |
| Pirate’s Locket | Birdie | 5 walnuts and Fairy Dust recipe |
Island West subtotal: 52 walnuts
The west has the largest total: 15 from the frog, five from harvesting crops, five from Mussel Nodes, five from Birdie, three from the crystal cave, one from Tiger Slimes and the 18 individual discoveries. That adds up to 52.
If the parrot keeps mentioning the farm or shelly stones, check the random-drop pools before retracing every hidden passage. Finding one walnut from a crop or Mussel Node does not finish that source. Keep track until each reaches five.
Island North: 15 outdoor bushes and buried walnuts
The table lists 13 single walnuts. Add the two bushes reached through the eastern hidden passage above the dig site for a total of 15 outdoor discoveries in this section.
For that two-bush route, climb the northern dig-site steps, move east into the cliff passage and follow it across the elevated bridge. For the high tree by the volcano, use a Slingshot instead of trying to find a walkable route up the wall.
Journal Scrap #10 marks the spot that also gives an Ostrich Egg. Read the scrap before digging. Keep the egg if you want to raise an Ostrich later; it is more useful than a casual sale.
| One walnut each | Where to look |
|---|---|
| Entrance stone circle | At the top of the north-area entrance stairs, turn west and dig in the circle. |
| Entrance hidden grove | At the same stairs, continue west through the concealed passage to a bush. |
| Flower circle | Go northeast from the entrance stairs and hoe the centre of the flowers. |
| Eastern stone circle | Continue east from those flowers to the next grassy area and dig in its stone circle. |
| Field Office sand | Hoe the oddly textured patch southeast of Professor Snail’s tent. |
| Dig-site upper circle | Climb the northern dig-site steps and hoe the centre of the stones. |
| Dig-site western bridge | Cross west from those steps and collect the walnut bush. |
| Volcano southeast bush | Look behind the tree southeast of the volcano entrance. |
| Volcano eastern sand | Dig inside the arc of stones and bushes east of the volcano entrance. |
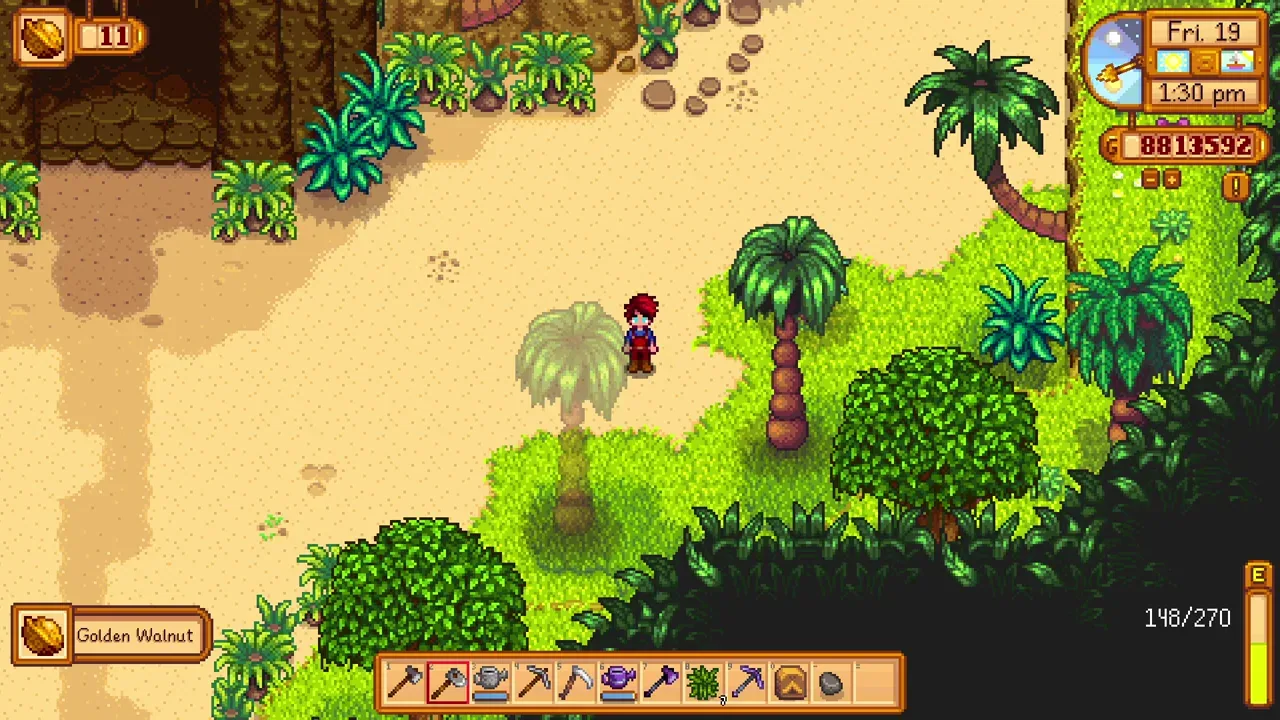
| High curved tree | Use a Slingshot to knock the walnut out of the tree northeast of the volcano entrance. |
| Journal Scrap #10 | After reading it, dig the visible tile inside the curved palm’s loop southwest of the volcano. |
| Far northwest stone circle | Hoe the centre of the stone ring at the extreme northwest of the map. |
| Far northwest hidden bush | Follow the western wall, then the concealed north-and-west route into the secluded area. |
Professor Snail and the Field Office: 13 walnuts
Repair the dig-site bridge, then use a bomb to break the boulder trapping Professor Snail. Once he returns to the Field Office, complete his fossil collections and surveys. The donations award 11 walnuts, and the two surveys add another two.
Use bone nodes, island artifact spots, fishing and panning to fill the fossil collections. The Fossilized Skull comes from Golden Coconuts. The Mummified Frog comes from cutting jungle weeds, while the Mummified Bat comes from breaking volcano rocks. Snake Vertebrae can be the slow part: keep checking artifact spots in Island West.
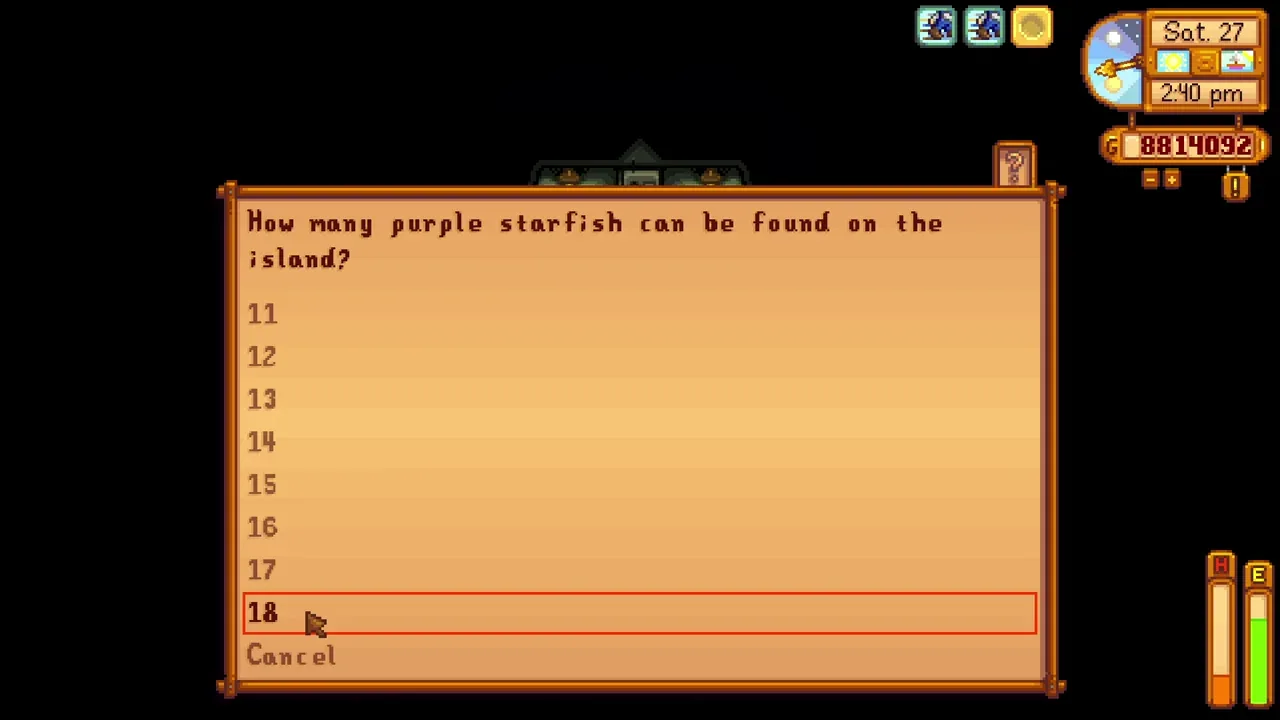
The survey answers are wonderfully straightforward compared with hunting for fossils: 22 purple flowers and 18 purple starfish. Complete both questions as well as the donations; finishing the museum displays alone leaves two walnuts unclaimed.
| Field Office task | Walnuts |
|---|---|
| Large Animal collection | 6 |
| Snake collection | 3 |
| Mummified Frog | 1 |
| Mummified Bat | 1 |
| Purple Flowers survey: 22 | 1 |
| Purple Starfish survey: 18 | 1 |
| Field Office total | 13 |
Volcano lava passage: 2 walnuts
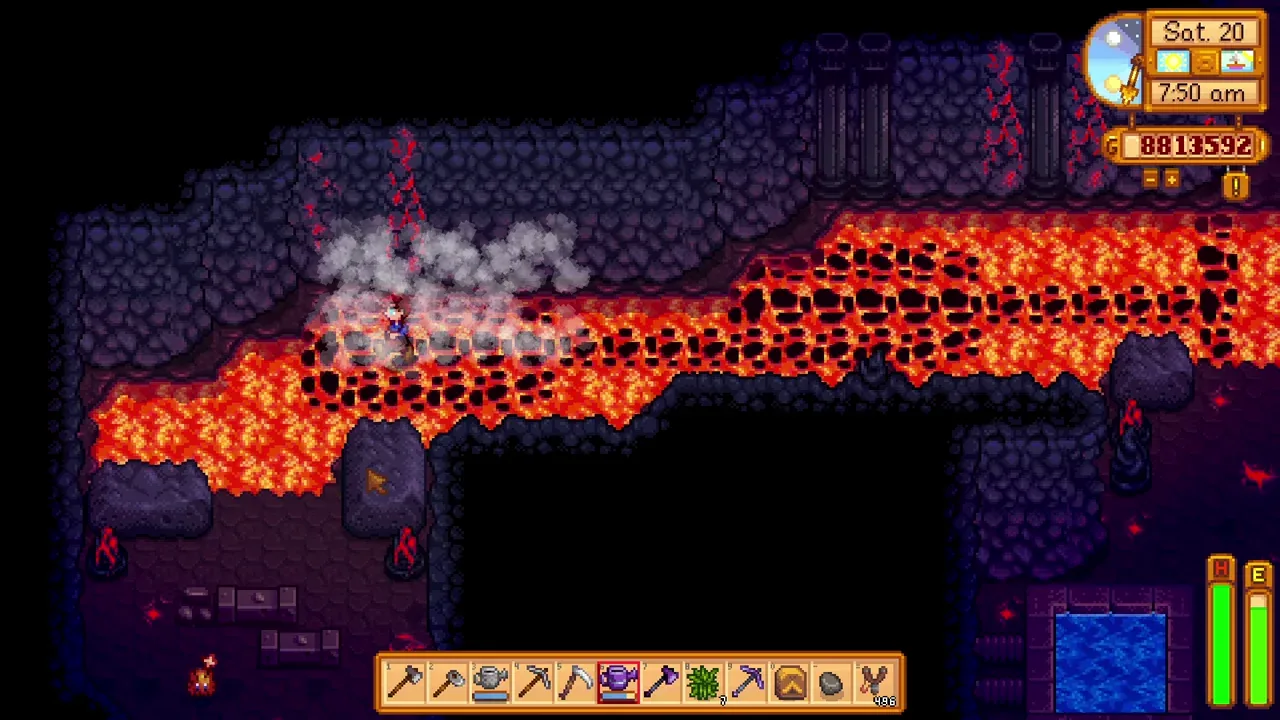
Bring your Watering Can into the volcano entrance. Instead of heading straight north across the lava river, make a path west along the river, then south to the landing and hidden exit. Outside are two walnut bushes.
This is separate from reaching the Forge and from the random volcano drops. It is easy to overlook because the main dungeon route points you in another direction. Refill the can before setting off so you can finish the crossing.
Volcano Dungeon: 17 drops plus 2 Forge walnuts
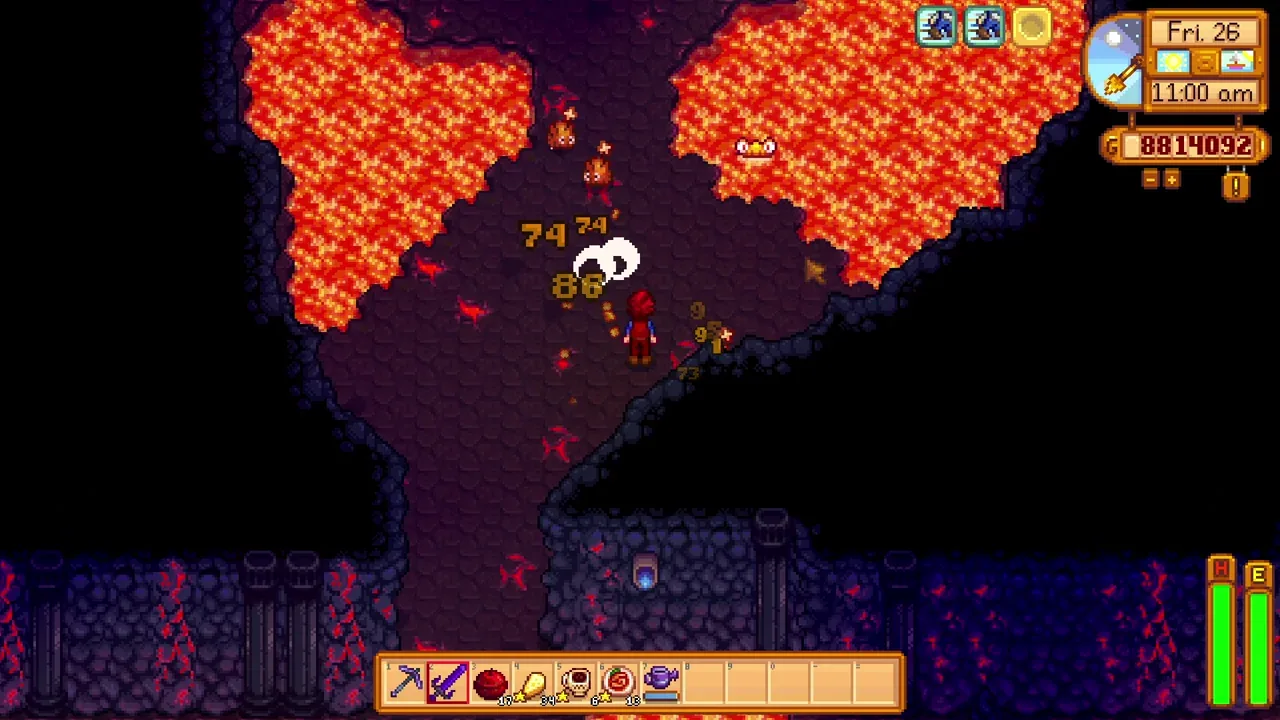
There are 17 walnuts in the dungeon’s drop pools. Break rocks, defeat enemies and smash metal crates for up to five from each method. Then open a common chest and a rare chest for one walnut each. Bombing rocks alone will not finish the whole set.
Reach floor 10 and collect the two walnut bushes around the Forge area, one by its entrance and one by its exit. Those two are separate from the 17 random discoveries.
The northern subtotal is now 49: 15 outdoor discoveries, 13 from the Field Office, two from the lava-river exit, 17 dungeon drops and two at the Forge. You also have access to the Forge itself, which is where your weapons and tools can become ridiculously good.
| Volcano source | Maximum walnuts |
|---|---|
| Breaking rocks | 5 |
| Defeating enemies | 5 |
| Breaking metal crates | 5 |
| Common chest | 1 |
| Rare chest | 1 |
| Forge bushes | 2 |
| These dungeon and Forge sources | 19 |
Island South: arrival cliff and resort discoveries
The walnut visible above the arrival beach is reached from Island North. Go up the stairs from the beach, turn east immediately and follow the concealed route south behind the tree. That gives one walnut, counted here with Island South even though the parrot hints place it in the north.
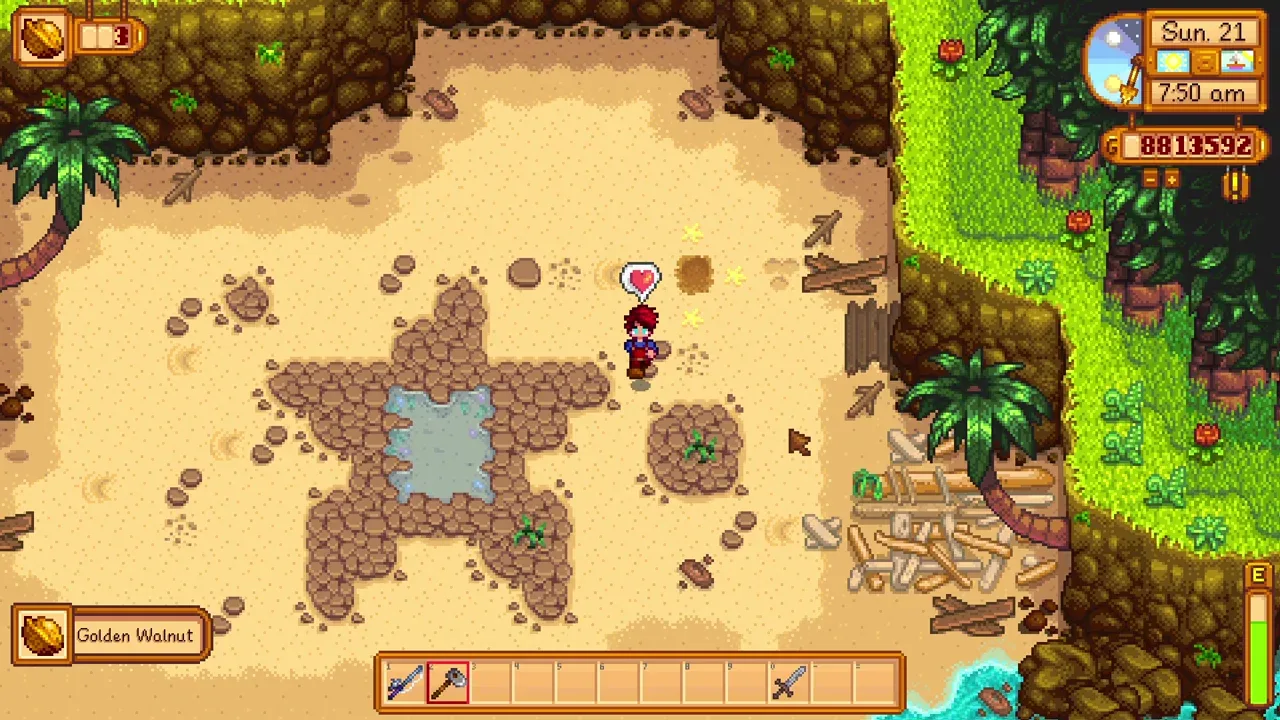
Repairing the beach resort opens the southeastern area. Cast into the centre of its starfish-shaped tide pool for one guaranteed walnut. Then hoe the middle of the yellow starfish diamond for another. These are separate discoveries, so bring both a rod and a Hoe.
The remaining nine southern walnuts come from the Mermaid, darts and a buried spot in Pirate Cove, covered below.
The Mermaid Flute Block puzzle: 5 walnuts
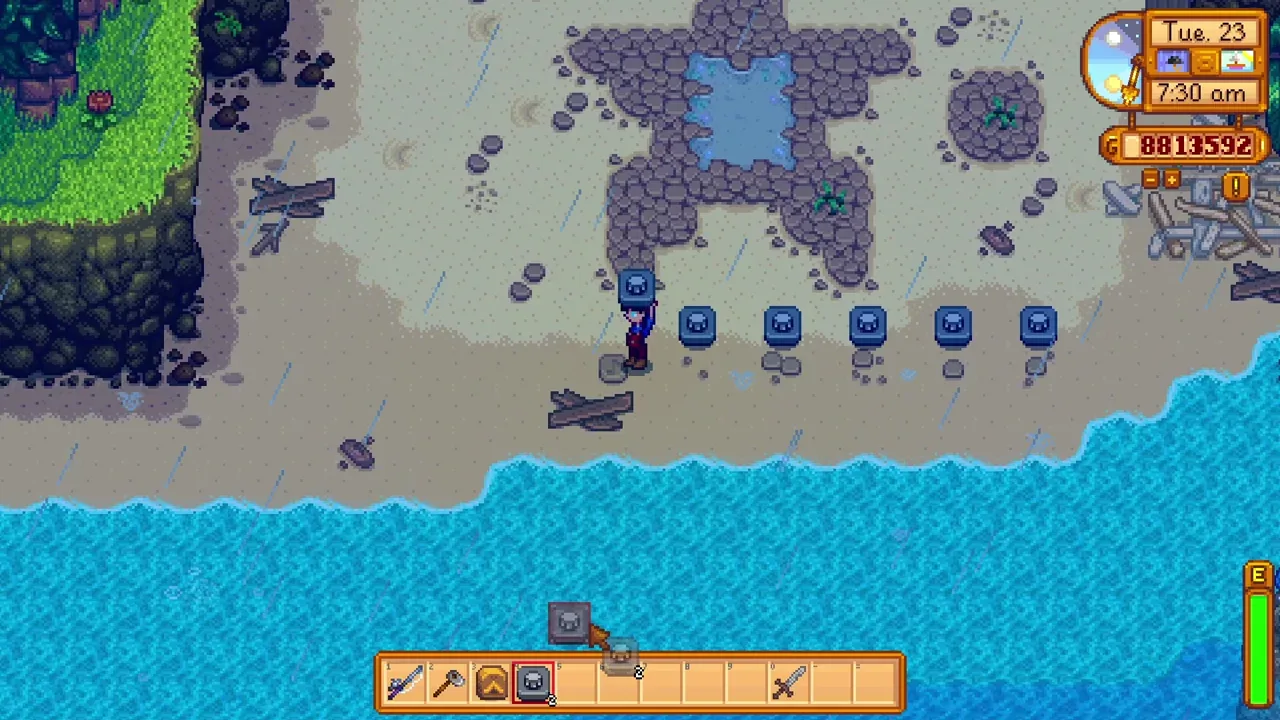
Visit the southeastern beach on a rainy island day after opening the resort area. Place five Flute Blocks beside the five stone patterns. Small stones represent one and large stones represent five, giving target notes of 2, 11, 9, 5 and 7.
Here is the correction to the spoken instructions: a fresh Flute Block already starts at the first note. From freshly placed, untuned blocks, interact 1, 10, 8, 4 and 6 times respectively. The target note numbers are not the same as the number of extra tuning clicks.
After tuning, walk past the blocks from left to right to play the sequence. Leave a little space from the blocks while tuning so movement does not accidentally trigger a note out of order. The Mermaid rewards the completed song with five walnuts. If a block was previously tuned, reset your setup with freshly placed blocks before counting clicks again.
Pirate Cove: 3 darts rewards and 1 buried walnut
Enter Pirate Cove through the southeastern beach. Dig the exposed sand among the barrels east of the water for one walnut. The buried spot does not need you to win darts first.
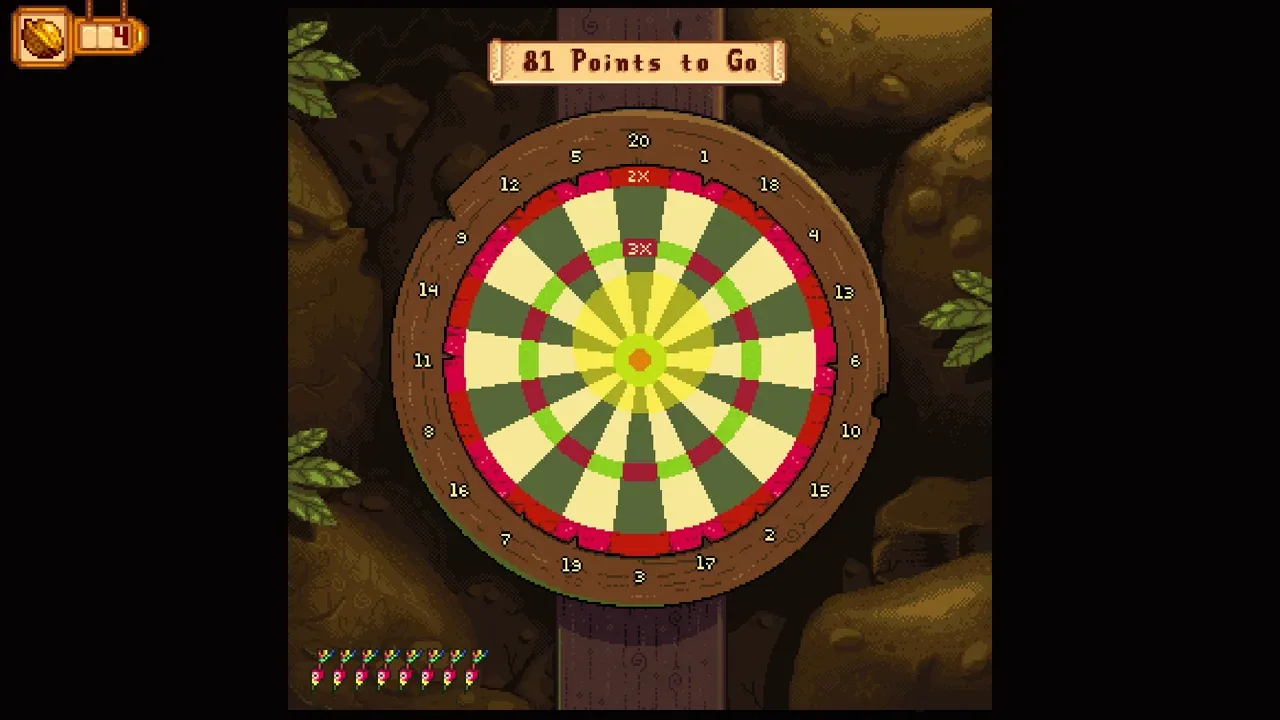
The pirates appear after 8pm on even-numbered, non-rainy nights. Play the darts game and reduce the score to exactly zero. Win three reward rounds for one walnut each; the allowed dart count gets tighter on later rounds.
This finishes the southern total of 12: arrival-cliff bush, tide-pool fishing, starfish dig spot, five Mermaid walnuts, three darts walnuts and the buried Pirate Cove walnut. Do not stop after your first darts win.
Missing the last Golden Walnut? Check these sources
Speak to the parrot in Leo’s hut. Its hints narrow down remaining sources and can tell you whether a repeated activity still has walnuts left. If you finish everything connected to today’s hint, it may remain quiet until the next day.
The parrot does not hint at every walnut. Recheck the bush south of the Gem Bird Shrine, the Banana altar’s three walnuts and all three darts rewards. Those seven walnuts can be missing even when the hints no longer point you toward them.
Also separate walnuts found from walnuts currently in your wallet. Spending them on parrots does not undo your discoveries. The counter for progression tracks what you have found; a small spendable balance does not mean you need to collect everything again.
If a Journal Scrap spot gives nothing, make sure the scrap was read on this save. If the island looks cleared, revisit fishing, crop harvesting, Mussel Nodes and each individual volcano pool. These random sources are much easier to forget than a visible bush.
What should you spend Golden Walnuts on?
Unlock the west, repair the farmhouse and open the dig site so you can reach more sources. The resort unlocks the southeastern puzzles, while transport upgrades make repeated trips easier. You do not need to hoard 100 unspent walnuts for Qi’s Walnut Room; its requirement is based on discoveries.
All island parrot upgrades cost 116 walnuts altogether. Once they are purchased, the remaining 14 can be exchanged for 28 Qi Gems in the Walnut Room.
In 1.6, the Golden Joja Parrot near the volcano offers an alternative: pay 10,000g per unfound walnut and receive the remaining walnuts after sleeping. It is optional. I would use the checklist and the original video first, because finding the island’s strange little secrets is a big part of the fun.
Watch the original video

Keep exploring the valley
Browse more secrets & late game guides, or continue with one of these related guides:
- 20 Best Kept Secrets In Stardew Valley 1.6
- 7 Ways to Get Prismatic Shards in Stardew Valley
- Best Rings In Stardew Valley 1.6
Game-mechanics references: Golden Walnut, Ginger Island, Island Field Office. Screenshots and video by MGaud.