
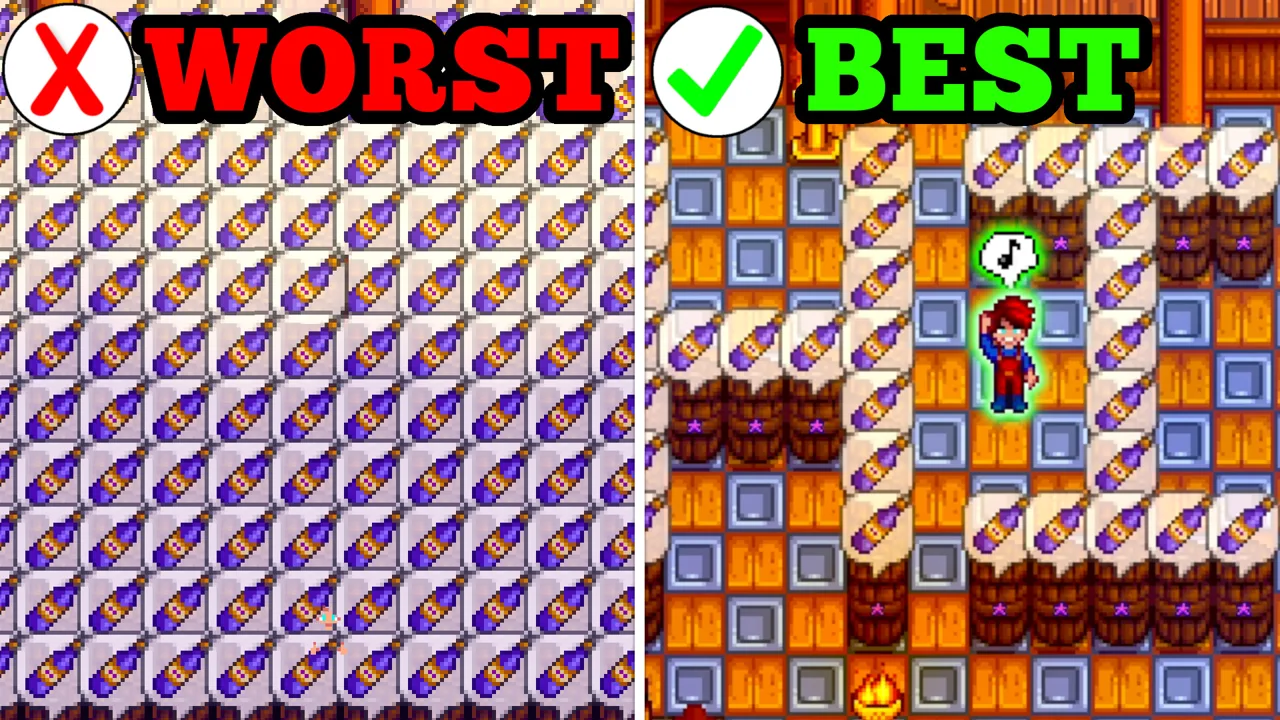
A good Stardew Valley greenhouse layout gives you room for crops, fruit trees and an actual harvest route. The building looks tiny, but you can squeeze a ridiculous amount of useful production into it. My priority is simple: water everything automatically, stop wasting planting space, and make sure you can reach what you grow.
This focused guide expands the relevant section of my original Stardew Valley YouTube video, with updated mechanics for version 1.6. Jump to the part you need below.
In this guideOpen contents
Choose your Stardew Valley greenhouse layout first
The greenhouse has a crop bed that is 12 tiles wide and 10 tiles tall. That is 120 potential crop spaces before you place sprinklers. The wooden border can hold sprinklers too, so do not put every machine in the soil just because that is what you do outside.
If you are still using Quality Sprinklers, use them. Growing crops now is better than leaving a repaired greenhouse empty while you wait for a perfect setup. Upgrade the watering system when your materials catch up with the plan.
| Watering setup | Sprinklers used | Crop spaces remaining |
|---|---|---|
| Quality Sprinklers | 16 | 108 |
| Iridium Sprinklers | 6 | 116 |
| Iridium + Pressure Nozzles | 5 | 119 |
| Deluxe Retaining Soil | None | 120 |
The six-Iridium-Sprinkler layout
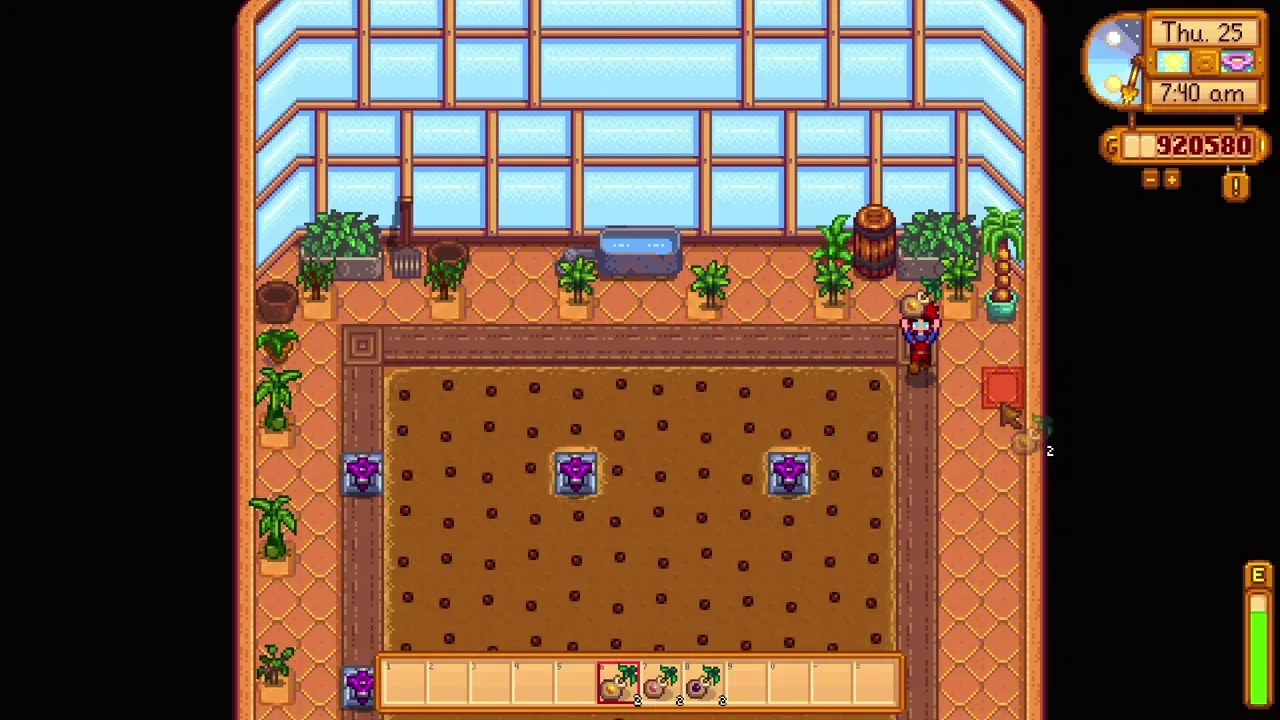
This Stardew Valley greenhouse layout is my practical starting point. Number the crop columns 1–12 from left to right and the rows 1–10 from top to bottom. Put four Iridium Sprinklers in the soil at column 3/row 3, column 8/row 3, column 3/row 8 and column 8/row 8. Put the other two on the right wooden border, aligned with rows 3 and 8.
Each sprinkler reaches two tiles in every direction. The four in the soil cover columns 1–10; the two on the border finish columns 11–12. All ten rows are watered, and only four crop spaces are occupied. Count from the crop bed, not the greenhouse wall. That difference is exactly how a good layout becomes a mysterious dry corner.
Water newly planted crops yourself on the day you set this up. Sprinklers work in the morning; placing one at lunchtime does not rewind the day.
Pressure Nozzles: recover three more crop spaces
Pressure Nozzles increase an Iridium Sprinkler’s reach to three tiles in every direction. The five-sprinkler arrangement uses four border positions and just one soil position, leaving 119 crops. That is an improvement, but it is only three more plants than the ordinary Iridium layout.
My older layout video shows the principle: use the border as much as possible. Before moving anything, keep a screenshot of your old setup and inspect the next morning for dry tiles. Do not buy Nozzles purely because a guide makes you feel behind. They are a convenience upgrade once you already have access to Qi’s shop.
There is also a four-Nozzle arrangement with two sprinklers in the soil. It leaves 118 crop spaces and saves one sprinkler and one Nozzle. Either is sensible; your spare Qi Gems and materials decide which one is worthwhile.
Add fruit trees around the outside
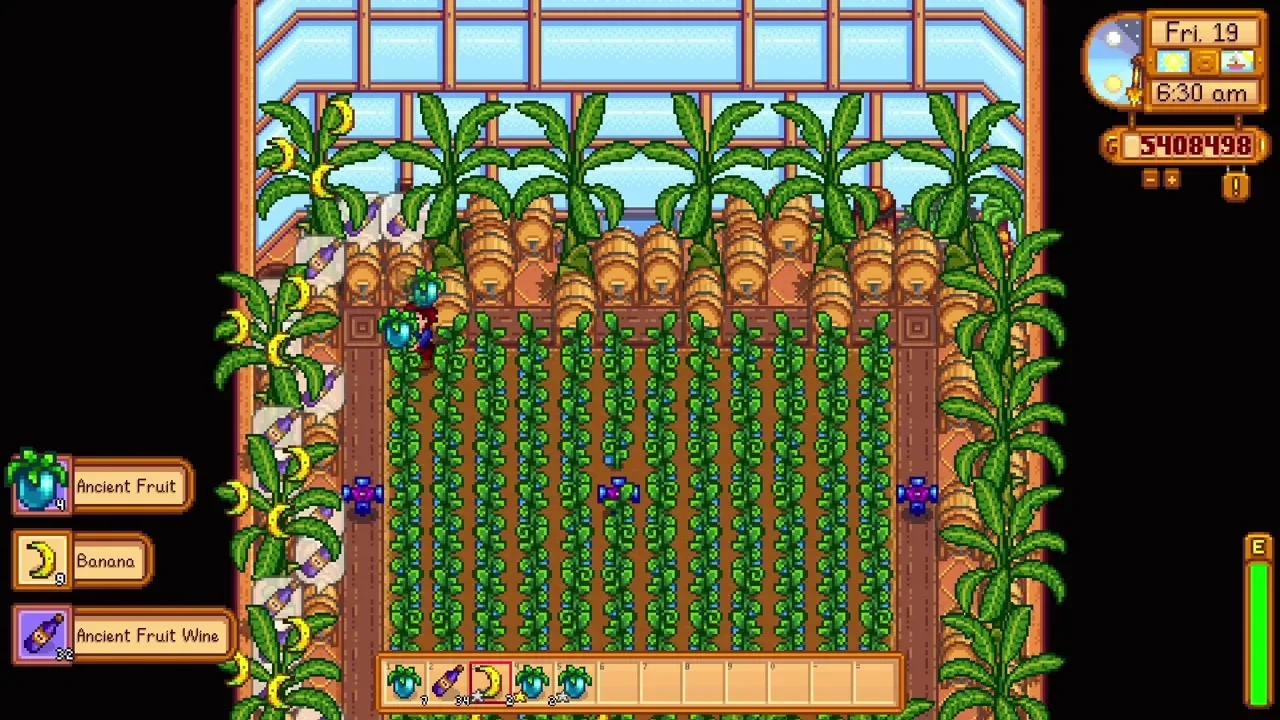
The outer area can hold up to 18 fruit trees without sacrificing the central crop bed. Greenhouse fruit trees produce in every season, so the decoration around the edges can actually earn its place.
Plant trees before filling their surrounding tiles with processing machines. Player-placed objects can block an immature tree, even when the permanent greenhouse decorations do not. Keep two tiles between tree trunks, avoid the occupied decorative spots and corners, and wait for the trees to mature before adding nearby machines. A tree can hold three fruit, so you do not need to visit every single day just to shake it.
Pick crops that fit your routine
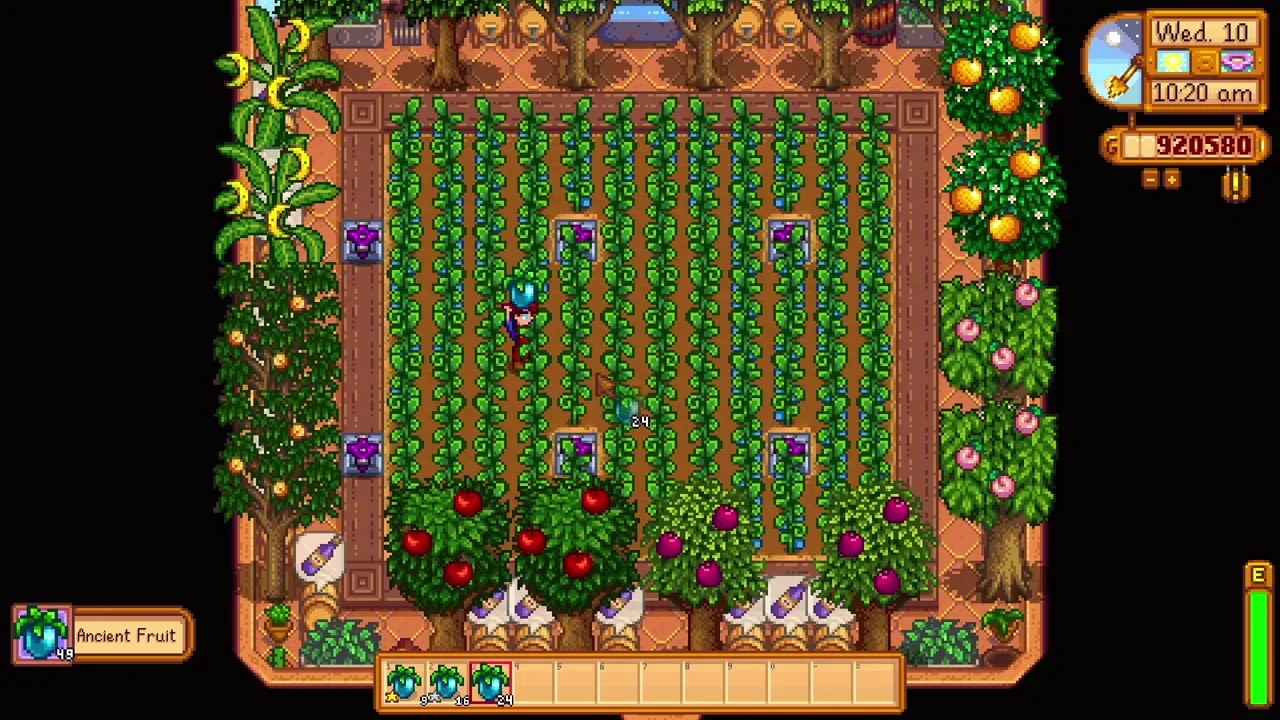
Ancient Fruit is an excellent weekly routine once you have the seeds. Starfruit works well if you are happy buying seeds and replanting. Strawberries, blueberries and other regrowing crops are useful while you build toward your preferred setup.
Trellis crops need special care because you cannot walk through them. Leave access lanes if you want hops; a greenhouse packed with inaccessible trellises is an impressive way to annoy yourself. Junimos outside on your farm cannot come in and rescue that layout.
Deluxe Retaining Soil and the mistakes to avoid
Deluxe Retaining Soil keeps watered soil wet overnight and can free all 120 spaces. You still need the first watering. The tradeoff is your fertilizer slot: you cannot use retaining soil and Speed-Gro or quality fertilizer together on the same tile.
Rain does not water greenhouse crops. Bee Houses do not produce honey indoors. You do not need a Scarecrow, and giant crops do not form here. These are small rules, but forgetting one of them can waste an entire corner of the building.
For a Stardew Valley greenhouse layout, my recommendation is the six-Iridium setup first, fruit trees second, and tiny efficiency upgrades later. Build a greenhouse that pays you while you play the rest of the game.
Watch the original video

Keep exploring the valley
Find more farming & design guides, or continue with a related guide:
- Best Crops In Stardew Valley 1.6 [ Every Season ]
- Stardew Valley Garden Pots: 8 Powerful Tips for Your Shed
- Best Stardew Valley Shed Layout: 137 Machines and Cask Plans
Game-mechanics references: Greenhouse, Fruit Trees, Pressure Nozzle, Deluxe Retaining Soil. Original gameplay and video by MGaud.