

These Stardew Valley do’s and don’ts help you build a smoother farm without a perfect spreadsheet. Plan your watering-can upgrades, protect rare fish, feed your animals, and make daily tasks easier. These ten habits, plus a bonus about luck, are the written companion to my video. Some are practical safeguards; others are personal suggestions. Take the ones that fit your farm and leave room to enjoy discovering the game.
Watch the companion video on YouTube, or jump to a tip below. The written advice reflects Stardew Valley 1.6; later sections include progression spoilers.
Stardew Valley do’s and don’ts: contentsOpen contents
1. Don’t rush; do play at your own pace
Stardew Valley is not a race to unlock the endgame. Learning new systems, discovering villagers, and finishing the Community Center gradually are part of the appeal. You do not need to turn your first spring into a speedrun.
I like efficiency when it removes annoying chores. I do not like it when it makes every day feel like a checklist. Set one or two goals, leave room for surprises, and use guides when you actually want help. A slower farm you enjoy is better than an optimized save you abandon.
2. Don’t lose watering days; do plan tool upgrades
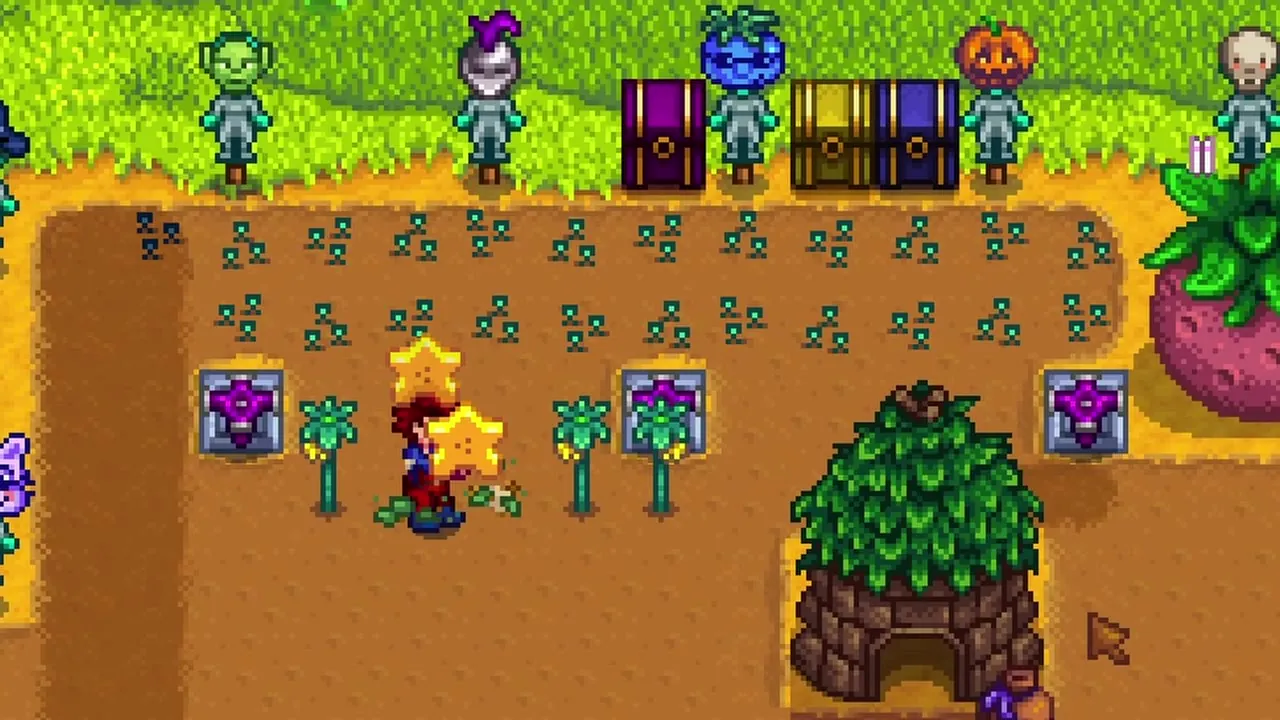
Clint keeps a tool while upgrading it, so choose a day when you can manage without it. For a watering can, check the forecast: water today, hand it in, let tomorrow’s rain cover your crops, and collect it two days after submission. Check shop access and festivals before committing.
Missing a watering day usually delays crop growth rather than killing the crop immediately. That delay still matters near the end of a season. Sprinklers or winter can provide easier upgrade windows. The goal is to plan the gap, not panic whenever the can leaves your inventory.
3. Don’t cook rare fish; do store them separately
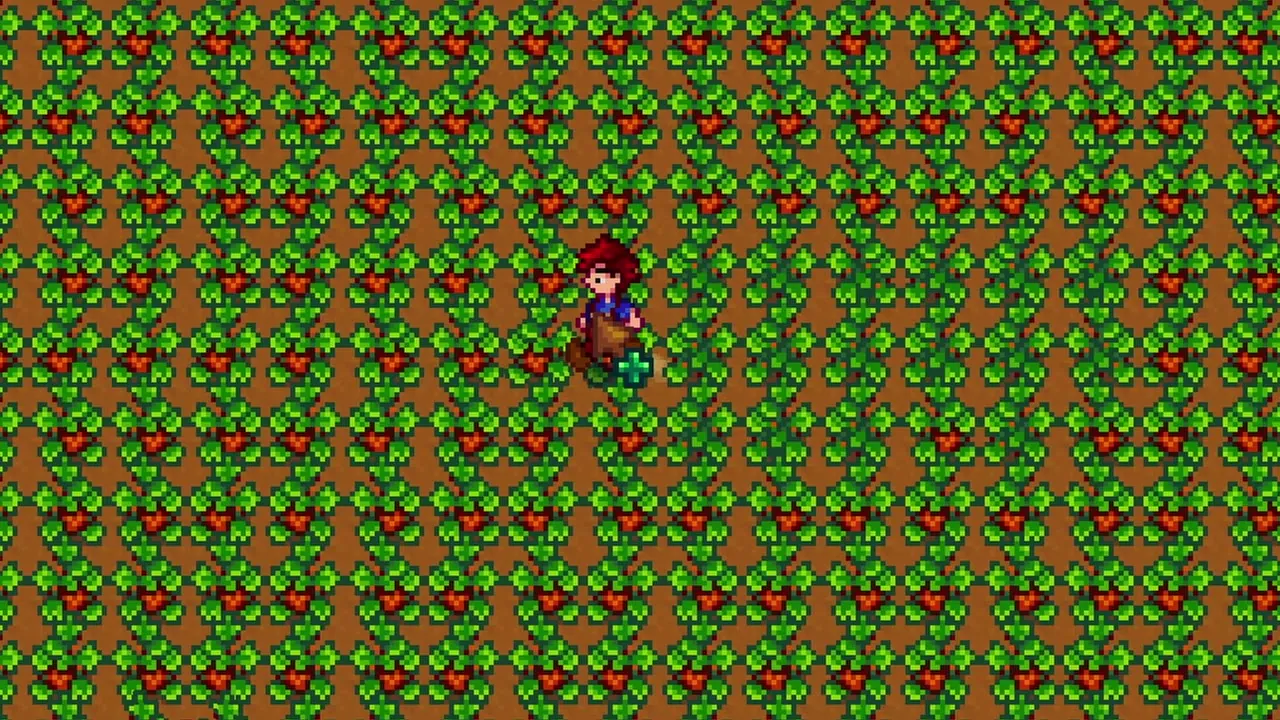
Recipes such as Sashimi and Maki Roll accept many kinds of fish, including valuable ones you may want to keep. Fish in the fridge can be used by cooking, so “convenient storage” can become an expensive dinner.
Put rare fish in a clearly marked chest away from cooking ingredients, or display suitable fish in a Fish Tank. Keep cheap cooking fish separate. If you choose to smoke or sell a legendary catch, make that a deliberate decision after considering your collection and pond plans. Do not let an ordinary recipe make the choice for you.
4. Don’t waste your grass; do build a feeding plan
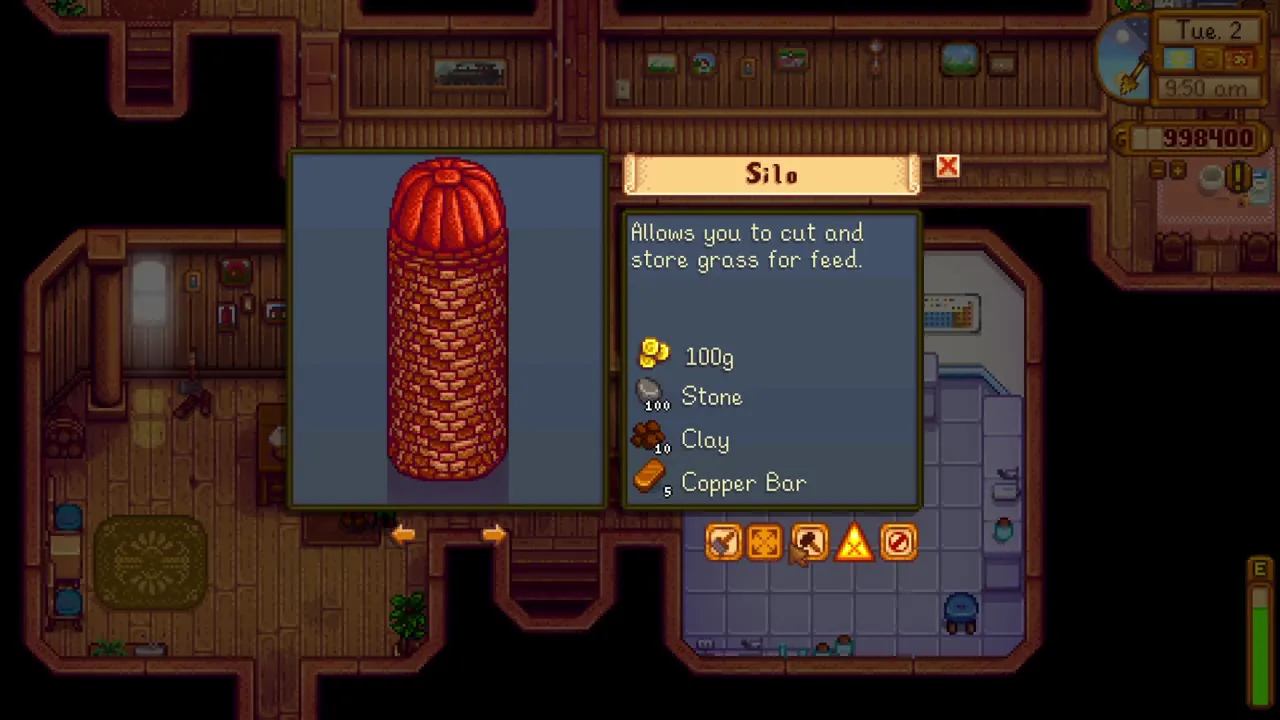
Build a feeding plan before buying animals. A silo stores hay obtained from cutting grass, and building it before clearing your grass helps you preserve that resource for rainy days and winter.
A silo costs 100g, 100 stone, 10 clay, and five Copper Bars. You can still feed animals without one by buying hay and placing it on the feeding bench; the silo is convenient infrastructure, not a requirement for feeding to be possible. Deluxe Coops and Deluxe Barns add auto-feeders, which still need hay in storage. Leave enough grass for animals to graze when they can.
For a more detailed walkthrough, see my beginner’s guide.
5. Don’t confuse passing out with defeat; do weigh the cost
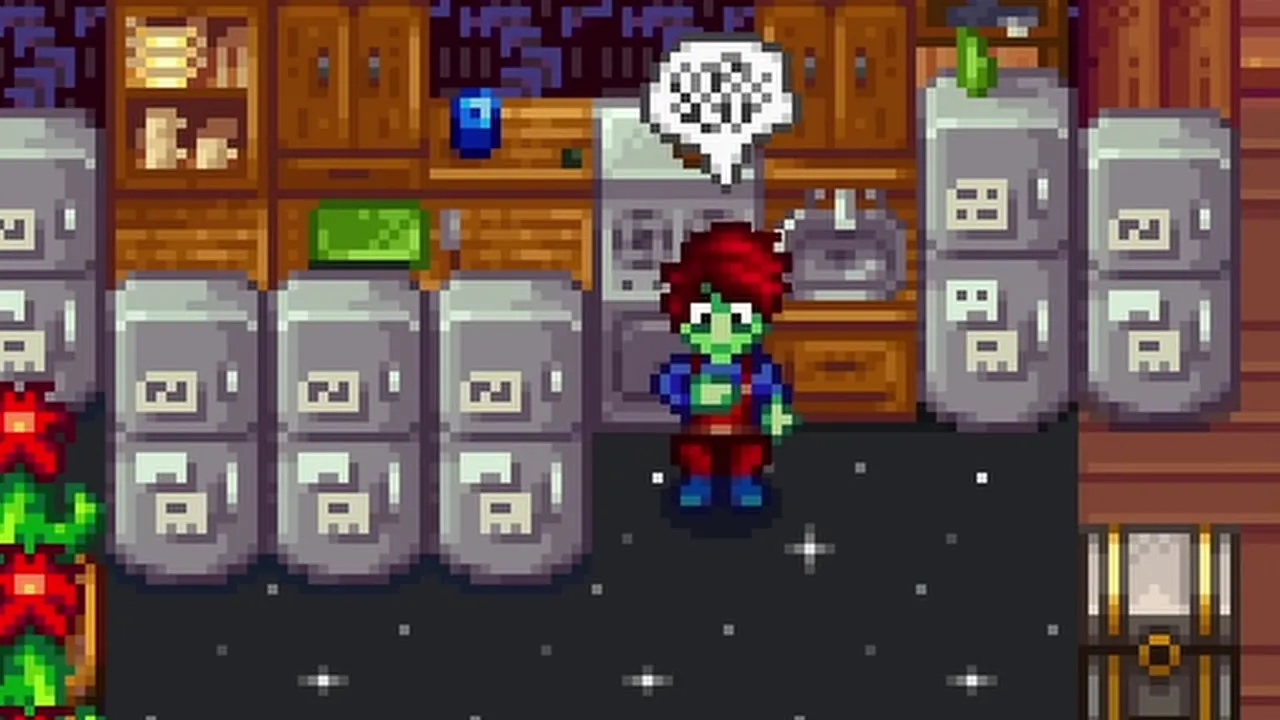
Passing out from the clock reaching 2am is different from losing all your health in combat. Ordinary late-night collapse can cost money and affect the next morning, but combat defeat can also cost items. Protect your health even when you choose to stay late.
On a productive Skull Cavern run, the extra resources may be worth the usual late-night fee, capped at 1,000g. That is a choice, not an instruction to pass out every day. Also keep the milestones straight: the regular Mines have a Stardrop at floor 100; Skull Cavern’s floor-100 challenge has a different reward.

6. Don’t ignore villagers; do remember birthdays
Friendship unlocks useful recipes, events, and other rewards, so do a little as you go. Loved birthday gifts provide much more progress than random gifting, and eligible higher-quality gifts can improve the result further.
Keep a calendar and a small gift chest. Talk to villagers when you already pass them rather than spending every day on a full social circuit. Rabbit’s Feet are convenient loved gifts for almost everyone, but Penny hates them. Check the person before handing over your supposedly universal solution.
7. Don’t give up on fishing; do practice with the right rod
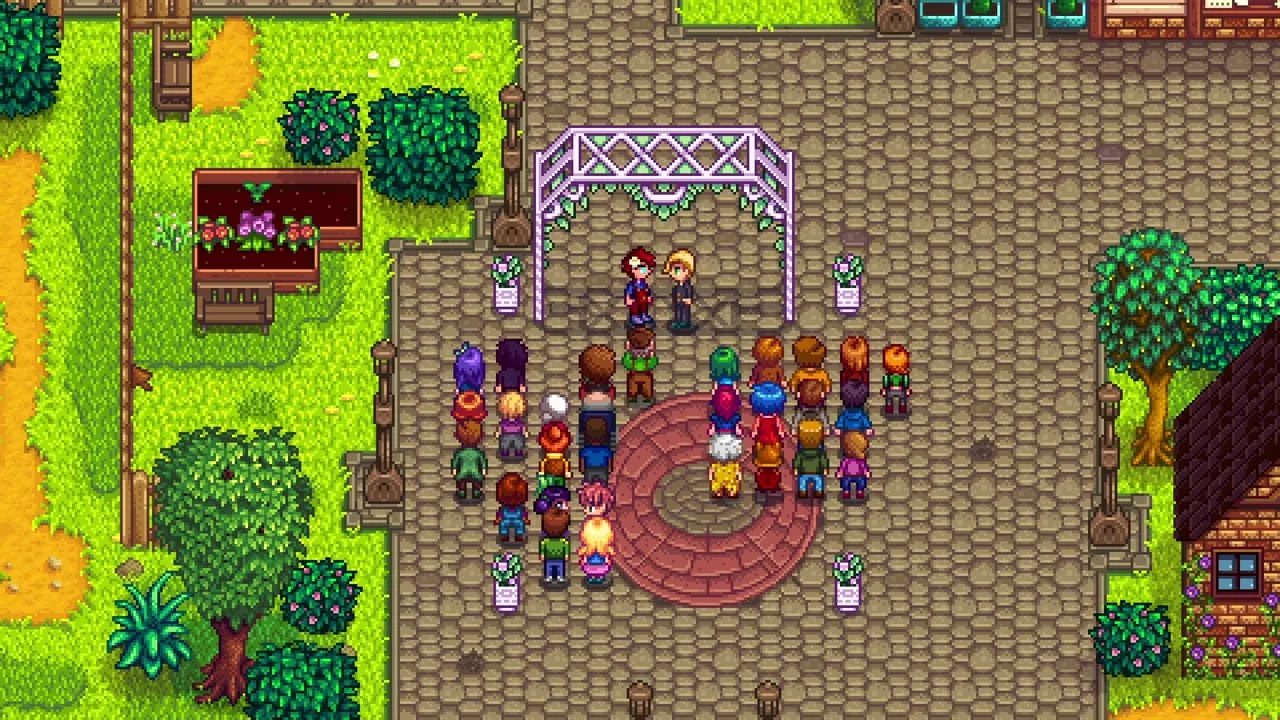
Fishing becomes easier with practice, skill levels, and better equipment. If the starting minigame is frustrating, the Training Rod gives you a larger bar at low skill levels and limits you to easier catches. That is a useful learning tool, not a failure.
Move to other rods when you want more species, quality, bait, or tackle options. Fishing can fund early upgrades and provide bundle items. You do not need to catch the hardest fish immediately, and you do not need to sell a one-time catch just because its smoked price looks impressive.
For a more detailed walkthrough, see my fishing guide.
8. Don’t scatter everything; do organize your farm
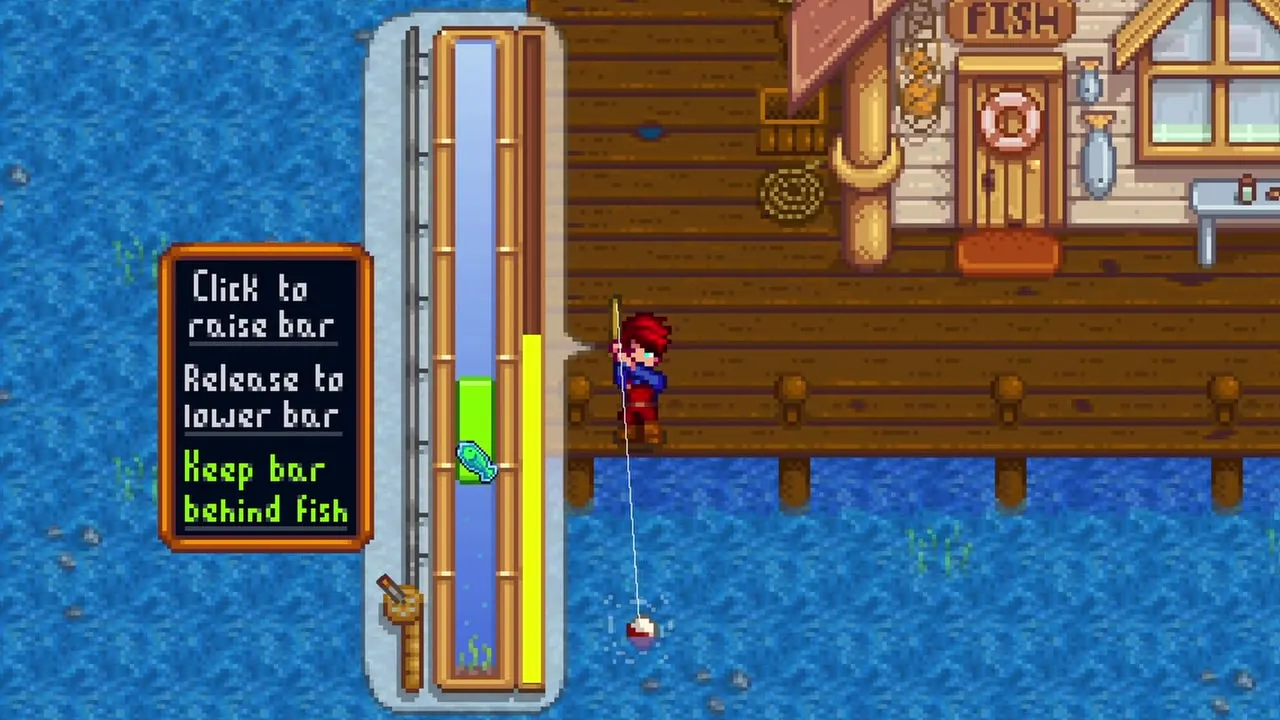
Give chests a purpose and put machines near their ingredients. A crop chest beside the processing shed is more useful than three half-organized boxes scattered around the farm. Keep walking lanes clear and place animal buildings on a route you actually visit.
You can improve the layout without buying every decoration. Winter is a convenient time for a larger redesign, though winter crops and other activities can still keep you busy in 1.6. The goal is a farm that is pleasant to use as well as pleasant to look at.
For a more detailed walkthrough, see my farm layout guide.
9. Don’t fear the arcades; do try them for fun
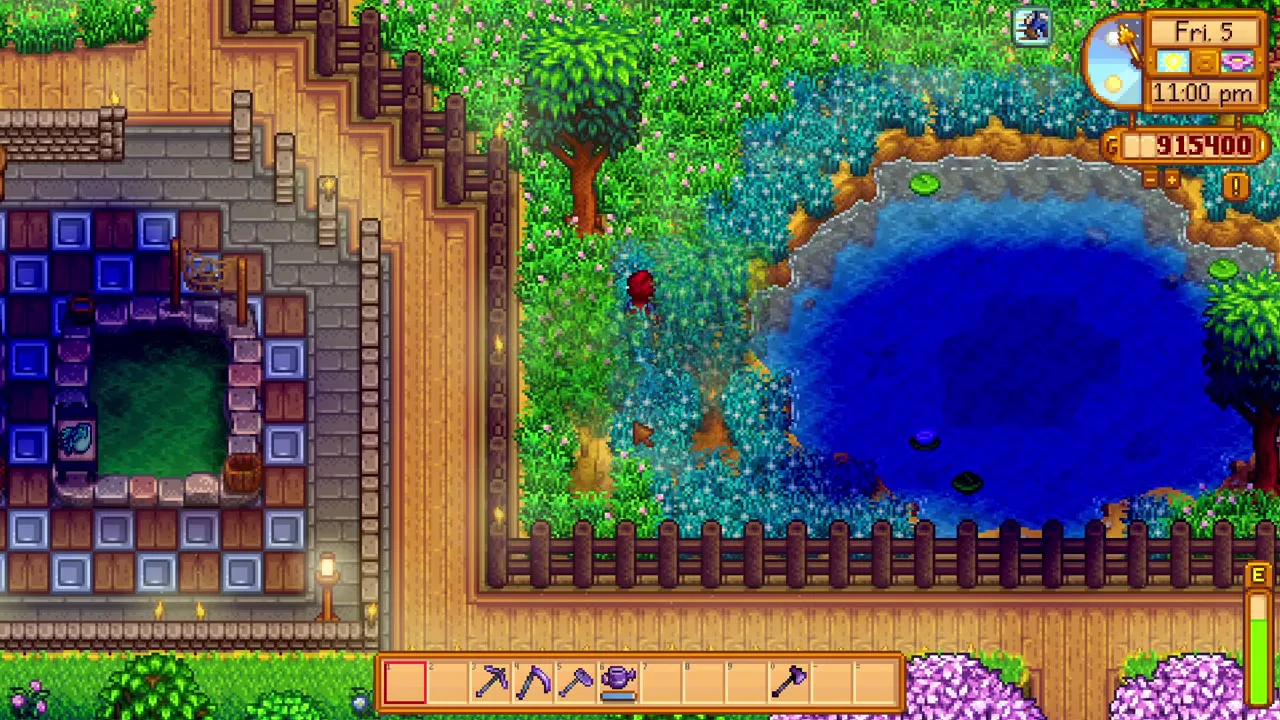
Journey of the Prairie King and Junimo Kart are optional challenges in the saloon. Try them if you enjoy that kind of practice, and take breaks when they stop being fun. Completing the relevant game mode can earn a home arcade machine.
Fector’s Challenge requires finishing Journey of the Prairie King without dying—not a blanket requirement to avoid every hit. These challenges are separate from building a successful farm, so do not let an arcade achievement become an obligation. A personal challenge is worthwhile when you actually want the reward or the experience.

10. Don’t accept slow travel; do use speed upgrades
Coffee and Triple Shot Espresso make everyday travel faster. You can combine a drink buff with a food buff such as Spicy Eel, so a planned stack can help with both errands and mining. Another food buff normally replaces the previous food buff rather than adding every bonus together.
A stable adds a horse, and the Horse Flute later lets you summon it outdoors away from the farm. Movement books and horse upgrades provide further improvements. Buy these as they fit your stage of the game; the practical payoff is less time retracing the same paths.

Bonus: Don’t overestimate luck; do use it where it matters
Luck matters most when you connect it to a specific activity. A good daily luck roll can help a Skull Cavern trip, while food and equipment luck bonuses can support certain goals too. They are related systems, not interchangeable guarantees.
Use bad luck days for jobs that do not depend on the roll: storage, building, farming plans, and geode opening. Geode contents are unaffected by daily luck. Planning around the forecast is helpful; postponing every activity until a perfect day is unnecessary.
Watch the full video
