
Stardew Valley trinkets give you one more way to make combat easier, stranger or more profitable. I still love the little Fairy following me around, but the best choice depends on what you are actually doing. This guide covers all eight trinkets, the Anvil and when to stop throwing Iridium Bars at a reroll.
This focused guide expands the relevant section of my original Stardew Valley YouTube video, with updated mechanics for version 1.6. Jump to the part you need below.
In this guideOpen contents
Unlock Stardew Valley trinkets through Combat Mastery
First reach level 10 in all five skills to access the Mastery system, then claim Combat Mastery. Ordinary combat level 10 by itself is not the same unlock. Once claimed, trinkets can appear from eligible monster drops, breakable containers and Skull Cavern treasure rooms.
Equip one in the trinket slot. It is separate from your two ring slots, so you can keep your favourite ring combination while adding a companion or passive effect. Finding a duplicate is normal; compare its effect before selling it.
All eight trinkets at a glance
My older collection script covers most of the familiar companions, but a complete checklist also needs the Basilisk Paw. Magic Hair Gel is the unusual one: it is bought from Alex’s Desert Festival shop rather than found through the ordinary trinket drops.
| Trinket | Main use | What the Anvil changes |
|---|---|---|
| Basilisk Paw | Immunity to debuffs | Cannot be reforged |
| Fairy Box | Healing during combat | Level 1–5 |
| Frog Egg | Swallows an enemy | Cosmetic colour |
| Golden Spur | Speed after critical hits | Buff duration |
| Ice Rod | Freezes enemies | Fire interval and freeze time |
| Magic Hair Gel | Prismatic hair effect | Cannot be reforged |
| Magic Quiver | Automatic ranged attacks | Type, speed and damage |
| Parrot Egg | Gold from defeated enemies | Level, limited by total earnings |
My first choices: Fairy Box and Ice Rod
A Fairy Box is a comfortable choice when small mistakes keep wearing down your health. A higher level improves its healing, but it does not replace food or make it sensible to stand still inside a swarm. I like that it feels useful without demanding a completely different playstyle.
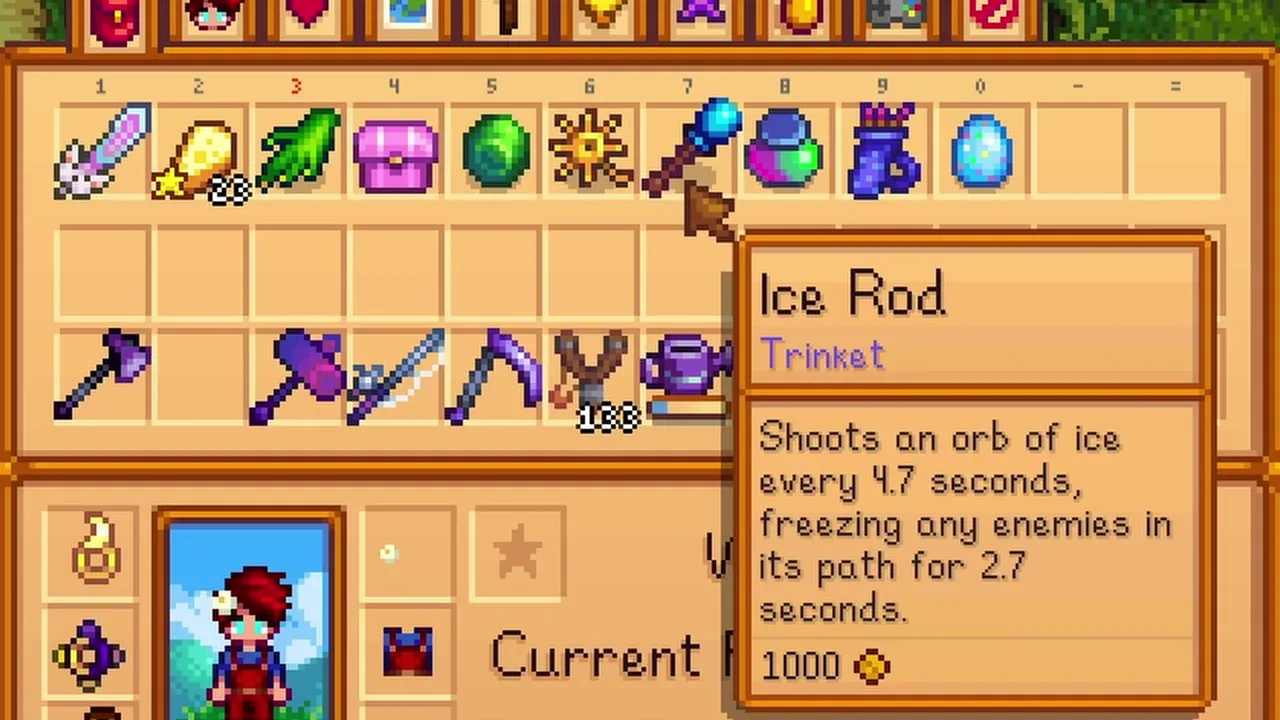
The Ice Rod is brilliant when flying enemies keep interrupting you. Freezing an enemy gives you breathing room to reposition or attack. A Perfect Ice Rod fires every three seconds and freezes for four. You do not need a perfect roll before the trinket starts helping.
The Frog Egg has an important tradeoff
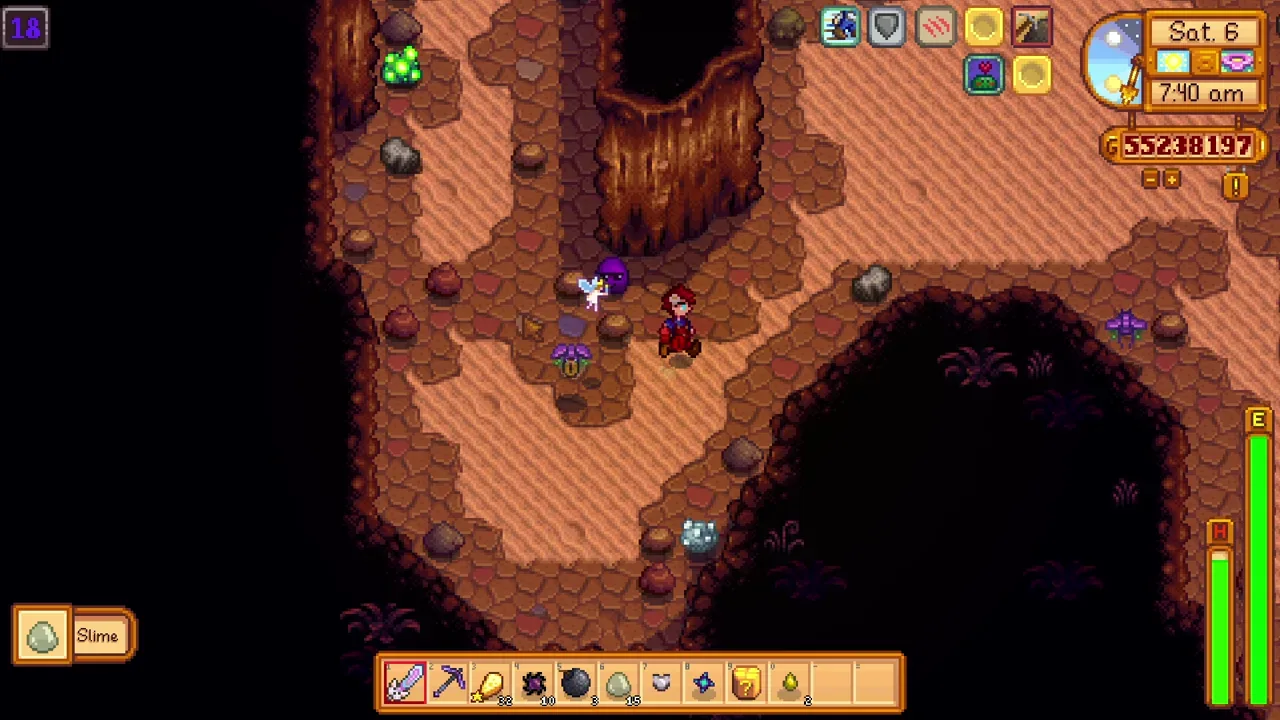
The frog can remove an enemy by eating it, which is hilarious and useful when you want less fighting. The catch is that eaten enemies do not give their normal drops and do not count toward Monster Eradication Goals or kill quests.
That makes the frog a poor partner when your entire reason for entering the mines is to collect monster loot or finish a kill target. Reforging the egg changes its colour, not its killing power. Do not burn through bars expecting a blue frog to become a stronger frog.
Parrot Egg: check earnings before chasing level four
The Parrot Egg adds a chance for gold coins when you kill monsters. Its maximum possible reroll level depends on your lifetime earnings, not the money currently in your wallet. Level 2 needs 750,000g earned; level 3 needs 1,500,000g; level 4 needs 2,250,000g.
If your save has not reached the threshold, another stack of Iridium Bars will not solve the problem. The level-four Parrot has a 40% chance for a coin, with further coins possible. That is a probability per eligible kill, not guaranteed money from every monster.
How the Anvil works
Combat Mastery unlocks the Anvil recipe, which costs 50 Iron Bars. Each reforge costs 3 Iridium Bars and takes ten in-game minutes. You receive a new random roll; it is not an upgrade that always improves the old one.
Keep a good spare before rerolling your favourite trinket. Set a budget, perhaps three attempts, then go use what you have. A useful Ice Rod today beats spending the entire afternoon chasing a tooltip. The Fairy’s appearance is separate from its level, and the Anvil cannot change that appearance.
Choose a trinket for the job
Use Fairy Box for comfortable survival, Ice Rod for control, Parrot Egg for a monster-money run, and Basilisk Paw when debuffs are your biggest frustration. Golden Spur suits frequent critical hits. Magic Quiver adds ranged pressure and its kills count toward goals. Hair Gel is for looking magnificent. That is a perfectly valid goal too.
The Burglar’s Ring does not simply double trinket drops: trinkets are generated separately from the ordinary monster drop pool. Build around the task you want to finish, then combine your weapon, rings and trinket accordingly. You do not need every item to be the theoretical best before you have a good setup.
Watch the original video

Keep exploring the valley
Find more mining & combat guides, or continue with a related guide:
- Stardew Valley Mastery Guide: All 5 Rewards and My Best Order
- 7 Stardew Valley Combat Builds for Damage, Defence and Loot
- Best Rings In Stardew Valley 1.6
Game-mechanics references: Trinkets, Anvil, Parrot Egg, Frog Egg. Original gameplay and video by MGaud.