

A Stardew Valley Workbench layout is one of the simplest upgrades for a disorganised farm. Instead of pulling wood from one chest, coal from another and then discovering you forgot the iron, you craft using nearby storage. It is a small station that can remove a very large amount of inventory nonsense.
This focused guide expands the relevant section of my original Stardew Valley YouTube video, with updated mechanics for version 1.6. Jump to the part you need below.
In this guideOpen contents
Buy the Workbench from Robin
The Workbench costs 2,000g at the Carpenter’s Shop. Place it somewhere you visit regularly, such as a workshop corner or the front of a production shed. The point is to make crafting convenient, so do not hide it on the opposite side of the farm from your materials.
You interact with the Workbench to use its connected storage. Opening the ordinary crafting menu while standing near it is not the same action. That distinction solves a surprising number of “my Workbench does not work” problems.
The Stardew Valley Workbench layout rule
A Workbench can use materials from standard Chests and Big Chests on the eight directly surrounding tiles, including diagonals. It does not chain through a row of chests to reach a distant one. It also does not draw from Junimo Chests.
Leave a tile open so you can stand beside and use it. Seven adjacent chests with one approach tile is the practical maximum around a single station. Eight chests completely enclosing it make a nice picture of something you cannot reach.
| Position | What to place |
|---|---|
| Centre | Workbench |
| North, northwest, northeast | Material chests |
| West and east | Material chests |
| Southwest and southeast | Material chests |
| South | Open approach tile |
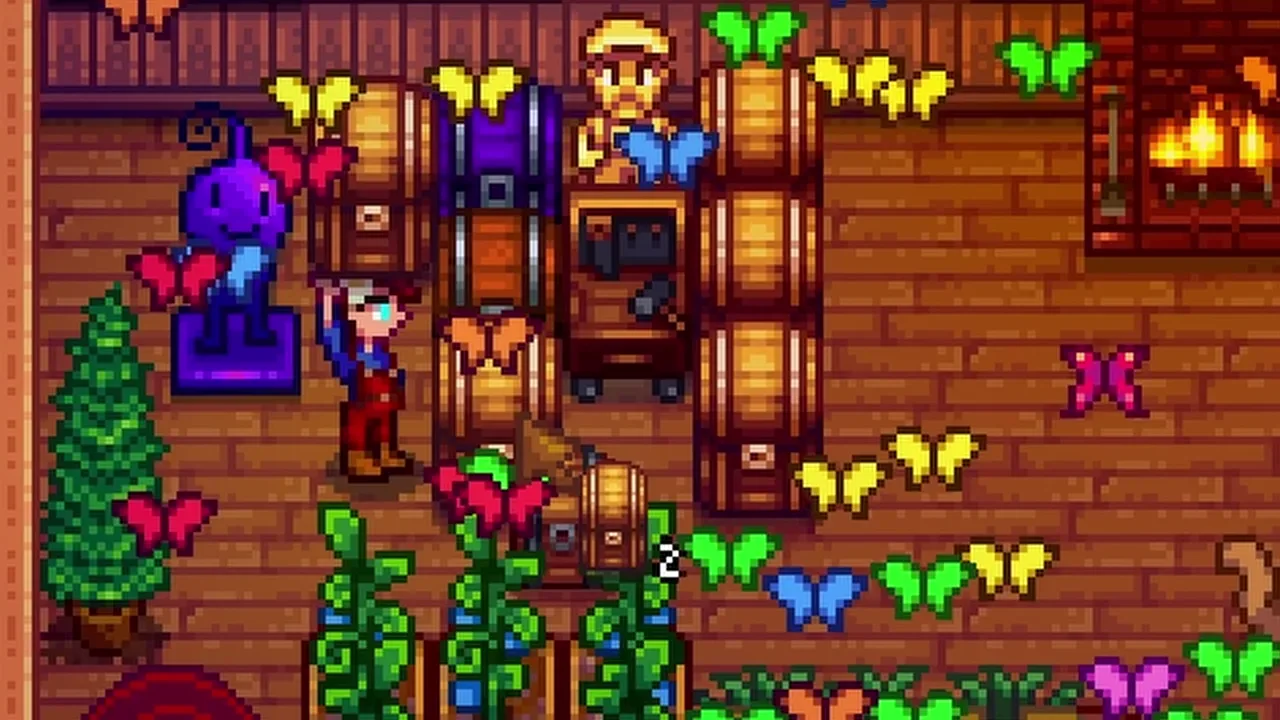
Give each chest a job
I group resources by the way I use them. Wood and Fiber in one chest, ore and bars in another, monster drops in another, and farming or artisan materials somewhere clearly labelled. Colour coding helps, but the categories matter more than the colours.
You do not need seven full chests on day one. Start with the materials that keep forcing you to interrupt crafting. Add more storage when the organisation solves a real problem rather than because a screenshot has every tile filled.
Big Chests increase capacity without changing the idea
Big Chests work with the Workbench and give the station much more storage. They still need to sit directly adjacent, just like the smaller versions. A bigger chest does not increase the Workbench’s reach.
When you rearrange storage, test one recipe whose ingredients are spread across two connected chests. If it works, the station can pull the required materials without you carrying them all. That is the entire benefit: less shuffling, more making the thing you came for.
Keep valuable ingredients out of general crafting storage
Convenience has a tradeoff. If you store something precious beside a Workbench, a recipe may use it when you craft. Separate items you want to preserve for quests, collections or gifts instead of hoping you will always notice them first.
The same principle applies to cooking storage and rare fish. Connected storage is excellent when the contents are intended for consumption. It is much less excellent when your display item quietly becomes an ingredient. Use a separate clearly labelled reserve chest.
Troubleshoot recipes, reach and inventory space
If a recipe is unavailable, check that you actually learned it. Owning the ingredients does not unlock the recipe. Then inspect the chest positions: one empty tile between the chest and Workbench is too far.
Use the Workbench itself, make sure the ingredients have the exact required identity and leave inventory space for the crafted result. Similar-looking items are not always interchangeable. If the station worked before a redesign, check which chest you moved first.
My preferred layout is a simple workshop with a clear entrance, the Workbench in the middle and a small overflow area nearby. The overflow does not have to connect to crafting. It just needs a clear label so your tidy station does not become another pile of mystery boxes.
Build the station into your daily route
Drop materials into the correct chests when you return from mining or gathering. That little habit is what makes the Workbench powerful. If the ingredients remain in random boxes all over the valley, the station cannot rescue the system.
I would fix this before building a huge new processing area. A reliable crafting corner helps you make the machines, sprinklers and flooring for every later project. It is not glamorous, but it is one of the upgrades you notice every time you use it.
Watch the original video

Keep exploring the valley
Find more farming & design guides, or continue with a related guide:
- How To Farm Every Resource in Stardew Valley: 18 Powerful Methods Made Easy
- Best Stardew Valley Shed Layout: 137 Machines and Cask Plans
- 20 Absolute Best Items in Stardew Valley That Will Transform Your Game Forever
Game-mechanics references: Workbench, Chest, Big Chest, Crafting. Original gameplay and video by MGaud.